
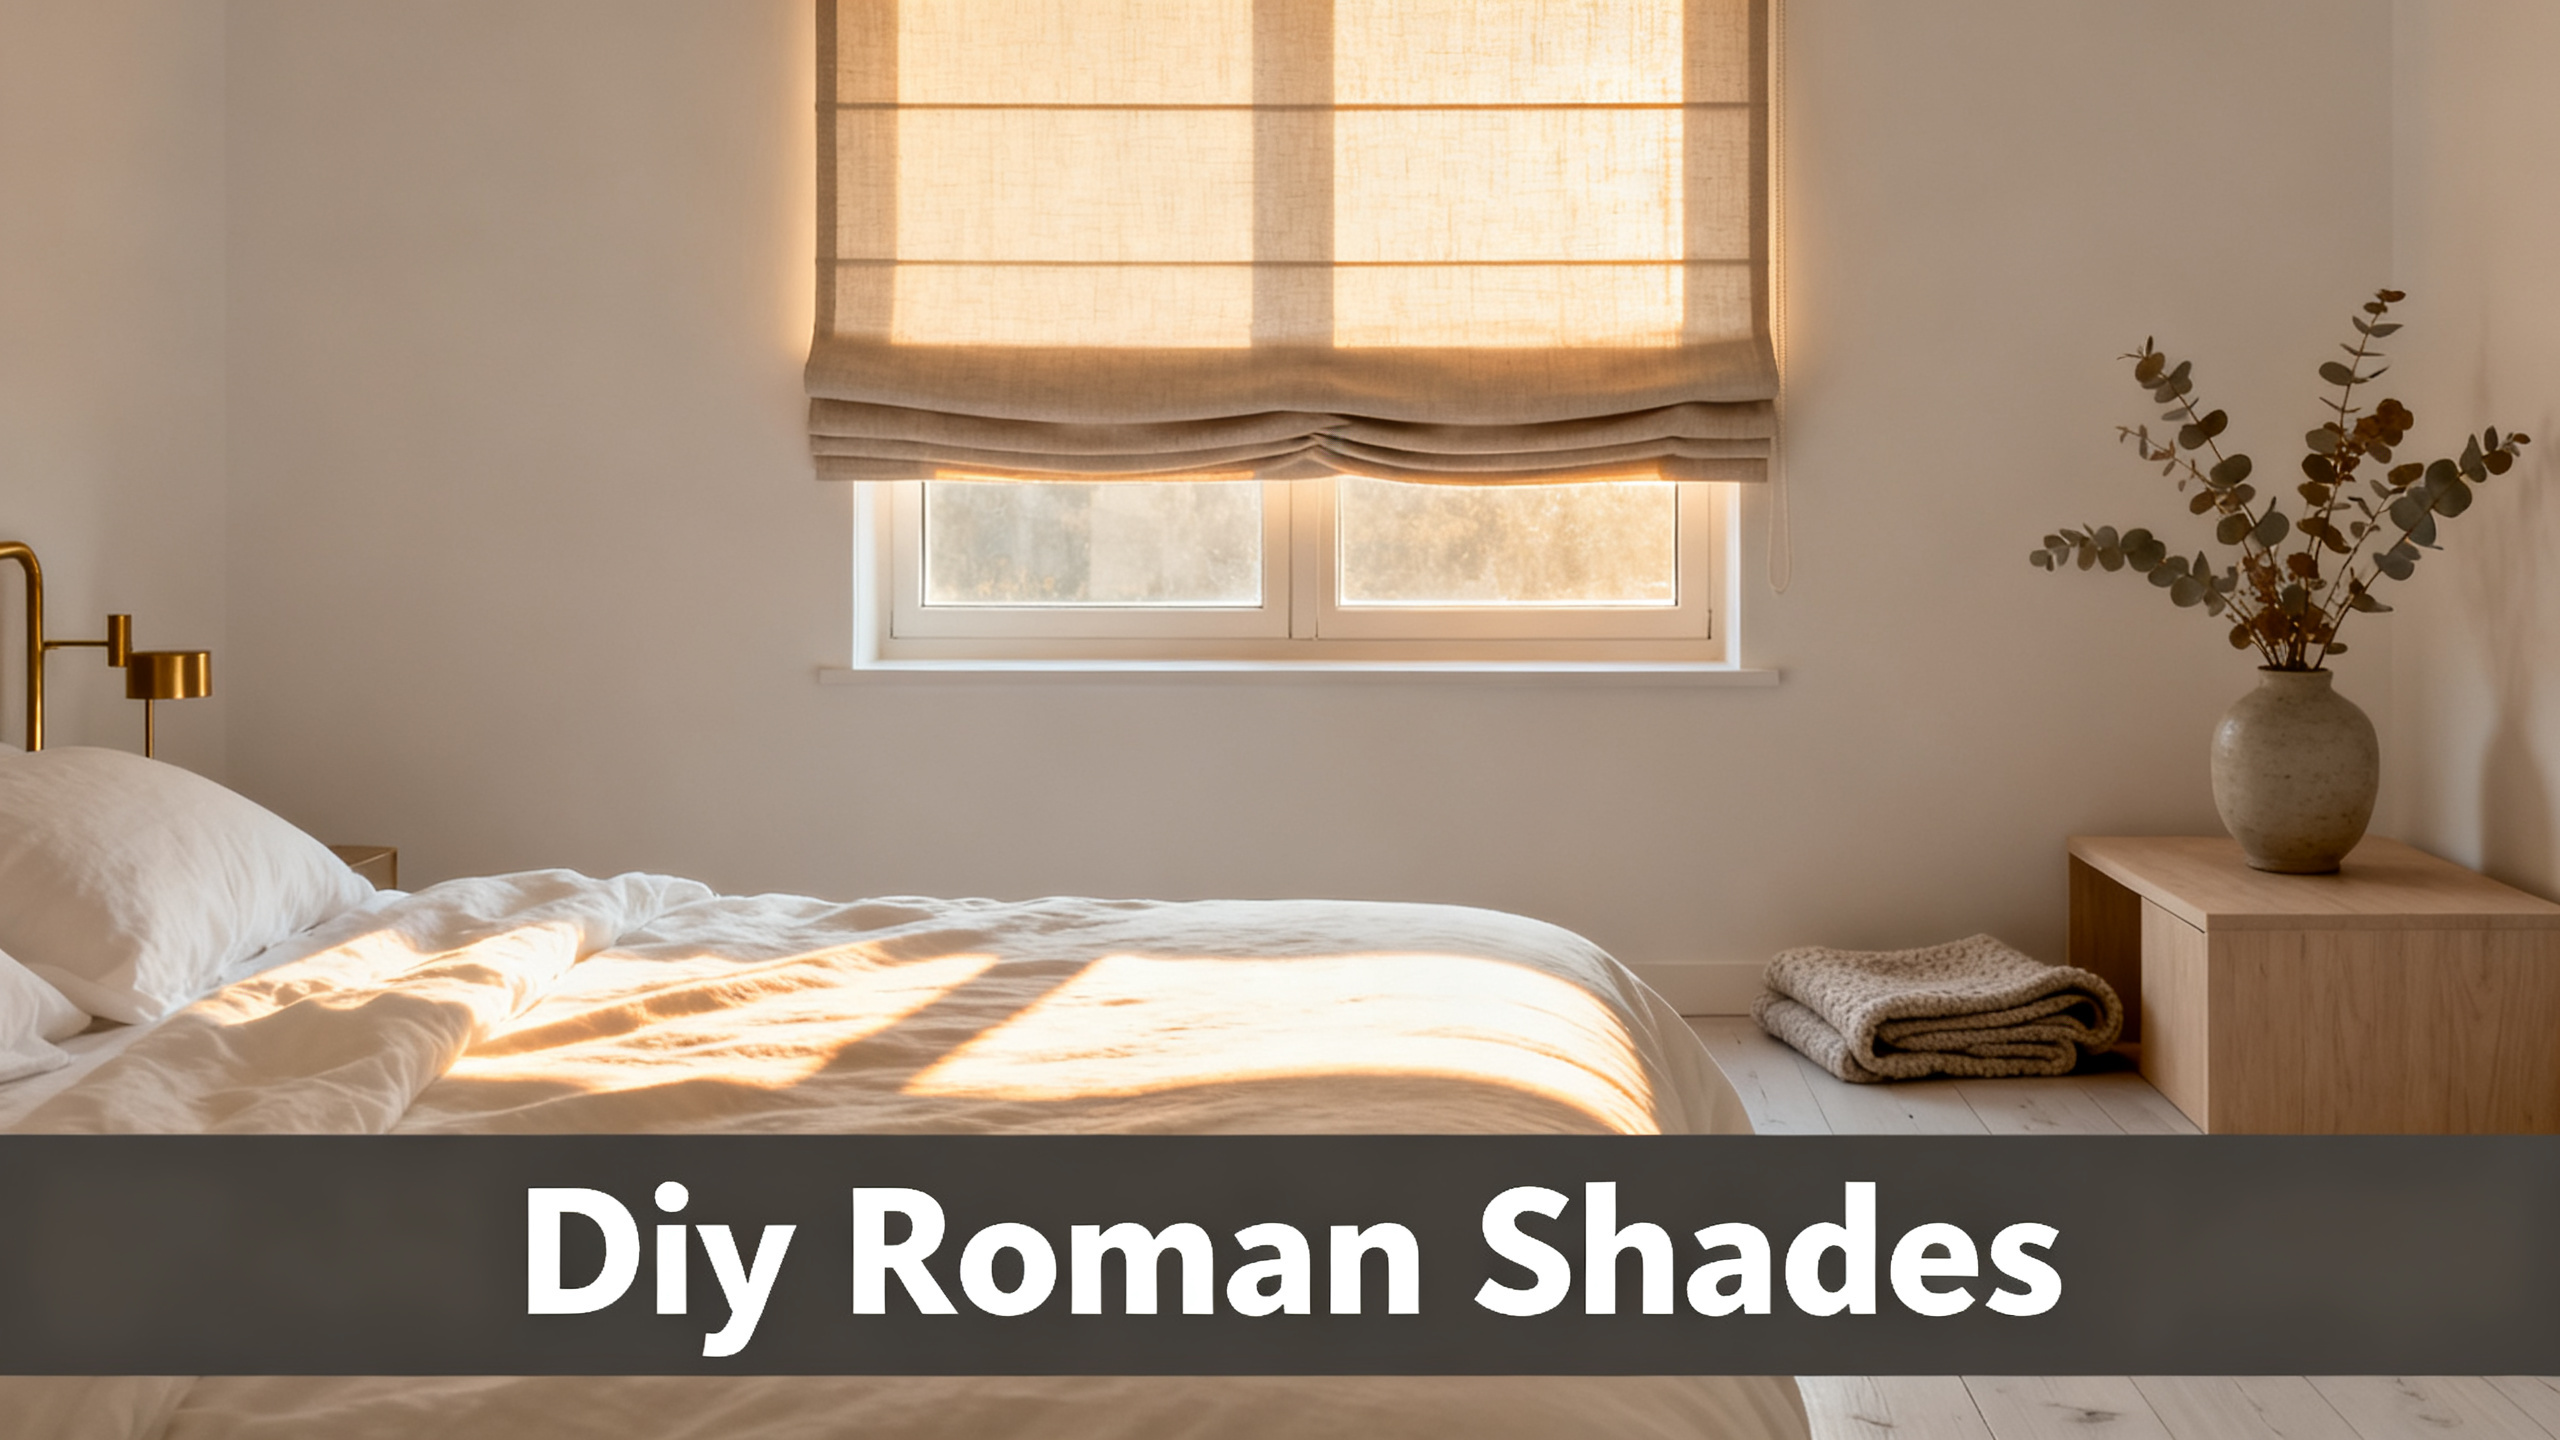
Before you touch a pair of scissors, know what a DIY roman shade actually costs. Three to five hours per window. Forty-five to eighty dollars in materials at a fabric store. One trip back to the hardware store for the dowels you forgot. Here is the full material list before you start, and the honest reason half of DIY-ers finish window one and order the next five made-to-order.
The playbook below covers both versions: the pure fabric build from scratch and the mini-blinds hack that recycles an $8 vinyl blind into a soft-fold roman shade. Both work. Neither is fast. If you want the wider context on formats, headers, and cordless mechanisms first, the complete roman shades guide maps the full landscape.
Tools and Materials Checklist
🧵
Face fabric and lining
2 yards face fabric (linen blend or cotton twill, 90 to 200 gsm) plus 2 yards room-darkening lining for a 30 inch window.
🪡
Hemming supply
Sewing machine and thread, or hem tape (Stitch Witchery) plus fabric glue for the no-sew version.
🪢
Dowels, rings, cord
1/4 inch wooden dowels (4 to 6 for a 48 inch drop), plastic roman rings (12 to 18), roman shade cord (15 to 20 feet).
🛠️
Headrail and hardware
1×2 lumber or aluminum headrail cut to window width, mounting brackets, cord lock, safety buckle, cleat mount.

Skip the weekend project
Liz Linen Window Roman Shade (Cord Lift)
from $59.99/panel · 90% polyester + 10% linen · cord lift · width 18 to 71 inches · length 12 to 90 inches · 20+ colorways · hardware and safety buckle included. Final price depends on size and lining.
Use code JULY for 20% off · Free shipping over $300
What You Need Before Starting
The five hour time budget is the honest one. Google search results promise a Saturday morning project, but the pattern in every DIY forum is the same: the first window takes a whole Saturday, the second window takes half a Saturday, and the third window is where you either become fluent or quietly order made-to-order for the rest of the house.
The materials list breaks into four groups: face fabric plus lining, the hemming supply (thread or hem tape), the fold mechanics (dowels plus rings plus cord), and the headrail plus mounting hardware. Skimp on any group and you rebuild within twelve months.
The 6-Step DIY at a Glance
Six steps, difficulty tier 2 out of 5. Anyone comfortable with a straight-stitch sewing machine and a cordless drill can finish window one. The bottleneck is patience during the dowel-pocket stage, not skill.
The 6-Step DIY Roman Shade
1
Measure the window (inside vs outside mount).
2
Cut fabric to width plus 2 inches for hems.
3
Sew or glue hems and attach lining.
4
Attach dowels every 8 to 10 inches.
5
Thread cord through rings and add safety buckle.
6
Mount the headrail and attach the shade.
Step 1: Measure the Window (Inside vs Outside Mount)
Three measurements that matter
Measure width at three heights: top, middle, bottom of the window frame. Windows are almost never perfectly square. For an inside mount, take the narrowest of the three measurements. For an outside mount, add 3 to 4 inches on each side for overhang.
Take the drop from the top of the headrail position down to the sill (inside mount) or 2 inches below the sill (outside mount). Note the projection allowance: the shade needs to clear the window casing when folded up.
How to Measure for Curtains and Shades
Inside mount vs outside mount decision tree, the 1/2 inch clearance rule that stops a DIY shade from binding on the frame, and the three measurements that matter more than width.
The 1/2 inch clearance rule
Inside-mount shades bind against the frame if cut to the exact window width. Subtract 1/4 to 1/2 inch from the narrowest width measurement to give the shade lift clearance. Outside-mount shades ignore this rule because the overhang gives clearance automatically.
Step 2: Cut Fabric to Width Plus 2 Inches for Hems
Grain alignment and selvedge trim
Iron the fabric flat. Grain misalignment is the number-one reason a DIY shade folds unevenly by month three. Trim the selvedge (the tight-woven edge) because it puckers when the rest of the fabric relaxes.
Adding lining for room darkening
Cut face fabric to window width plus 2 inches (side hems) and drop plus 4 inches (top and bottom hems). Cut lining 1 inch narrower and 2 inches shorter than face fabric, so the lining does not peek at the edges after hemming. Cotton lining darkens 60 to 75 percent of light. For true blackout, use a blackout lining rated at 95 percent.
Hem allowances top, bottom, sides
The top hem is where the shade attaches to the headrail (1 inch is enough). The bottom hem doubles as a pocket for a weight bar (2 inches). Side hems are 1 inch each. These allowances add up to the width-plus-2-inches, drop-plus-4-inches formula.
Step 3: Sew or Glue the Hems
The sewn hem (straight stitch)
Fold hem allowance in half (so the raw edge tucks inside), pin, and stitch 1/4 inch from the folded edge on all four sides. A basic sewing machine on the straight-stitch setting handles this in under thirty minutes for a 30 inch window.
The no-sew hem (hem tape and fabric glue)
Fold hem allowance, lay a strip of iron-on hem tape (Stitch Witchery is the standard), and press with an iron for eight to ten seconds. For faster corners, Aleene’s fabric glue with iron activation works. The community reference at Sew Mama Sew DIY roman shade tutorial recommends hem tape for panels under 40 inches wide and sewing for anything larger.
Real talk on fabric glue: it holds for eighteen months on a stable north-facing window, but starts creeping at the hem edge within twelve months on west-facing sun exposure. For rentals and short-term windows, glue is fine. For a five year install, sew.
Step 4: Attach Dowels Every 8 to 10 Inches
Dowel spacing controls fold depth
Tighter dowel spacing gives a formal cascade fold. Wider spacing gives a relaxed hobbled fold. 8 inch spacing reads formal and works for living rooms and offices. 10 to 12 inch spacing reads casual and works for kitchens and kids rooms.
Creating dowel pockets
Mark horizontal lines on the back of the shade at each spacing interval, starting from the bottom hem. Cut 1 inch wide fabric strips (from lining scraps) and sew or hot-glue them along each line to form pockets. Slide 1/4 inch wooden dowels into each pocket. Trim dowels to shade width minus 1 inch so they do not poke through the side hems.
Dowel spacing by shade drop
24″
2 dowels
8 in spacing
36″
3 dowels
9 in spacing
48″
4-5 dowels
10 in spacing
60″
5-6 dowels
10 in spacing
72″
6-7 dowels
10-12 in spacing

The DIY Cost Math Only Works If You Already Own the Sewing Machine
A pure-fabric DIY roman shade runs $45 to $80 in materials for a 30 inch window. A made-to-order Liz Linen Roman ships for $59.99/panel at that same width, with the cord lift mechanism, safety buckle, and headrail already installed. The DIY only saves money for the third window onward.
Step 5: Thread the Cord Through the Rings
Ring placement and cord columns
Sew or glue plastic roman rings to each dowel pocket. Standard shades use three vertical columns of rings: left edge, center, right edge. Shades wider than 36 inches benefit from a fourth column to prevent center sag when raised.
Thread roman shade cord through the bottom ring of each column, up through every ring above, and out the top. Tie a knot at the bottom ring. The three (or four) cords meet at the top and thread through the cord lock.
CPSC window cord safety rules
Picture the moment your ladder cord snags and the whole fold cascade collapses on a curious toddler. That is the scenario the safety buckle prevents. Per CPSC window cord safety guidance, any accessible cord loop must be under 12 inches, and any pull cord must be cleated above 5 feet from the floor. A break-away safety buckle at the cord junction separates the loop before it can wrap.
Best Cordless Roman Shades of 2026
Five made-to-order cordless picks (child-safe, no pull cord), from budget linen to premium wood-headrail cotton, if the DIY cord threading feels like too much wire under the kitchen sink.
For nurseries and kids rooms, a DIY cord system is the wrong answer. A cordless mechanism is the safer path, and it is one of the few places where the DIY math truly loses to made-to-order.
Step 6: Mount the Headrail and Attach the Shade
How to Install Roman Shades (Inside and Outside Mount)
Bracket placement, mounting screws for drywall vs plaster, and the leveling check that keeps a DIY headrail from tilting by month three.
Headrail options: lumber vs aluminum
1×2 pine lumber cut to window width is the budget DIY headrail. Wrap the front face in matching fabric, staple the shade top edge to the front, screw the brackets to the underside. Aluminum headrail kits (roughly $15 to $25) give the same pro finish as a made-to-order shade but need a hacksaw cut to width.
Bracket install and level check
For inside mount, position brackets 2 inches from each end of the headrail, screw into the top of the window frame. For outside mount, screw into wall studs or use toggle bolts for drywall. Use a bubble level across both brackets before final tightening. Test the lift smoothness before calling window one done.
The Mini-Blinds Hack Version
Which blinds work for the hack
The blinds hack works, and it also looks like a blinds hack. That said, for rentals, first-appartments, and single windows under $30 total budget, it is the fastest possible entry to a soft-fold roman shade look.
Buy a 1 inch faux wood or vinyl mini-blind already sized to the window (measure inside frame for inside mount, add 3 inches each side for outside). Home Depot and Lowes both stock these at $8 to $18 depending on width.
The 4 cuts that convert blinds to a roman shade
The concept: keep the blind’s existing cord system (which does the lifting) and glue fabric to the front face, cutting away most of the slats.
The mini-blinds hack in 4 cuts
Cut 1
Lower the blind fully. Snip the ladder cord (the vertical string that tilts slats) between every other slat, leaving 8 to 10 inches between remaining slats.
Cut 2
Slide out the cut slats. Do not cut the lift cord (the thick central cord). That is what makes the shade go up and down.
Cut 3
Cut face fabric to blind width plus 2 inches (side hem) and blind length plus 4 inches (top and bottom hem). Hem sides with tape or a straight stitch.
Cut 4
Apply fabric glue in a bead along each remaining slat. Lay fabric over the blind front. Press. Let cure 24 hours before first lift.
The result folds like a roman shade because the lift cord raises each retained slat, and the fabric drapes softly between them. Expect the folds to be less crisp than a from-scratch DIY, and expect the glue bond to require touchup within eighteen months on sun-exposed windows.
10 Pro Tips from the Sewing Community
The DIY community learned these the hard way. Skip step-by-step research and read these before starting.
Cord vs cordless: safety comparison
Cord lift
Budget-friendly, DIY-compatible, works for adult bedrooms and living rooms. Requires cleat mount above 5 feet and cord loop under 12 inches per CPSC.
Cordless
Required for nurseries, kids rooms, and homes with pets. Adds $15 to $30 vs cord lift. Hard to DIY without a spring-loaded mechanism kit.
🧵 Pro Tip 1
Iron every seam before the next step, not at the end. Cold-pressed hems set uneven and no amount of steaming after the fact fixes a folded-in wrinkle.
🪡 Pro Tip 2
Test hem tape on a scrap before committing. Some polyester blends do not bond well and the tape peels back within a month.
📏 Pro Tip 3
Buy 10 percent extra fabric. Pattern matching, botched cuts, and the fabric-relaxes-after-washing shrinkage all cost yardage you did not budget for.
✂️ Pro Tip 4
Use a rotary cutter with a self-healing mat for straight cuts. Fabric scissors drift on longer cuts and the shade folds telegraph any wave in the side edge.
🧴 Pro Tip 5
Pre-wash the fabric before cutting. Untreated linen shrinks 3 to 8 percent on first wash, which turns your carefully measured shade into a 46 inch shade for a 48 inch window.
🪢 Pro Tip 6
Use nylon roman shade cord, not cotton twine. Cotton frays inside plastic rings within two years. Nylon lasts five plus years.
🛠️ Pro Tip 7
Pre-drill headrail screw holes at 1/16 inch narrower than the screw. Skipping this splits the pine lumber and the bracket tears out under the panel’s weight.
🧵 Pro Tip 8
Sew rings on with a knot after every third pass. If the thread breaks at any single ring, only three rings unravel instead of the entire column.
🪡 Pro Tip 9
Weight the bottom hem with a 1/2 inch metal rod, not a wooden dowel. The extra weight fights fabric memory and keeps the bottom line crisp.
📏 Pro Tip 10
Steam the finished shade after mounting, then let it sit lowered for 48 hours before first lift. The fabric relaxes into the fold shape you actually want.
When DIY Is Worth It, When It Is Not
Sounds tedious. That is because it is tedious. That is why $59.99 exists. For the single 30 inch kitchen window in a rental, the DIY math is a wash and the personalization (vintage fabric, pattern match to the counter tile) wins. For six windows in a whole house, the DIY math loses on labor time from the second window onward.
When DIY is worth it, when it is not
✅ Worth it if
You already own a sewing machine, want a specific vintage fabric or pattern that no retailer stocks, have a single non-standard window (arched, half-round, angled), or the shade is for a rental where a $50 total budget matters.
⚖️ Borderline if
You have 3 to 6 windows and a tight budget, enjoy craft weekends, and are fine with hem-tape shortcuts on rentals. The math tilts DIY from window three forward if fabric is bought by the bolt.
❌ Skip it if
Nursery or kids room (cordless mechanism is safer), whole-house budget under $500, first-time sewer with more than 2 windows, or the window is over 60 inches wide (headrail sag risk on DIY lumber).
The Liz Linen Roman Shade review covers the drape, the cord safety, and the color range if the honest math points you toward made-to-order. Made-to-order also includes the CPSC-compliant safety buckle that a DIY build has to sourced separately and installed with confidence, which is where child safety often quietly fails in home builds. The Liz Linen Roman Shade product page lists the twenty color options if fabric-store yardage no longer feels like the right call.
For the last piece of the math, an Liz Linen Roman Shade in cord lift at $59.99 per panel ships in 10 to 12 days with headrail, brackets, and safety buckle in the box. Where the DIY math finally loses to the made-to-order panel: it is the safety buckle plus the labor time, together, that flips the equation.
Test the Linen Blend Before Cutting into $60 of Fabric
The Liz booklet ships 38 colorways at $9.99 and pins to the window so you can watch how each color reads at 6 pm vs 10 am, before ordering the panel or committing to fabric-store yardage for a DIY. Saves the classic mistake of buying six yards of a beige that turns green in an east-facing kitchen.
You Built One Roman Shade. Here Is the Playbook for the Other Six Windows.
Liz Linen ships made-to-order in 20 colorways, all cord-lift, all with the safety buckle and headrail included. from $59.99/panel. Code JULY (20% off) · Free shipping over $300 · lead time 10 to 12 days · width 18 to 71 inches.
Frequently Asked Questions
How much does it cost to DIY a roman shade?
For a single window at 30 inches wide, a DIY roman shade runs $45 to $80 in materials at a fabric store. Fabric at $12/yard for 2 yards, lining at $6/yard for 2 yards, wooden dowels at $2 each times 5 to 6, plastic rings at $4, cord at $6, headrail lumber or aluminum at $8 to $18, brackets at $5. The pure-material cost undercuts a Two Pages Liz Linen Roman ($59.99) by around $10 to $15 for the first window, but the DIY does not include your labor time or the safety-buckle mechanism.
Can you make roman shades without sewing?
Yes, using iron-on hem tape or Aleene’s fabric glue with an iron-activation step. Hem tape (Stitch Witchery for example) is the cleanest no-sew option and holds for 18 to 24 months on a stable window. Fabric glue is faster but eventually creeps at the hem edge on sun-exposed windows. Both work for the side and bottom hems and for the dowel pockets. Neither replaces sewing if the fabric is a stretchy or slippery blend.
How do you make a roman shade from mini blinds?
Buy a 1 inch faux wood or vinyl mini-blind already sized to the window. Lower the blind fully, then cut out every other ladder-cord segment so the remaining slats are spaced 8 to 10 inches apart. Cut fabric to blind width plus 2 inches (side hem) and blind length plus 4 inches (top and bottom hem). Glue the fabric to the front face of the remaining slats using fabric glue. The blind’s original cord system does the lifting.
What fabric is best for a DIY roman shade?
A medium-weight linen blend, cotton duck, or cotton twill in the 90 to 200 gsm range. Lightweight cottons stretch out unevenly and drape poorly. Heavy velvets are hard to fold cleanly through a DIY dowel setup. Two Pages Liz Linen uses a 90% polyester and 10% linen blend that fights sun fade and holds the fold, and swatches ship for $9.99 before committing to a fabric-store yardage decision.
How many dowels do I need for a DIY roman shade?
For an average 48 inch drop, you need 4 to 5 dowels spaced 8 to 10 inches apart. Shorter shades (24 inch drop) use 2 dowels, taller shades (72 inch drop) use 6 to 7. Tighter spacing (every 6 inches) creates a formal cascade fold. Wider spacing (12 inches) creates a relaxed hobbled fold that reads more casual. Wooden dowels at 1/4 inch diameter are standard.
How long does a DIY roman shade last?
A well-built DIY roman shade with sewn hems and secured dowel pockets lasts 3 to 5 years before the cord fray forces a rebuild. No-sew versions using hem tape or fabric glue drop to 18 to 30 months, less on sun-exposed windows. The cord system is the failure point, not the fabric. Adding a safety buckle and a cleat mount extends the cord life and meets CPSC child safety guidance for windows above 5 feet.
Are DIY roman shades child safe?
Only if the cord loop is under 12 inches or the cord is cleated above 5 feet from the floor per Consumer Product Safety Commission guidance. DIY builds using standard pull cords without a safety buckle do not meet the 2018 window covering safety standard. For nurseries and kids’ rooms, a cordless mechanism is the safer path. Two Pages ships all Roman shades with the safety buckle and cord-cleat hardware included, meeting the CPSC requirement out of the box.
Is it cheaper to DIY roman shades or buy them?
For a single 30 inch window, DIY saves $10 to $20 in materials but costs 3 to 5 hours of labor. For the third window onward, DIY math pulls ahead if fabric is bought by the bolt. Under $60 per window from a made-to-order source like Two Pages Liz Linen removes the labor time and includes the safety-compliant cord system, which is why the DIY only wins on multi-window projects with tight budgets.
