
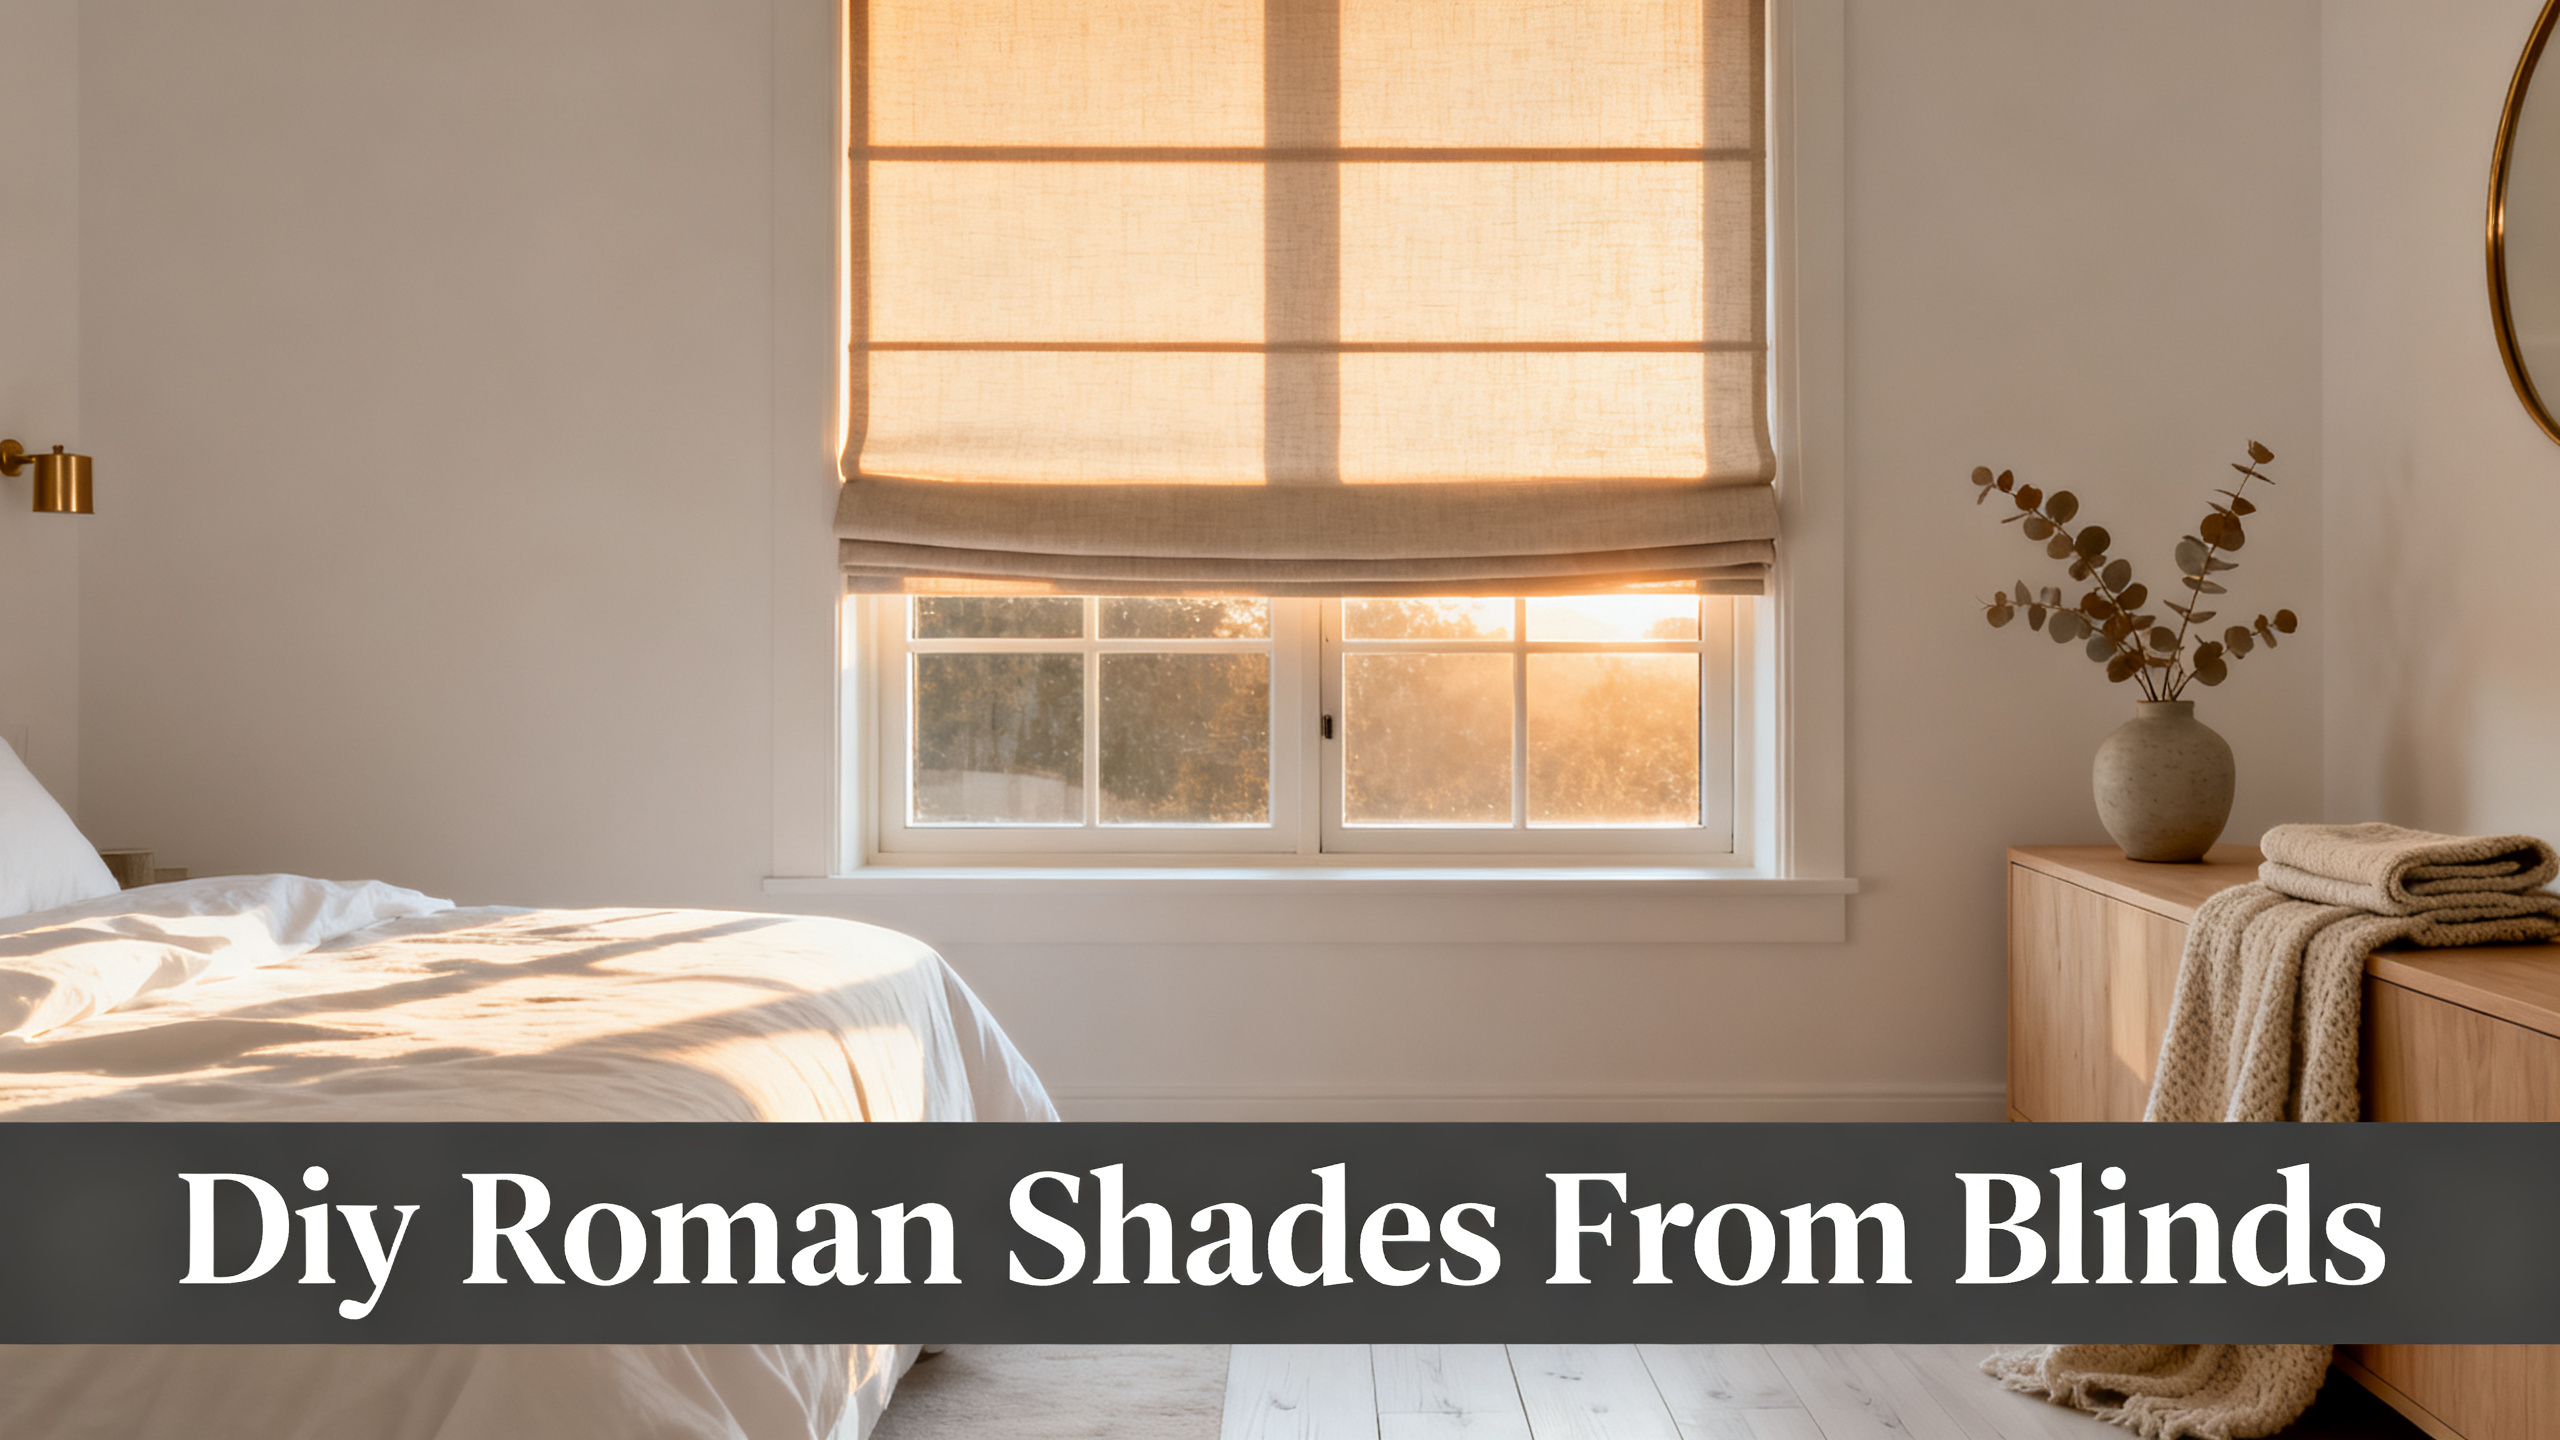
Two things to know before you cut anything. Done right, this takes about 2 hours per window and around $22 in fabric. Done wrong (one skipped step, one bad measurement, one glue line where dots should have been), you end up with a fabric shade that buckles at the folds and catches every morning when you lift it.
The good news is that a horizontal mini blind is doing 90% of the mechanical work for you. The 8-step method below is the tested path through the full Roman shade landscape, and it works if you respect the sequence.
Tools & Materials · Total $18 to $35
🪟
Mini blind, 1 inch
Aluminum or vinyl. Corded lift required.
🧵
Fabric, 2 to 3 yards
Medium cotton or linen blend, 100 to 140 gsm.
🔧
Iron-on hem tape
Stitch Witchery or Heat n Bond Lite.
✂️
Fabric glue or hot glue
Dot method only, never a line.
📏
Measuring tape & chalk
Tailor’s chalk for fold marks.
🪵
Weighted bottom rod
Wooden dowel or aluminum flat bar.

The store-bought version that gets it right
Isabella Cotton Roman Shade Cord Lift
from $79.99/shade · 76% polyester / 24% cotton · aluminum headrail · cord lift · 18 to 71 inches wide, 12 to 90 inches long · 27 colors. Final price depends on size and mount type.
Use code JULY for 20% off · Free shipping over $300 · 10 to 14 days made-to-order
What You Need Before You Start (Materials, Time, Cost)
Plan for 30 minutes of prep and 90 to 120 minutes of build, spread across two sessions if you want the glue to cure between them. Most people already own the tools. The variable cost is fabric, which is where you can spend anywhere from $12 (Ikea or Walmart bolt end) to $60 (Purl Soho linen).
Why start with a mini blind? Because it already carries the cord lift mechanism, the aluminum headrail, and the bottom rail. Recreating those from scratch would triple the build time and the parts list. The blind is the skeleton. The fabric is the skin. That is the whole conceptual move.
Fabric Weight Compatibility
Skip
Sheers & light cotton
Under 6 oz. Loses fold shape in a week.
Sweet spot
Cotton, 7 to 9 oz
Holds folds, glues cleanly.
Sweet spot
Linen blend, 100 to 140 gsm
Best drape, iron before every step.
Skip
Heavy canvas, 12 oz+
Bulky pleats, cracks the headrail over time.
The 8-Step Method at a Glance
Here is the sequence. Order matters because Step 4 depends on Step 3, and Step 6 depends on Step 5 curing fully. If you rush the glue phase, everything downstream shifts crooked. Slow down at Steps 4 and 5. Speed up on Steps 1 and 2, they are the easy ones.
STEP 1
Measure & buy the blind
STEP 2
Cut fabric with 2 inch overhang
STEP 3
Strip ladder cords, keep lift cords
STEP 4
Calculate fold spacing
STEP 5
Iron & glue fabric to blind
STEP 6
Re-thread lift cords
STEP 7
Add weighted bottom rod
STEP 8
Re-mount & test 10 times
Step 1: Measure the Window and Buy the Right Blind
Inside mount versus outside mount
Decide this before you buy the blind. Inside mount sits flush inside the window frame, gives a cleaner look, and needs at least 2 inches of frame depth. Outside mount covers the frame entirely, extends 2 to 4 inches past each side, and hides an uneven frame.
For inside mount, measure the exact width at three points (top, middle, bottom) and use the smallest number. For outside mount, add 4 inches to the frame width and 2 inches above the trim.
Which mini blind to buy (and which to skip)
Buy a 1-inch aluminum or vinyl mini blind with a corded lift. That is non-negotiable. The cord is the entire lift mechanism you are inheriting. Big-box store blinds in the $8 to $18 range work fine, cheaper is often better because the plastic slats slide out easier.
⚠️ Important: Cordless mini blinds do NOT work for this DIY. The spring-loaded internal mechanism cannot be re-strung. If the blind box does not show two visible pull cords on one side, put it back.
Step 2: Cut the Fabric With a 2-Inch Overhang on All Sides
Fabric dimension math
Fabric width equals blind width plus 2 inches on each side. Fabric length equals total drop plus 2 inches top and bottom. Those four overhangs get folded under and secured with iron-on hem tape in Step 5, which is why they exist.
For a 36 inch by 60 inch window on inside mount: cut a 40 by 64 inch fabric rectangle. Simple, but skip the overhang and the raw edge will fray by month two.
Pre-wash cotton and linen
Both fibers shrink in the first wash, typically 3 to 5%. If the shade goes up un-washed and then meets a humid summer, the fabric contracts, the folds pull, and the shade sits crooked. Pre-wash cold, dry flat, iron before cutting.

Step 3: Strip the Mini Blind (Remove Ladder Cords, Keep Lift Cords)
Ladder cord versus lift cord
Most tutorials confuse readers here, and it is where the whole build succeeds or fails. The This Old House Roman shade tutorial spells it out cleanly. The ladder cords are the thin ropes that hold slats horizontally at their vertical spacing. The lift cords are the ones that actually raise and lower the whole thing when you pull.
You want to remove the ladder cords entirely and keep the lift cords fully intact. If you accidentally cut a lift cord, you have to buy a new blind. There is no clean repair.
Keeping the 2 to 4 slat stiffeners
Untie the knot at the bottom rail. Slide most slats off. Keep 2 to 4 of them, evenly spaced, to act as internal stiffeners at the fold points. On a 60 inch drop, keep 3 slats (one every 20 inches). On a 90 inch drop, keep 4.
Mini Blind Anatomy · What Stays, What Goes
Keep
Headrail + lift cords + bottom rail + 2 to 4 slats
The full lift mechanism plus internal stiffeners for the fold points.
Remove
Ladder cords + tilt rod + all extra slats
Cut the ladder cords at the headrail and slide out the tilt rod. Fabric replaces their visual job.
Step 4: Calculate Fold Spacing and Position the Kept Slats
The fold spacing formula
Fold spacing equals total drop divided by desired fold count. Standard target is 6 to 9 inches per fold. On a 60 inch shade with 6 folds, that gives 10 inch spacing which is slightly loose. With 8 folds, 7.5 inch spacing, which reads more professional.
Kept slats sit at every second fold line. So on an 8-fold shade with 4 kept slats, slat 1 sits at fold 2, slat 2 at fold 4, and so on.
Marking slat positions on the fabric back
Lay the fabric face down. Measure and mark each slat position with tailor’s chalk, running the mark all the way across so both cords line up. Double-check every mark before glue. This is the step you cannot un-do.
⚠️ Important: Uneven fold spacing produces uneven lift. A shade with fold 3 one inch off will catch on the left cord every time. Measure twice, chalk once.
Step 5: Iron and Adhere the Fabric to the Blind Structure
Iron-on hem tape for edges
Fold each of the four 2-inch overhangs under and press with iron-on hem tape. Follow the tape package heat setting exactly. Cotton at 400°F, linen closer to 445°F, polyester blends lower.
The tape gives a hem that lasts 18 to 24 months before edges start to lift. Sewing the hem gives 5 years plus, but the no-sew tape is the DIY promise here.
Fabric glue dot method for slats
Apply fabric glue or hot glue in dots, every 4 inches, along the top edge of each kept slat where it will meet the fabric. Never run a line of glue across the slat. A continuous line stiffens the fabric in that band and the fold above it can no longer bend cleanly. Dots let the fabric bend.
Press fabric to glued slats. Weight the whole assembly flat with books for 24 hours of dry time. This is where the two-session approach earns itself.
If Fabric Adhesive Is Not Your Idea of a Weekend
A DIY runs $18 to $35 in fabric and 2 to 4 hours per window. Isabella ships pre-sewn, pre-corded, and cut to your exact window at from $79.99/shade. Same cord lift mechanism, no glue, no re-stringing, no bulge at the folds.
Step 6: Re-Thread the Lift Cords Through the New Slat Positions
Threading both sides evenly
Each lift cord must pass through the same vertical channel on both sides of every kept slat. If the left cord goes through slat 2 at 20 inches and the right cord at 20.5 inches, the shade lifts on a diagonal and never sits flat again.
Check twice per slat. Use a lighter to burn the frayed cord tip so it slides cleanly through the channel.
The bottom-rail knot sequence
Tie the bottom rail knot loose first. Test the lift twice, watching for catch or diagonal drift. Adjust cord tension slat by slat until both sides lift in sync. Only then tighten the bottom knot fully.
⚠️ Important: Uneven cord tension produces a diagonal shade, which no amount of re-mounting will fix. Get this step right or start the cord path over.
Step 7: Attach a Weighted Bottom Rail (The Step Most Tutorials Skip)
Why the bottom rail matters
Picture the shade at month three. The fabric hem sags a full inch, the bottom edge waves rather than sitting flat, and every lift cycle worsens it. The fix is a weight, added at the bottom, that holds the fabric taut.
Dowel, aluminum bar, or sewn pocket
Three good options. A wooden dowel ($3 at any hardware store) slides into a fabric pocket you can no-sew with hem tape. An aluminum flat bar gives more weight and stays truer over decades. A sewn hem pocket is the cleanest look but breaks the no-sew promise.
Pick whichever matches your patience level. Do not skip it. The weighted bottom is the single biggest gap between a DIY that looks fine and a DIY that looks off.
Step 8: Re-Mount the Headrail and Test the Lift 10 Times
Bracket re-use or re-drill
If the mini blind was already mounted in this window, its brackets stay. If it is a new blind for a new window, drill fresh pilot holes. Use a bubble level across the full width. A half-inch tilt across a 40 inch shade reads clearly in daylight.
The 10-cycle stress test
Once the shade is up, test the lift 10 full cycles before you sign off. Watch for cord catch, diagonal drift, fabric bulge at the top slat, or any hesitation in the lift path. Any of those means Step 6 needs re-threading or Step 5 needs another glue dot.
How to Install Roman Shades (Inside & Outside Mount)
The mounting step is where 40% of installs go crooked. Inside mount versus outside mount changes bracket depth, fabric coverage, and the 1/2 inch shadow gap.
Where This DIY Falls Short (And What Custom Fixes)
Bulky pleats and no lining option
Real talk on the cheap-blind route. Even with 100 to 140 gsm linen blend, the folds carry visible bulk at every kept slat, and the shade never sits as flat as a pre-sewn Roman. There is no easy way to add a blackout lining, either. The glue-and-fabric method resists a second layer.
Roman Shade Buying Guide (Fabrics, Lift Systems, Linings)
The four decisions that separate a $40 Amazon roman from a $200 custom one, and why the fabric weight matters more than the header style for daily lift.
CPSC 2022 cord safety compliance gap
Here is the second, harder no-go. The DIY inherits the original mini blind cord-lift mechanism, which means exposed pull cords. Under the CPSC 2022 corded window covering rule, exposed cords are not compliant for homes with children under 9. The rule is not enforced retroactively, but the safety risk is real.
Best Cordless Roman Shades (2026 Picks by Room)
If you have kids or pets, the DIY cord-lift path fails the CPSC 2022 safety spec. Cordless picks per room, all under 200 dollars per window.
Fabric bleed and memory training
Third gap. A DIY fabric is whatever you can buy off a bolt at Joann or Purl Soho. Two things happen over time on a sunny window. UV light fades the fabric unevenly (south-facing windows see this in 6 to 12 months). And the fabric has no memory training, so the folds never quite return to the same crease line after a lift.
If it were the master bedroom or a south-facing living room, I would not go DIY here. For those windows, the Isabella Cotton Roman Shade Cord Lift from Two Pages does the same job with pre-sewn fabric, aluminum headrail, and 27 colors already dye-locked. Detail read on it in our honest Isabella Cotton Roman review.
3 Warning Signals to Watch After Install
⚠️
Bulge at fold 2 or 3
Fabric is too heavy or glue ran too wide. Peel the offending slat, re-dot in a tighter pattern.
⚠️
Diagonal lift by month 2
Cord tension is uneven or one lift cord has slipped a channel. Re-thread from Step 6.
⚠️
Fabric fade on sun side
UV bleed on south-facing windows starts at month 6. There is no fix. This is the case for pre-dyed custom fabric.
DIY vs Custom Isabella: The Real Trade-Off
Between us, this is where the honest math lands. The DIY wins on cost floor (under $25 per window) and beats any store-bought shade for a rental you will leave in 18 months. The custom Isabella wins on cord safety, fabric quality, dye lock, and the 8-to-10 year lifespan that comes with a professional aluminum headrail.
DIY From Blinds vs Isabella Cord Lift · Real Trade-Off
Setup time
DIY: 2 to 4 hrs
Isabella: 15 min install
Total cost
DIY: $18 to $35
Isabella: from $79.99
Colors available
DIY: Fabric store
Isabella: 27 locked
Cord safety
DIY: Non-compliant
Isabella: Safety buckle
Lifespan
DIY: 18 to 30 mo
Isabella: 8 to 10 yrs
Pro Tips Stack · Mid-Project Rescues
📏 Iron-on hem tape beats fabric glue on edges
Cleaner line, 3x faster, and cures on contact. Reserve fabric glue for slat attachment only.
🧵 If a fold buckles at week 2, peel and re-dot
Do not re-glue over. The fabric will double-stiffen and never bend right. Peel the slat, remove old glue with acetone, dot fresh.
🪵 Weighted bottom rod is the single upgrade that ages a DIY well
$3 wooden dowel or $6 aluminum flat bar. The shade that keeps its line at month 12 always has one.
The bridge is simple. You have built one. If you are building 4 for the whole main floor, the math flips. Total DIY time on 4 windows is 10 to 16 hours, total cost lands around $100 (still cheap), and the finish quality gap widens with each window because attention drifts. At 4 windows, the Isabella cord lift at from $79.99 per shade becomes the smarter call, not the more expensive one.
Order the 38-Color Fabric Booklet Before You Cut
Whether you commit to the DIY or the custom version, matching a Roman shade fabric to wall paint under mixed indoor light is the step people regret skipping. The booklet ships flat for $3.99 and shows how each linen blend reads at 7am, 3pm, and 9pm.
Your DIY Works. The Custom Version Just Works Longer.
Isabella Cotton Roman Shade Cord Lift ships with the aluminum headrail, cord safety buckle, and 76/24 polyester-cotton fabric already assembled. from $79.99/shade, 27 colors, 10 to 14 day lead. Code JULY (20% off) · Free shipping over $300.


FAQ
Can you actually make a Roman shade from a mini blind?
Yes, and the mini blind is doing 90% of the mechanical work, that is the whole point. The blind’s lift cord system, headrail, and bottom rail become the skeleton of the finished shade. Fabric replaces the horizontal slats visually, but a few slats stay in place as stiffeners to keep folds even. The result works and looks convincing at 10 feet, but it does not match a custom pre-sewn Roman on close inspection.
How much fabric do I need for a DIY Roman shade from a mini blind?
For a standard 36-inch wide by 60-inch drop window, budget 2 yards of 60-inch wide fabric or 3 yards of 45-inch wide fabric. Add the 2-inch overhang on all four sides to the base calculation before you buy. Pre-wash cotton and linen once before cutting or the shade will shrink and pull unevenly after the first humid week.
What kind of glue works for fabric to blind tapes?
Use iron-on fabric hem tape for the four edge seams (Stitch Witchery or Heat n Bond Lite) and fabric glue or hot glue in dots for the slat attachment points. Never run a line of glue across the fabric back, the folds will fight the stiffness. Dot method every 4 inches gives you a shade that folds cleanly and lifts without bulging.
Do you have to sew a DIY Roman shade from blinds?
No, this method is intentionally no-sew. Iron-on hem tape handles the seams, fabric glue handles the slat attachment, and the mini blind’s existing hardware handles the lift. If you want a professional finish on the bottom hem, a sewing machine helps for the pocket that holds the weighted rod, but it is not required.
What fabric weight works best for a DIY Roman shade?
Aim for medium-weight cotton (7 to 9 oz) or a linen-cotton blend around 100 to 140 gsm. Lightweight cottons and sheers under 6 oz do not hold fold shape once the shade is up for a week. Heavy canvas over 12 oz creates bulky pleats that fight the lift cord and buckle the headrail over time. Linen blends in the middle range are the safe sweet spot.
Are DIY Roman shades from blinds safe for kids and pets?
The DIY method preserves the original cord-lift mechanism, which means the finished shade has exposed pull cords. Under the CPSC 2022 corded window covering rule, exposed cords are not compliant for homes with children under 9. For nurseries, kids rooms, and pet-heavy homes, a cordless Roman shade is the safer path. This is one of the two areas where a store-bought cordless option meaningfully wins over the DIY.
How long does a DIY Roman shade from a mini blind actually last?
A well-built DIY holds up for 18 to 30 months in a typical bedroom or living room before the fabric edges start to fray or the glue points loosen. Sunny south-facing windows cut that lifespan roughly in half from UV fabric bleed. A custom Roman like Isabella Cotton Roman Shade Cord Lift, by comparison, is engineered for 8 to 10 years of daily lift cycles with the aluminum headrail and pre-sewn fabric construction. The DIY is a great year-one solution, the custom is a decade solution.
More install guides
