
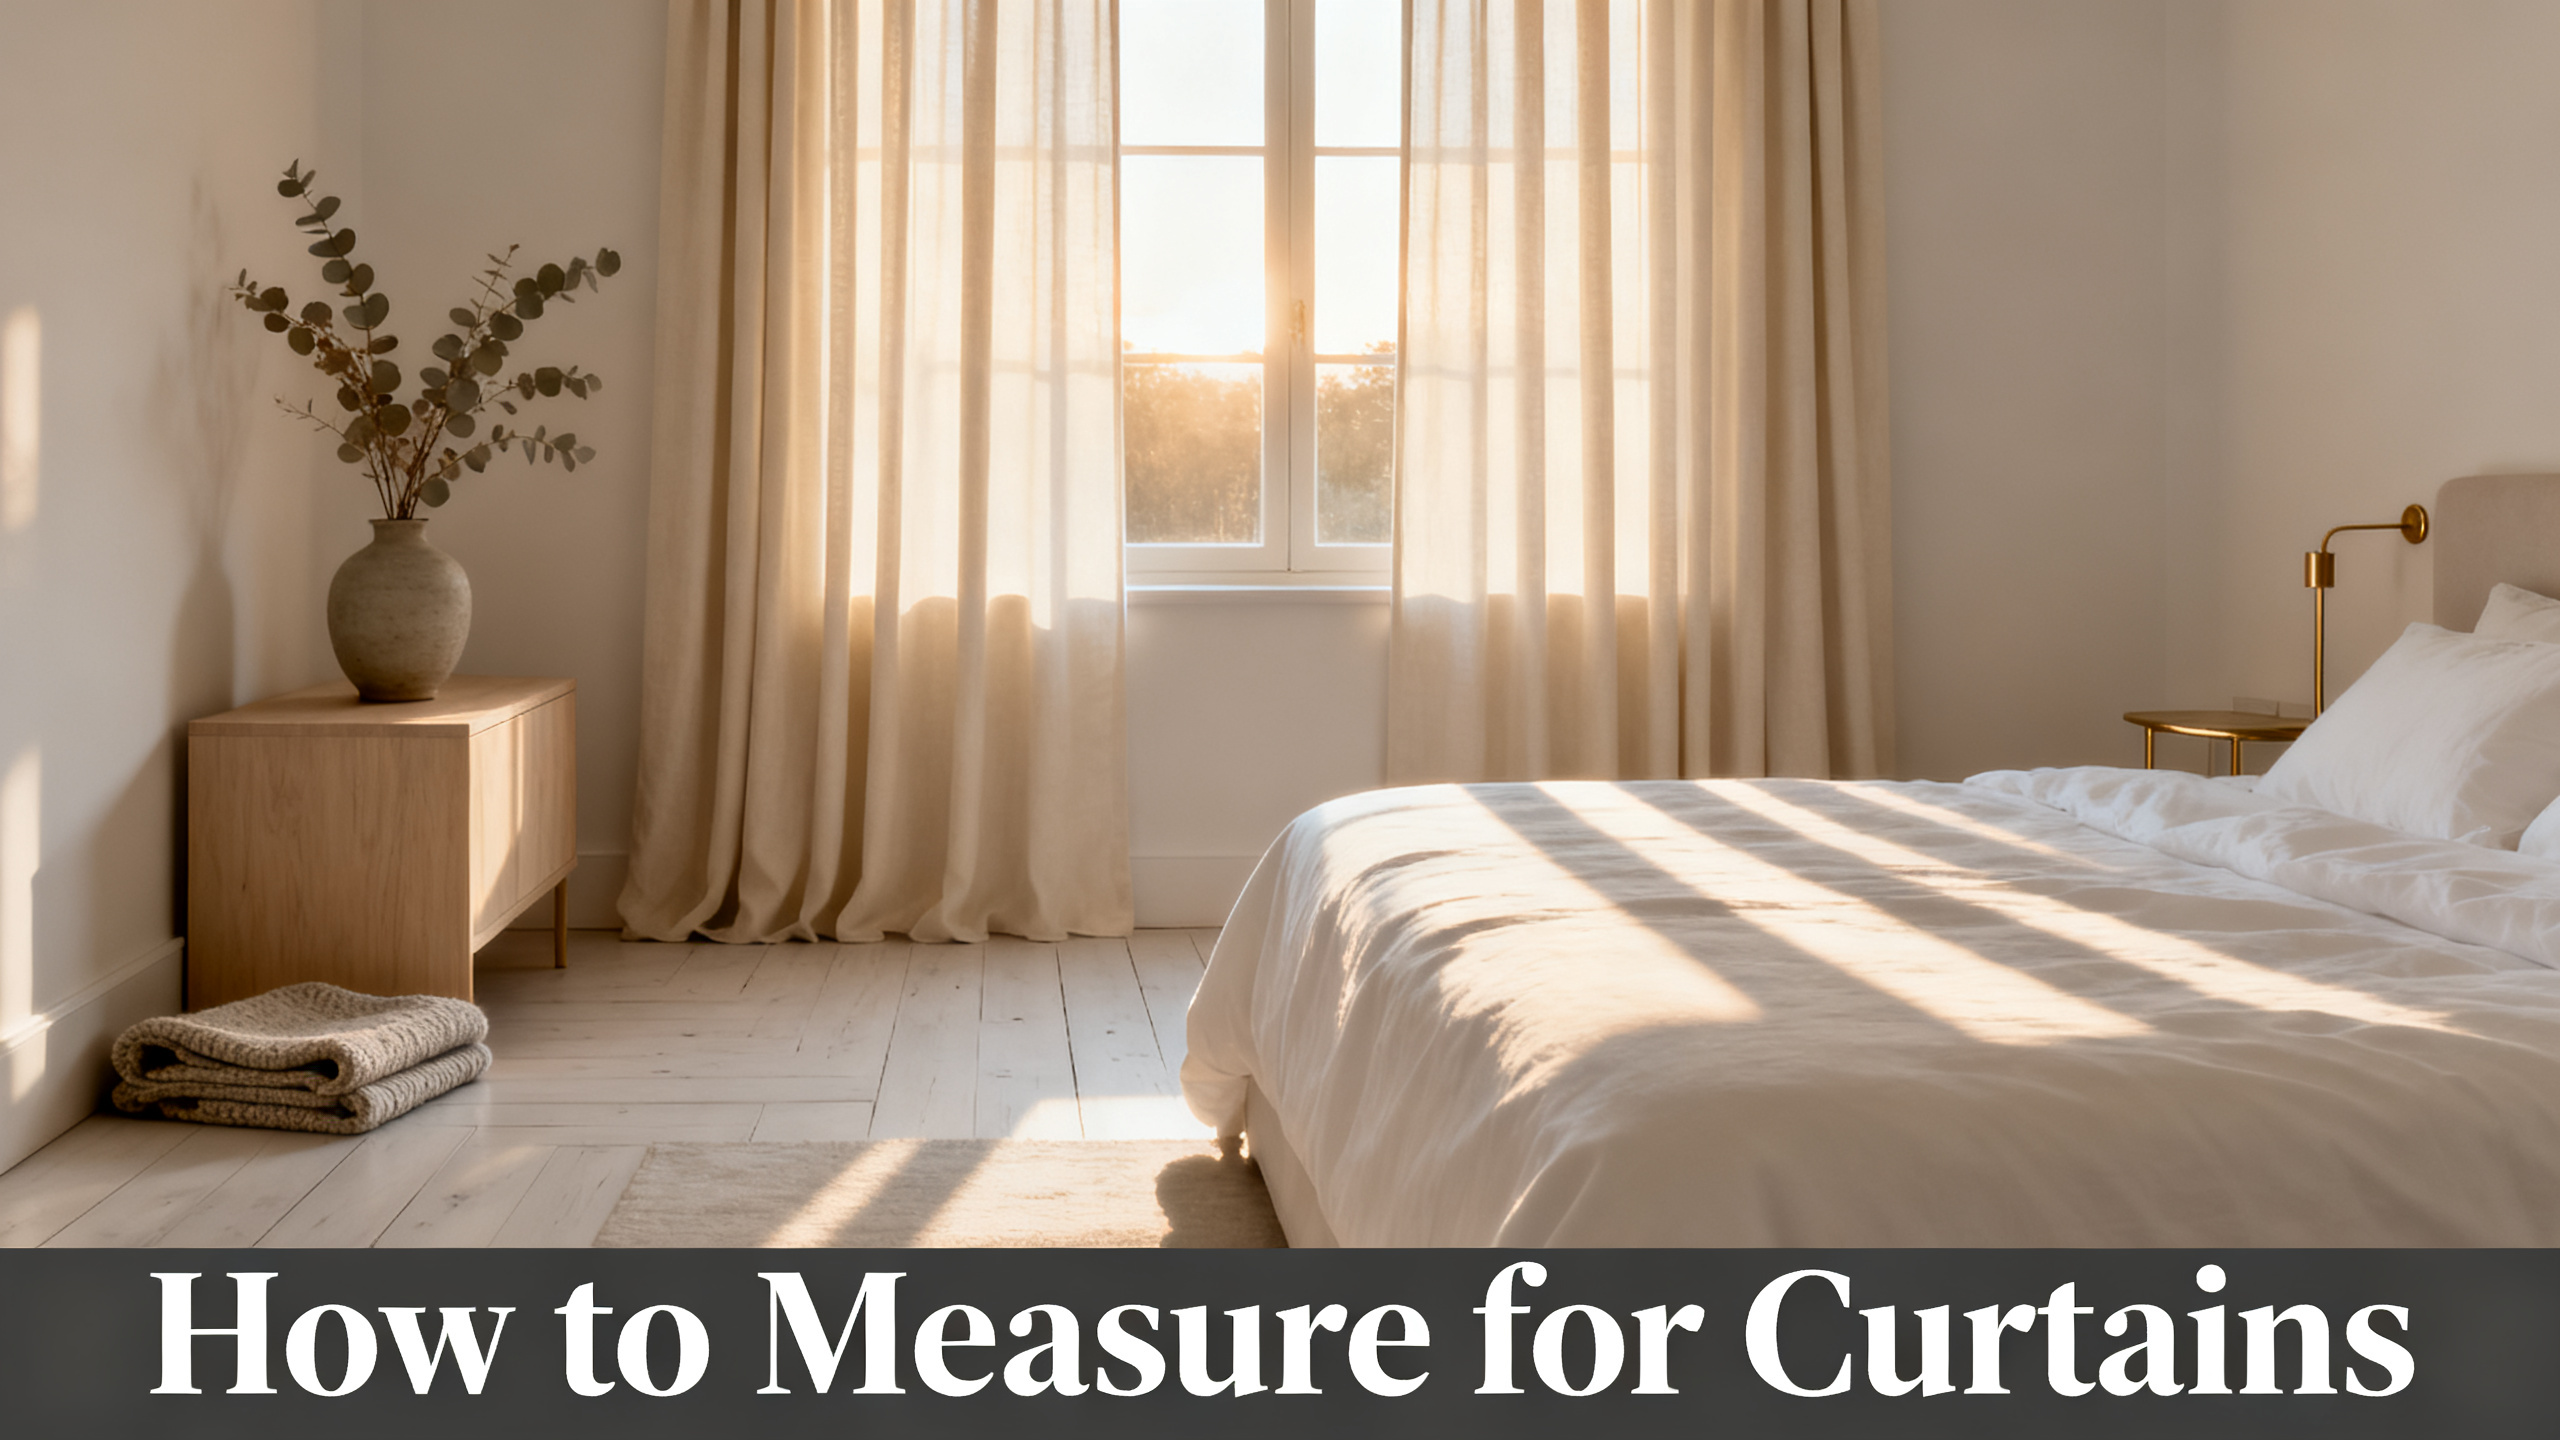
Done right, this takes 12 minutes per window and you never re-measure. Done wrong, you re-measure twice and still end up with a panel that misses the floor by 3 inches. The difference is a single sequencing rule: rod first, width second, drop third, fullness fourth, order fifth.
Below is the same 5-step method a designer uses on client projects, calibrated for standard 8-foot and 9-foot ceilings and any header style from a flat rod-pocket to a triple pinch pleat. If you want to zoom out to the entire pilier of measurement, install, and hanging content, the full install and measurement hub covers every window shape and mounting variation.
Tools & Time Preview
📏 Steel tape
Minimum 12 feet, ideally 25 feet for drops above 96 inches.
✏️ Notepad
Write every number the moment you take it, never trust memory.
🪜 Stepladder
Required for any drop over 84 inches, non-negotiable.
Total time: 12 minutes per window · Cost: $0 if you already own the tape

The panel that pays off a correct measure
Liz Linen Drape Pleated
from $59.99/panel · 90% polyester / 10% linen · 350 gsm · pinch pleat header (2x fullness built in) · custom widths and drops to 1/2 inch · 38 colors. Final price depends on size and lining.
Use code JULY for 20% off · Free shipping over $300
Anatomy of a Window (Vocabulary Before Numbers)
Before touching a tape measure, name the parts you are measuring around. The head jamb is the top of the frame. The side jambs are the vertical edges. The sill is the horizontal ledge at the bottom, and the apron is the trim that hangs beneath it. The casing is the decorative moulding that wraps the whole thing.
🪟 Window Anatomy at a Glance
Head jamb
Top of the frame. Reference point for rod height, never for panel top.
Side jambs
Vertical frame edges. Add 4 to 12 inches past each for rod extension.
Sill
Horizontal ledge at the bottom. Reference for sill-length hem finish.
Apron
Trim below the sill. Reference for apron-length hem finish.
Casing
Decorative moulding around the whole frame. Where “above the trim” starts.
Rod line
The imaginary horizontal line 4 to 6 inches above the top of the casing. Every measurement below starts here.
The jamb is the red herring. Amateurs measure it and think they have their number. What you actually need is the rod line, sitting 4 to 6 inches above the top of the casing, and the drop from that rod line to your target hem point. The frame is context, not measurement.
The 5-Step Method at a Glance
Sounds obvious. Here is the sequencing catch: reverse any two of these steps and the last one collapses. Width without rod position is a guess. Drop without a hem-finish decision is a rounding error. Fullness without a panel-count decision is a fabric-order without a clear destination.
The 5-Step Method
1
Rod position
Height, extension, bracket location.
2
Width
Bracket to bracket, add stack-back.
3
Drop
Ring top to target hem point.
4
Fullness
Ratio math and panel count.
5
Order
Custom to the half inch.
Step 1: Set the Rod Position Before You Touch a Tape Measure
The 4-to-6 inch rule above the trim
Every subsequent number below assumes the rod is already in the right place. Rod height on 8-foot ceilings sits 4 to 6 inches above the top of the casing. On 9-foot ceilings, push it to 6 to 8 inches. On 10-foot or vaulted, mount halfway between the top of the trim and the ceiling, or 4 inches below the crown molding if there is one.
Rod extension past the frame is the other half of position. Standard is 4 to 12 inches past each side jamb, which gives the panels room to stack back onto the wall when open and keeps daylight uninterrupted. Below 4 inches per side, the panels never fully clear the glass. Above 12, the rod starts fighting the next wall or piece of furniture.
How to Hang Curtain Rods: The 6-Step Install
Measurement only pays off if the rod itself is level and set 4 to 6 inches above the trim. The install steps that lock in the reference points every measure here assumes.
⚠️ Warning: Never measure the window frame instead of the rod line.
A panel sized to the window is 8 to 24 inches too narrow, because it ignores the rod extension entirely. The rod line is the only reference point that matches how the finished panel will actually hang.
Step 2: Measure Width From Rod Bracket to Rod Bracket
The 4-to-12 inch overhang past the frame
Width measurement is taken from the outside edge of the left bracket to the outside edge of the right bracket. The Two Pages custom curtain measurement guide quotes the same reference. This bracket-to-bracket span is your rod width, and it is the base number for the fullness calculation two steps down.
Return bracket math for wall mounts
Wall-mounted rods project 3 to 4 inches away from the wall. That projection becomes the return, and the panel needs 3 to 4 extra inches of width on each side to wrap around it cleanly. Ceiling-mounted rods skip this math entirely, because there is no return to cover.
Rod-to-Frame Overhang
4 inches per side
Minimum. Panels just clear the glass when open.
8 inches per side
Ideal for living rooms and bedrooms. Full stack-back, uninterrupted daylight.
12 inches per side
Maximum. Beyond this the rod fights adjacent walls or furniture.
⚠️ Warning: The 4-inch overhang is a floor, not a compromise.
Going below 4 inches per side leaves the panel blocking part of the glass even when fully open. That is 15 to 25 percent of your daylight lost every morning. If your wall does not allow 4 inches, mount to the ceiling instead of shrinking the extension.
Step 3: Measure Drop From Rod Ring to Where the Hem Lands
Sill, apron, floor kiss, trouser break, puddle
The drop measurement starts at the top of the pinch pleat ring or clip, not the top of the rod. That difference is 3/4 to 1 1/2 inches depending on the ring size and header style, and it is the single most-skipped adjustment in amateur measurements.
Why the measurement point is the ring, not the rod
Once the reference is set at the ring top, decide where the hem should land. Sill length ends 1/2 inch above the sill. Apron length ends 4 inches below the sill trim. Floor kiss ends 1/2 inch above the hardwood. Trouser break ends 1 inch pooled on the floor. Puddle ends 3 to 6 inches pooled.
Curtain Length Guide (Sill, Apron, Floor, Puddle)
The 4 hem finishes side by side with the exact inches that separate a clean kiss from an ankle-deep puddle. Read this before locking the drop measurement.
Drop Options at a Glance
Sill
1/2″ above sill
Apron
4″ below sill trim
Floor kiss
1/2″ above floor
Break
1″ pooled
Puddle
3 to 6″ pooled
⚠️ Warning: Rod-to-floor is not floor-to-ceiling, and it is not the frame drop either.
Measure from the ring top down to the target hem point, one continuous run. Cheating with floor-to-ceiling minus a guessed rod offset produces a 2 to 4 inch error.

Order Your Exact Drop, Not the Nearest 84 Inches
Ready-made panels come in 63, 84, 95, 108. Your rod-to-floor is almost never one of those. Liz Linen is made-to-order to the 1/2 inch, so kiss the floor, break at the sill, or puddle at your call. from $59.99/panel, 10 to 12 day lead time.
Step 4: Apply the Fullness Ratio and Count Your Panels
The 2x rule and when to break it
Flat measurement is only half the answer. A panel exactly as wide as the rod hangs flat and reads cheap. What you want is fullness, the ratio of total panel width to rod width. Standard is 2x for pinch pleat, 1.5x for flat rod-pocket, and 2.5 to 3x for sheers, because thin fabrics need more density to avoid looking stretched.
Converting fullness into panel count
Multiply the rod width by the fullness ratio to get total fabric width needed. If the rod runs 60 inches and fullness is 2x, you need 120 inches of panel width total. Split that into two paired panels of 52 to 60 inches each, or occasionally one wide panel if the window sits in a corner with no room for a stack on one side.
Curtain Size Calculator (Free Tool)
Drop your window width, rod extension, and fullness ratio in. The calculator returns exact panel width and count, so nothing gets rounded twice.
Fullness Ratio Cheat Sheet
1.5x
Flat rod-pocket, minimal fold. Casual.
2x
Pinch pleat standard. Tailored, universal.
2.5x
Luxury pinch pleat. Deep folds, formal rooms.
3x
Sheers. Any less looks stretched under daylight.
Panels Needed by Window Width
30 to 45 in
1 panel or 2 narrow panels for symmetry.
46 to 72 in
2 panels, 52 inches each. Standard living room.
73 to 108 in
2 to 3 panels, 60 to 72 inches each.
109 to 144 in
3 to 4 panels, 72 to 84 inches each.
⚠️ Warning: One panel across a wide window is the single most visible install mistake.
Where a single wide panel loses to two paired panels every time: closing symmetry, stack-back distribution, and the visual break at the vertical center of the window. Two 52 inch panels beat one 104 inch panel on a 60 inch window without exception.
Step 5: Order to the Half Inch (Not the Nearest 84)
With width, drop, and fullness locked, the last step is the order form. Real talk on standard 84 inch panels: they miss the floor in the majority of 8-foot ceilings once the rod is mounted at the correct 4 to 6 inches above the trim. The Liz Linen configurator at the Liz Linen Drape Pleated product page accepts your exact width and drop, sized to the half inch.
For pinch pleat panels, the header adds another 1/2 to 3/4 inch above the ring, which is already accounted for in the Two Pages spec sheet. If the flagship pinch pleat panel is on your shortlist, the deep-dive analysis in the Liz Linen Drape Pleated review covers the drape, the linen blend, and the price-per-config math that follows an accurate measure. Order to your exact numbers on the configurator.
⚠️ Warning: Ready-made 84 inch is 3 inches short in most 8-foot ceilings. Do not round down to fit.
The instinct to grab the 84 or 95 inch panel because it is on the shelf is the source of most short-drop regrets. Custom to the half inch removes the entire compromise for the price of a 10 to 12 day wait.
Standard Curtain Sizes vs Custom (When to Skip Ready-Made)
Standard curtain lengths were set decades ago when most windows sat at fixed heights above the floor. The The Spruce standard curtain sizing reference lists the same 5 lengths sold at every big-box store.
| Standard length | Where it lands (8 ft ceiling) | Best for |
|---|---|---|
| 63 inches | Above the sill on a standard window | Sill length in kitchens and bathrooms |
| 84 inches | Approximately 8 to 10 inches short of the floor | Apron-length windows only, not floor-length |
| 95 inches | 1 to 3 inches short in most 8 ft rooms | Floating hem, rarely a clean floor kiss |
| 108 inches | Floor to 2 inch break | 9 ft ceilings, break finish |
| 120 inches | Puddle on 8 ft, break on 9 ft | Puddle finish or 10 ft ceilings |
| Custom | Exactly where you want | Every drop that is not in the list above |
The standard sizes cover about 40 percent of American windows on paper and roughly 12 percent in practice, once rod height, ceiling height, and hem preference are layered in. If it were my client’s living room, I would never quote ready-made 84 inch panels for a rod mounted at the correct height.
5 Measurement Mistakes That Force a Re-Order
Picture the moment the delivery arrives and the drop misses the floor by 3 inches. Every one of the mistakes below produces that exact outcome, and every one is fixable before you order.
5 Measurement Mistakes That Force a Re-Order
⚠️ Mistake 1: Measuring the window frame instead of the rod line
Result: panel 8 to 24 inches too narrow. Fix: install the rod first, always.
⚠️ Mistake 2: Forgetting rod extension past the frame
Result: no stack-back, panels always block glass. Fix: 4 to 12 inches per side, minimum 4.
⚠️ Mistake 3: Quoting the window drop instead of the rod-to-floor drop
Result: panel too short by the 4 to 6 inch above-trim distance. Fix: measure from the ring, always.
⚠️ Mistake 4: Ordering one panel across a wide window
Result: no visual center break, uneven stack. Fix: two paired panels above 45 inch rod width.
⚠️ Mistake 5: Rounding ready-made down to fit the drop
Result: 84 inch panel that misses the floor by 8 to 10 inches. Fix: order custom to the half inch.
When to Skip DIY and Book a Pro Measurement
Standard rectangular windows on 8 or 9 foot ceilings are firmly in DIY territory. Where it pays to hand it off: bay windows with three or more sections, ceiling-mounted tracks over 120 inches, curved walls, and any luxury drop where the panel budget exceeds $600 and a 3 inch mistake is not recoverable. The Two Pages in-home measurement service covers those cases and prices the visit into the order.
Match Your Wall Before You Match Your Rod
Once the width and drop are locked, the last variable is color under your actual light. The 38-color Liz Linen booklet ships for $3.99 and pins to your wall so you compare in daylight before the custom order goes to production.
Now You Have the Numbers: Order Panels Sized to Them
With width, drop, and fullness ratio locked in your notepad, the next click is the order form. The half-inch precision that separates a custom panel from a ready-made compromise is a lead-time question, not a price question at this size. Ten to twelve days between the measurement and the finished install is the entire tradeoff.
You Have the Numbers. Now Order Panels Sized to Them.
Liz Linen Drape Pleated ships to your exact width and drop, sized to the 1/2 inch, with 2x fullness built into the pinch pleat header. from $59.99/panel, 38 colors, 350 gsm. Code JULY (20% off) · Free shipping over $300 · lead time 10 to 12 days.
FAQ
How wide should curtains be for a window?
Curtain panels should total at least 2 times the window width so they fall in proper folds when closed. For a 60 inch window, plan for 120 inches of panel width total, split into two 52 to 60 inch panels. For a bare-minimum flat look, 1.5x still works, but sheers need 2.5 to 3x to avoid looking stretched. This ratio is called fullness and it is the single number most amateur measurements skip.
How long should curtains be?
It depends on the hem finish. Sill length = 1/2 inch above the sill. Apron length = 4 inches below the sill trim. Floor kiss = 1/2 inch above the hardwood. Trouser break = 1 inch pooled on the floor. Puddle = 3 to 6 inches pooled. Measure from the top of the pinch pleat ring or grommet to the target hem point, and add 1/2 inch for the top-of-ring to bottom-of-rod offset.
How to measure a window for curtains?
Do it in this order. Install the rod first, 4 to 6 inches above the trim and 4 to 12 inches past each side. Measure width bracket-to-bracket and add 20 to 40 percent for fullness. Measure drop from the top of the curtain ring or clip down to where the hem should land. Never measure the window itself, because the rod line is the only reference point that matches how the panel will actually hang.
What size curtains do I need for a 60 inch window?
Assuming a rod extended 8 inches past each side of the frame (so 76 inch bracket-to-bracket) and 2x fullness, you need 152 inches of panel width total. That translates to two panels each 52 to 76 inches wide, depending on the header style. Custom sizing avoids the ready-made 50 inch panel width that leaves the pair 4 inches short of full closure on this window.
How high above the window should the curtain rod be?
Standard is 4 to 6 inches above the top of the trim. On 9-foot ceilings, push to 6 to 8 inches. On 10-foot or vaulted, mount halfway between trim and ceiling, or 4 inches below the crown molding if present. Mounting flush with the trim is what makes windows look short, and it also blocks light every morning when the panels are open.
Should I measure inside the window frame or outside?
Outside, always, unless mounting a rod inside the frame with a tension bar. Curtain panels are designed to overhang the frame and stack back onto the wall for full daylight when open. Measuring inside the frame forces the panel to fight the trim on both sides and blocks 15 to 25 percent of the window even when fully open. The exception is café curtains and inside-mount roman shades, which have their own measurement rules.
What is the standard drop length for curtains?
Ready-made panels come in 63, 84, 95, 108, and 120 inches. On an 8-foot ceiling with the rod mounted 4 to 6 inches above the trim, the rod-to-floor drop is typically 92 to 95 inches, which means the 84 inch panel misses the floor by 8 to 10 inches and reads as short. Custom orders sized to the exact drop remove this compromise.
How do I measure for bay window curtains?
Bay windows need to be measured as three separate panels, one per bay section, with the rod either bent to follow the bay wall angles or split into three straight rods with clean corner returns. Measure width per bay section independently, then apply the standard 2x fullness per section. Drop is measured from the bay rod down to the finish point, and corner return brackets are what let the fabric fold at each angle without gapping.
