
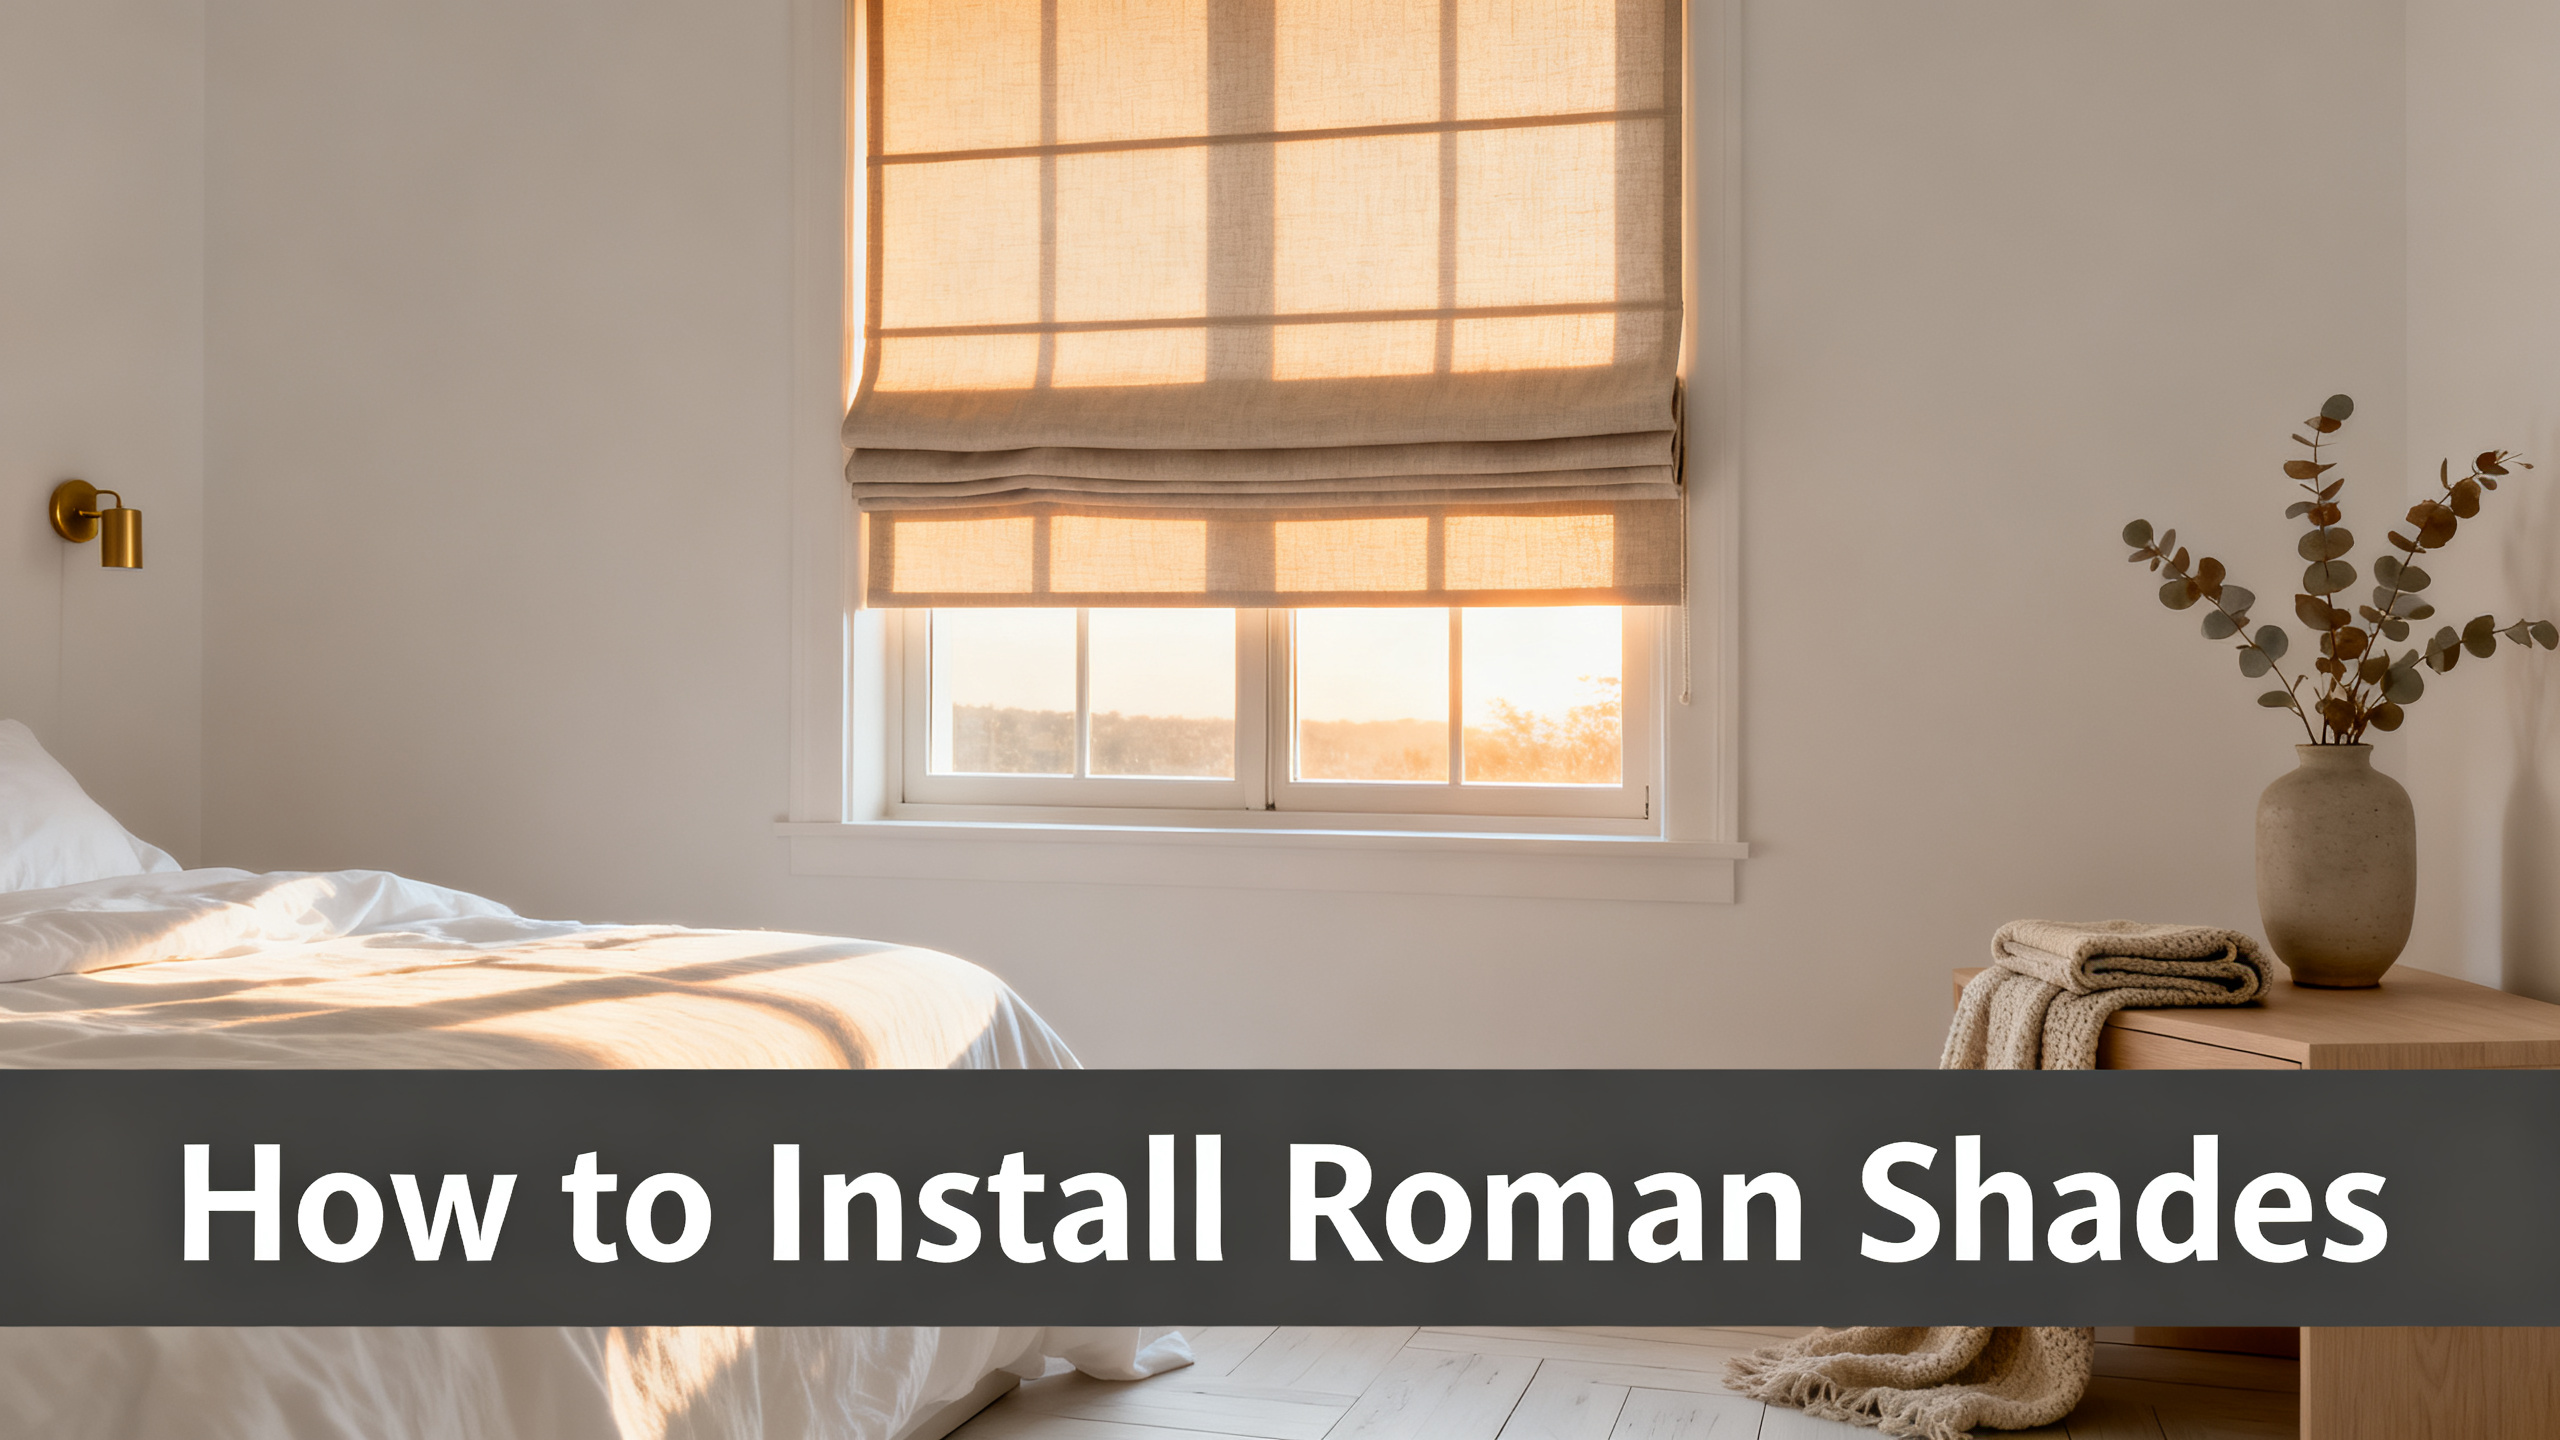
Most people install Roman shades wrong for the same reason. They measure the window trim, mark bracket points against the trim, drill against the trim. But the bracket path is not the trim path. On an inside mount, it sits 3/4 inch inside the frame timber. On an outside mount, it sits 4 to 6 inches above the trim and 2 inches wider on each side.
Below is the same 6-step install I walk clients through, calibrated for the corded Roman shade format Two Pages ships (aluminum 1 5/8 inch headrail, L-bracket hardware in the box, Safety Buckle in the box). Inside vs outside mount split into H3 sub-steps wherever the procedure diverges. If you want the wider view on the format (fabric, fold count, lift options, use cases), the complete Roman shades guide covers all that. Otherwise, keep reading.
Inside Mount or Outside Mount?
🪟 Inside Mount
Cleanest look, shade sits inside the frame. Requires:
- Frame depth ≥ 1 5/8 inches
- No obstruction (crank, handle) in that zone
- Square frame, no more than 1/4 inch out of level
🪟 Outside Mount
Maximum light block, hides frame flaws. Fits when:
- Frame depth < 1 5/8 inches
- You want the window to look taller and wider
- Bedrooms, home theaters, south-facing rooms

The shade this guide installs
Isabella Cotton Roman Shade Cord Lift
from $79.99/panel · 76% polyester / 24% cotton · aluminum 1 5/8″ headrail · Safety Buckle included · inside or outside mount hardware in the box. Final price depends on size and lining.
Use code JULY for 20% off · Free shipping over $300
Before You Start: Inside Mount or Outside Mount?
Here is where inside mount looks clean and where outside mount saves you: inside mount hugs the window and lets the trim frame the shade, which reads modern on a kitchen or a bath. Outside mount projects the shade forward and higher, which stretches the window visually and blocks edge light for a bedroom or a nursery.
The decision is frame depth first, aesthetics second. If your frame depth is less than 1 5/8 inches at any point, the aluminum headrail will not seat cleanly and you are outside mount. No debate. If depth is fine but there is a window crank, alarm sensor, or blind stop in the 1 5/8 inch zone, same call, go outside.
Isabella Cotton Roman Shade: The Honest Review
Before you install it, know what you are installing. Our deep-dive on the 76/24 poly-cotton blend, the 27-color range, and the two things buyers wish they knew before ordering.
Isabella specs quick reference: 1 5/8 inch aluminum headrail, 1 1/4 inch × 1 3/4 inch L-brackets, wood screws and drywall anchors in the box, one Safety Buckle per corded shade, 3-fold default under 34 inches of drop. Everything below assumes this exact hardware. Other Two Pages Roman shades ship the same footprint.
Minimum Depth by Mount Type
Inside mount
1 5/8″
minimum frame depth, no obstruction
Outside mount
2″
wall projection with L-bracket
Max projection
4″
with extended bracket, custom order
The 6-Step Install at a Glance
Here is the full process condensed. Each step expands below with the inside vs outside variation and a Warning Box at every risky moment. Plan on 25 to 35 minutes per shade the first time, dropping to 15 minutes by the third.
The 6-Step Install
1
Measure the bracket path
Exact opening (IB) or trim + overhang (OB).
2
Prep the wall, locate studs
Drywall, plaster, or brick sets the anchor plan.
3
Mark the bracket points
2 inches inside each end of the headrail.
4
Drill and install brackets
Wood screw (IB) or metal toggle (OB drywall).
5
Snap headrail, secure Safety Buckle
Click into brackets, buckle at 1 meter.
6
Test lift, check folds
Raise and lower five times, iron if needed.
Step 1: Measure the Bracket Path (Not the Trim)
Inside Mount Measurement
Measure the exact window opening width at three points (top, middle, bottom), and use the narrowest. No deduction, Two Pages accounts for the clearance in the cut. Measure drop from the top of the opening to the sill, three points again. Then check depth at every corner with a rigid ruler, not a tape measure that bends around the frame.
Depth is the make-or-break. Under 1 5/8 inches anywhere along the top of the frame, the headrail will not seat flat and the shade will bind on the first raise. Under 1 inch, the shade projects into the room and reads amateur.
How to Measure for Roman Shades (Inside vs Outside)
The three measurements Two Pages needs before cutting: exact opening for inside mount, target overhang for outside mount, minimum depth for headrail clearance. The full checklist.
Outside Mount Measurement
Add at least 2 inches on each side of the window opening, and 4 to 6 inches above the top of the trim. For bedrooms and home theaters, push overhang to 3 or 4 inches per side to kill edge halo. Two Pages will cut the shade to the total width you order, and the bracket path sits on that width.
Drop for outside mount runs from the bracket line down to your target end point (below the sill for a formal drape effect, level with the sill for a tailored look). Two Pages caps at 90 inches drop on the standard configurator.
⚠️ Mistake 1: Ignoring Depth
Ordering inside mount without confirming 1 5/8 inch clear depth at every corner is the single most common install failure. If depth is short by even 1/8 inch and you have already ordered, the fix is a face-mount conversion (bracket flips outward) which loses the clean flush look. Measure depth before you order, not after.
Step 2: Prep the Wall and Locate Studs
Know your wall type before you drill. Post-1970 US drywall takes any anchor rated for the load. Pre-1950 plaster on lath shatters around plastic anchors and needs metal toggles or a stud hit. Brick and tile veneer need a masonry bit and sleeve anchors.
For outside mount, run a magnetic or electronic stud finder along the top of the trim and mark any studs within 4 inches above. If the bracket path lands on a stud, a wood screw straight through the drywall carries the load with no anchor needed. If it lands between studs, plan on a self-drilling metal toggle rated 25 pounds minimum.
⚠️ Mistake 2: Plastic Anchor in Plaster
Plaster pre-1950 cracks around the pilot hole when a plastic anchor expands. The bracket then wobbles and the shade drops within weeks. On plaster, use only self-drilling metal toggles (Snaptoggle) or hit a stud. If you tap the wall and hear a dull thud instead of a drum, that is plaster.
Step 3: Mark the Bracket Points
Place one L-bracket about 2 inches inside each end of the aluminum headrail. Not at the exact end, the clip mechanism needs clearance. On shades wider than 48 inches, Two Pages ships a third center support bracket, mark it at the midpoint of the headrail width.
Level the two end marks horizontally. A 24-inch bubble level or a laser will save you a re-drill later. If you have never worked with a laser level, the Two Pages outside mount tutorial video shows the marking sequence at the 3:20 timestamp.
| Shade width | Brackets included | Bracket placement |
|---|---|---|
| 18 to 30 inches | 2 end brackets | 2 inches inside each end of headrail |
| 30 to 48 inches | 2 end brackets | 2 inches inside each end, no center support needed |
| 48 to 60 inches | 2 end + 1 center | Ends + midpoint of headrail width |
| 60 to 71 inches (max) | 2 end + 1 center | Ends + midpoint, center bracket load-bearing |
Step 4: Drill Pilot Holes and Install the Brackets
Inside Mount Bracket Install
The brackets seat into the top of the window frame timber, which is real wood in almost every US home. Drill a 1/16 inch pilot hole at each mark, drive a #8 wood screw straight in with a Phillips bit. No anchor needed, the timber holds the screw directly.
Check level after each bracket goes in, not just at the end. A bracket off by 1/16 inch causes the headrail to bind on the clip mechanism, and you will feel it on the first raise.
Outside Mount Bracket Install
Drywall path uses a self-drilling metal toggle. Drill a 1/2 inch pilot hole at each mark, insert the Snaptoggle (or equivalent), thread the toggle behind the drywall, then drive the wood screw through the bracket into the toggle. The bracket compresses the drywall lightly, do not overtighten.
Level across both brackets with a laser or a long bubble. Any drift over 1/8 inch will show visibly at the top of the shade once mounted, and the fix is to re-drill the lower bracket one hole higher.

Still Shopping the Shade Itself?
Isabella ships with the exact hardware this guide describes: two L-brackets, four wood screws, four drywall anchors, a Safety Buckle, and a headrail sized to your custom width. from $79.99/panel, 27 colors, lead time 10 to 12 days.
⚠️ Mistake 3: Overtightening the Bracket Screw
Two Pages L-brackets are stamped aluminum, not cast. Cranking the screw past snug crushes the bracket flange and it will not seat the headrail clip square. Stop at snug plus a quarter turn. If the bracket rotates when you tap the clip in, the anchor is undersized, not the screw undertightened.
Step 5: Snap in the Headrail and Secure the Safety Buckle
Press the aluminum headrail into the L-bracket clips until you hear a distinct click. The headrail sits flat, the fabric drops straight down, and the cord lift emerges on the side you specified at order (left or right). If it does not click, one bracket is out of level or the wall path is bowed. Diagnose before forcing.
The Safety Buckle mounts to the wall or window frame at about 1 meter (39 inches) from the cord base, cord loop threads through the buckle, and the buckle stays under tension. Under US CPSC corded window covering safety guidance and 16 CFR 1260 (in effect since 2022), this buckle is mandatory on corded window coverings in households with children under 8. Two Pages provides one in every corded Roman shade order. The Safety Buckle install video walks the exact sequence.
Safety Buckle Sequence
🔧 Position
Mount the buckle to wall or frame, about 1 meter below the headrail on the cord side.
🔩 Anchor
Screw into stud or drywall anchor rated 5 pounds minimum. The buckle carries pull tension, not shade weight.
🎯 Tension
Thread cord loop through buckle. The buckle stays engaged. If the cord goes slack, the buckle releases and needs re-tension.
Real talk on the Safety Buckle: half the buyers I have coached wanted to skip it because they do not have kids. That misses two things. First, US CPSC 16 CFR 1260 applies to the sale of the shade, not the household, so the buckle ships either way. Second, resale, guests with kids, and future occupants all matter. The buckle install adds 3 minutes.
⚠️ Mistake 4: Safety Buckle Skipped
A cord lift Roman shade without the buckle installed is an open loop hazard for children under 8, and it puts the buyer on the wrong side of US CPSC 16 CFR 1260 if the shade is later resold or the property is rented. The buckle ships in the box. Install it whether the household has kids today or not.
Step 6: Test the Cord Lift and Fold Behavior
Picture the first time you raise the shade and one fold catches half an inch behind the next. That happens on almost every fresh Isabella install and it is not a defect. The fabric has been folded flat in the shipping tube, and the seams need to break in.
Raise and lower the shade five full cycles. Check the 3-fold default at each raise. If a fold sits proud of the others, lower the shade fully, iron each seam on low heat with a press cloth, then re-raise. Two cycles after ironing and the folds sit even.
⚠️ Mistake 5: First Full Raise Before Ironing
Yanking the cord for a first full raise on a shade with seams still creased from shipping can pull a fold out of alignment permanently. Do a partial raise first (about 1/3 drop), check fold behavior, iron if uneven, then commit to the full raise. The five-cycle break-in saves half the fold-behavior complaints Two Pages support handles.
Cord Lift vs Cordless: Does the Install Differ?
Where cordless changes the install and where it does not: the headrail depth is identical, the bracket count and spacing are identical, the drill pattern is identical. What changes is Step 5 (no Safety Buckle install, no cord loop) and Step 6 (the test lifts the shade by pulling the bottom rail up manually, no cord tension check).
Cord Lift vs Cordless Install
Cord Lift
- Safety Buckle install required (3 min)
- Cord threads through the buckle
- 25 to 35 min total install
Cordless
- No Safety Buckle needed
- Internal spring assist inside headrail
- 22 to 30 min total install
Cordless costs about $20 more per shade in the Isabella range. If the household has children under 8 and the shade is in reach, cordless removes the cord hazard entirely, which is why Two Pages is quietly steering nursery and low-mount kitchen installs toward the cordless line.
Isabella Color Reference (Since You Are Installing It)
Five bestsellers cover about 70 percent of Isabella orders. Paper White reads bright and modern in kitchens, Flax adds a warm neutral for living rooms, Peacock and Green Wave lean statement for accent windows, and Zinnwaldite works for muted bedrooms.
🎨 Isabella Bestsellers
Paper White
7084-0
Flax
7084-1
Flame
7084-2
Peacock
7084-3
Green Wave
7084-16
Order Free Isabella Swatches Before You Order the Shade
The 76/24 poly-cotton blend photographs one full step lighter than it reads at arm’s length on a wall. Ship up to 5 free swatches (Paper White, Flax, Peacock, Green Wave, Zinnwaldite) for $8.99 shipping, 3 to 5 days.
5 Common Mistakes That Kill a Perfect Install
These are the same five warnings scattered above, grouped for skimmers. If your install went wrong, the diagnosis is almost always here.
⚠️ 5 Install Mistakes
1
Depth ignored
Ordered inside mount under 1 5/8″ depth.
2
Plastic anchor in plaster
Plaster cracks around the pilot.
3
Overtightened bracket
Aluminum flange crushed, clip binds.
4
Safety Buckle skipped
CPSC 16 CFR 1260 violation.
5
First raise before iron
Folds set uneven permanently.
Bridge: Now That the Shade Is Up, What About Ordering
The install works only if the measure was right. If you got here reading in prep for an order, the sequence is: measure depth at every corner, decide inside vs outside, order swatches to confirm the color reads the way you want at your window light, then configure width, drop, mount type, and lift on the Isabella product page. Lead time from order to shipping is 10 to 12 days.
Two Pages ships the exact hardware this guide describes with every corded Roman shade, and the Isabella Cotton Roman Shade Cord Lift is the flagship the P06 Roman Shades range is built around. Code JULY applies 20 percent off sitewide, and free shipping unlocks at $300.
Now You Know the Install. Here Is the Shade That Fits It.
Isabella Cotton Roman Shade Cord Lift ships with every bracket, screw, anchor, and Safety Buckle this guide walks through. Configure width, drop, mount type and color, and the shade arrives sized to your window in 10 to 12 days. from $79.99/panel, 27 colors, code JULY (20% off), free shipping over $300.
FAQ
What is the minimum depth for inside mount Roman shades?
Isabella and most Two Pages Roman shades use a 1 5/8 inch headrail, so the minimum inside mount depth is 1 5/8 inches with no obstruction (window handle, crank, alarm sensor) within that zone. If the depth is between 1 inch and 1 5/8 inches, a partial inside mount is possible with the headrail projecting slightly into the room, but most installers switch to outside mount below 1 1/2 inches. Anything under 1 inch is outside mount by default.
How many inches should an outside mount Roman shade overhang the window?
Add at least 2 inches on each side of the window opening, and 4 to 6 inches above the top of the trim. Wider overhang blocks more light at the edges (important for bedrooms and home theaters) and hides the mounting hardware behind the fabric. On kitchens and baths where the shade sits mostly raised, 2 inches per side is enough. On light-blocking installs, 3 to 4 inches per side reduces edge halo significantly.
How many brackets does a Roman shade need?
Two L-brackets at minimum, one at each end of the headrail, positioned about 2 inches inside each edge of the aluminum rail. Shades wider than 48 inches (48 to 71 inches on the Isabella custom range) ship with a third center support bracket to prevent headrail bow. Two Pages includes the correct bracket count in every order based on the ordered width. Do not skip the center bracket, the aluminum rail will visibly dip within 3 months without it.
What drywall anchor works for Roman shade brackets?
For inside mount into wood frame timber, a #8 wood screw drives straight in with a 1/16 inch pilot hole. For outside mount into drywall, use a self-drilling metal toggle rated at 25 pounds minimum (Snaptoggle or equivalent), one per bracket screw hole. Plastic anchors under 15 pounds rating are underdimensioned for a shade wider than 36 inches, and they will pull out within the first year. On plaster pre-1950, use a metal toggle only, plastic anchors crack the plaster around the pilot hole.
Is the Safety Buckle required on Roman shades?
Yes for any corded Roman shade in a household with children under 8 years old. US CPSC 16 CFR 1260 came into effect in 2022 and requires cord tension devices on all corded window coverings sold in the United States. Isabella and every corded Two Pages Roman shade ship with a Safety Buckle in the box. It anchors the pull cord loop against pull tension, preventing the loop from opening into a strangulation hazard. The buckle mounts to the wall or window frame, cord threads through, and stays under constant tension.
Can I install a Roman shade without drilling into the trim?
Yes if the frame depth allows inside mount into the top of the window frame (the horizontal timber above the glass), which typically has enough width to seat the L-bracket without touching the visible trim. For outside mount, the brackets attach above the trim into drywall or above-trim wall, so the trim itself is untouched. If you cannot drill at all (renter, no-mark policy), a tension rod inside the frame with a Roman shade rated for hook-up is a workaround, though Two Pages does not currently sell a tension-mount Roman shade.
How long does it take to install a Roman shade?
Plan on 25 to 35 minutes per shade the first time, dropping to about 15 minutes once you have installed two or three. Inside mount is faster (5 to 10 minutes less) because the brackets seat into the frame timber and level naturally. Outside mount adds time for the level check across drywall, the anchor set, and the extra measure past the trim. The Safety Buckle install adds 3 minutes to any corded install.
