
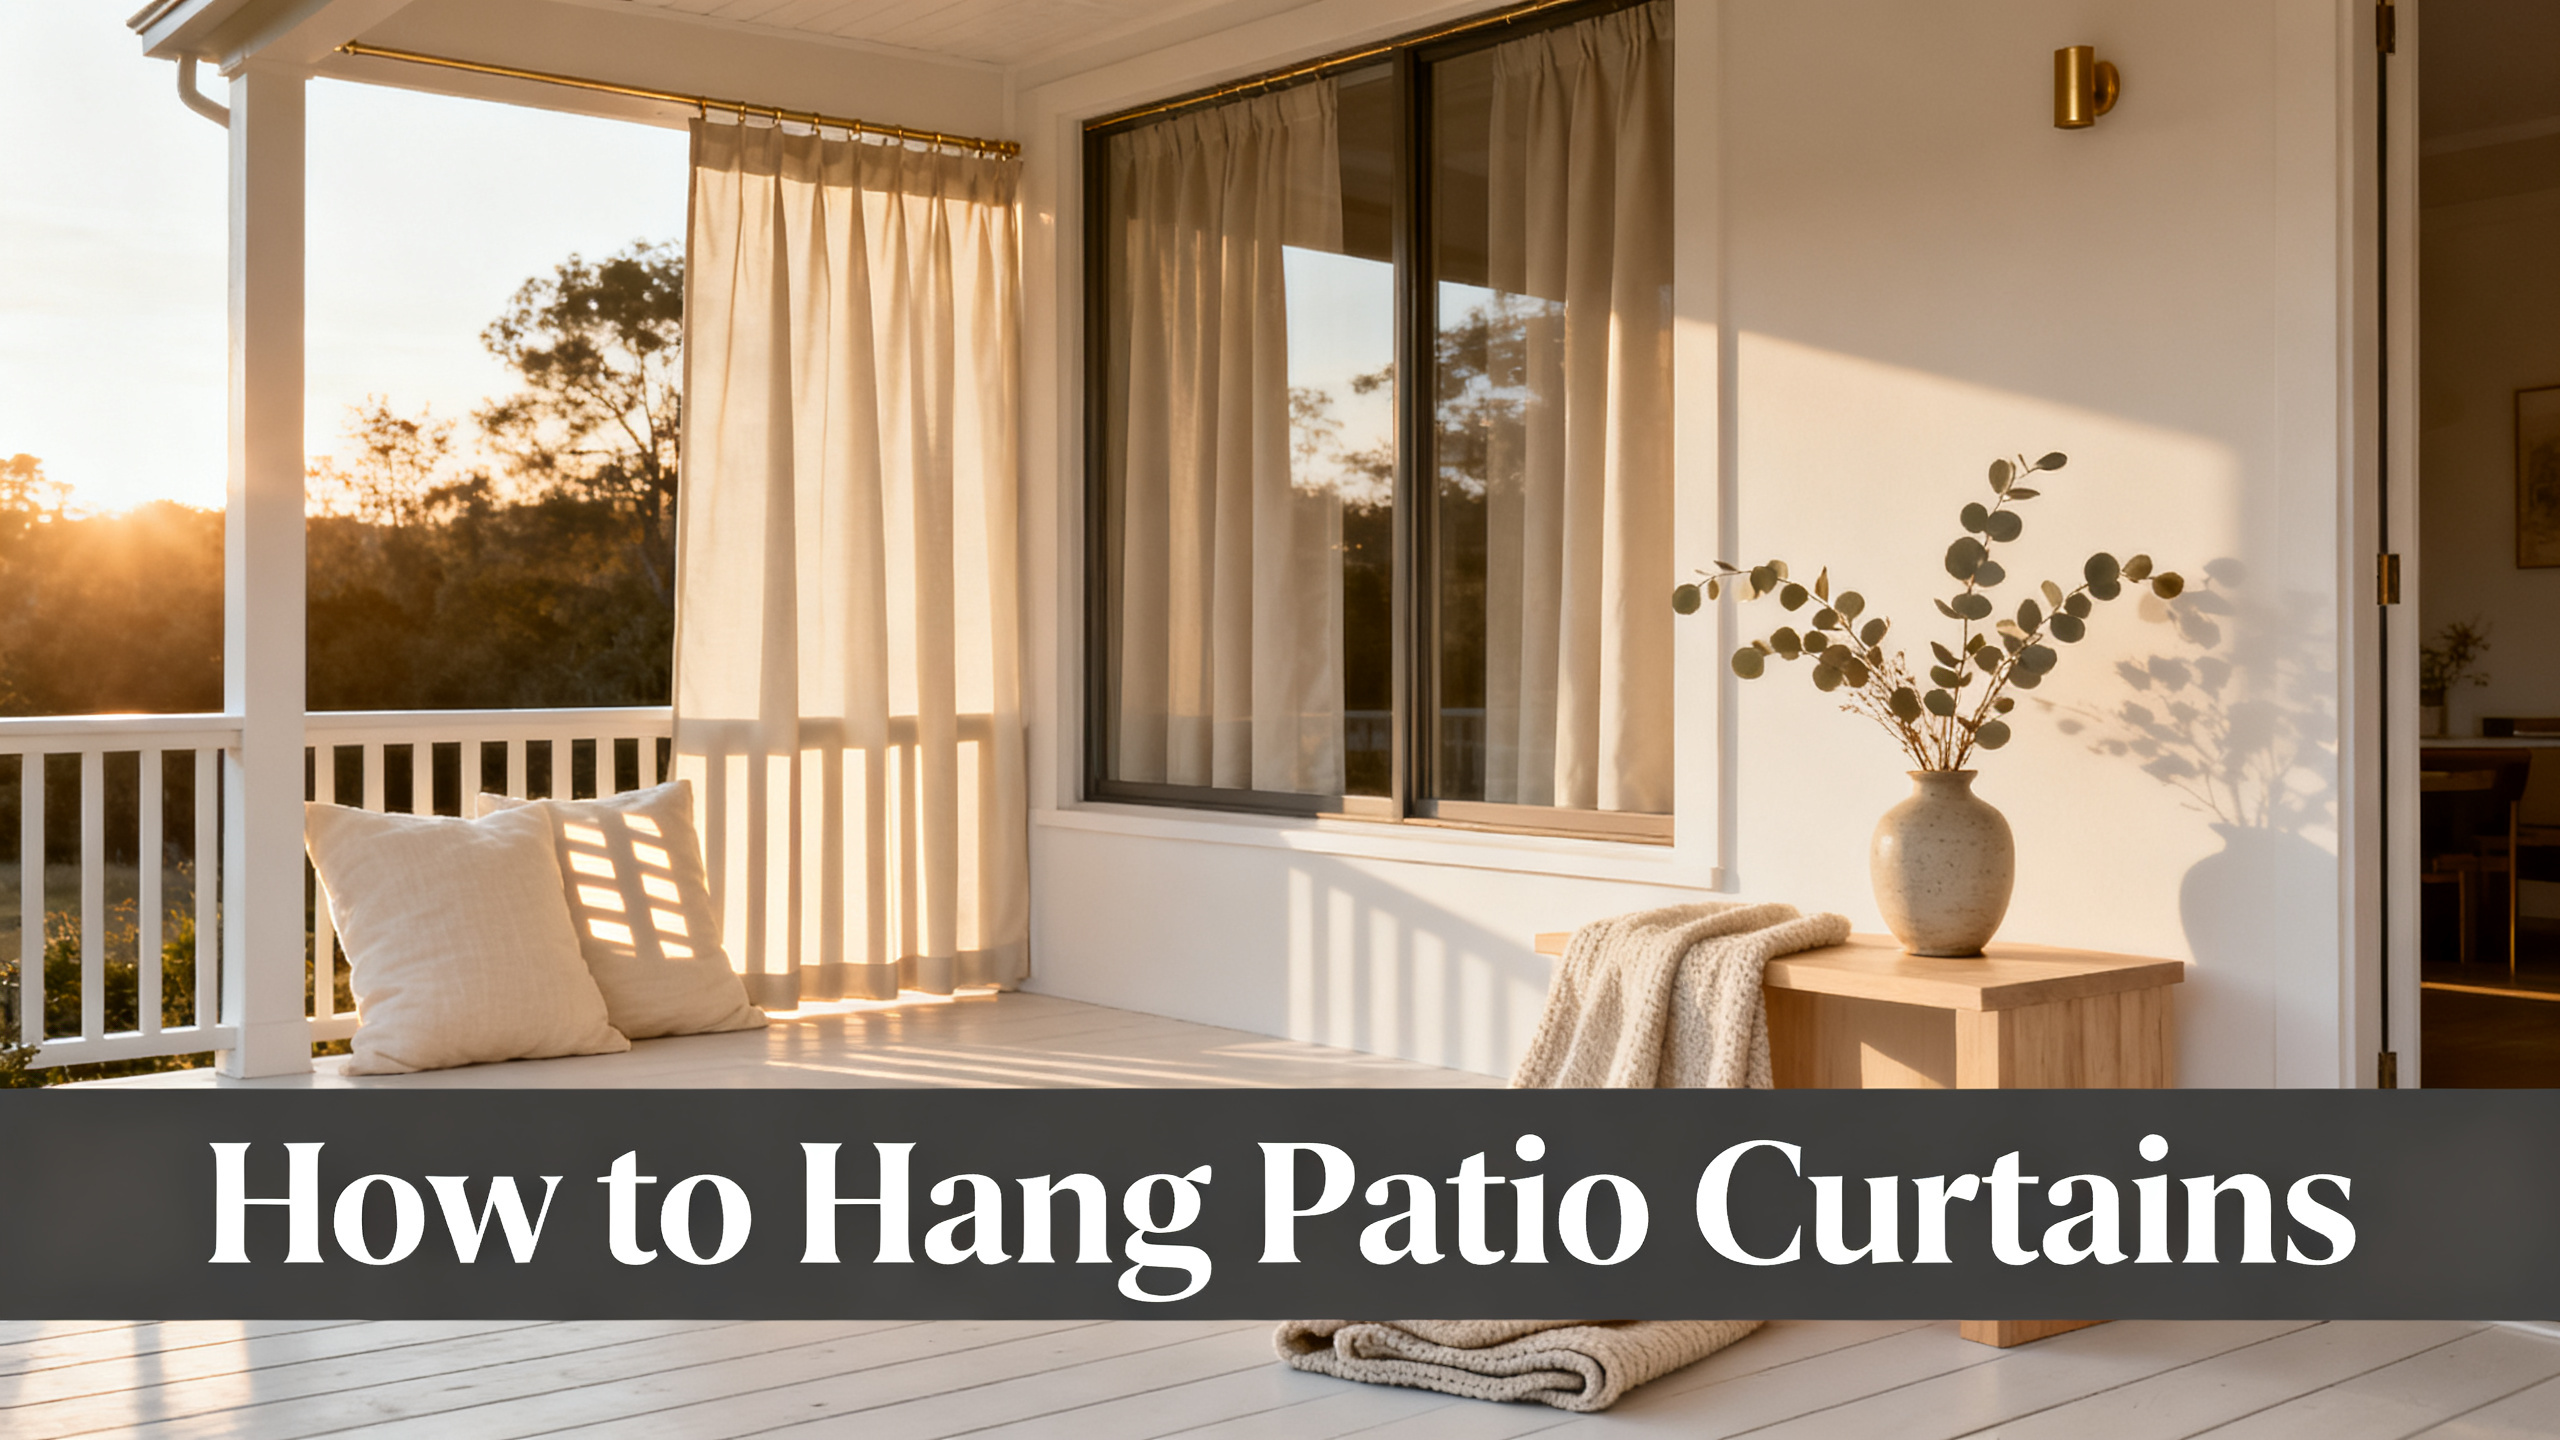
Done right, hanging patio curtains takes about 25 minutes per panel and the drape reads clean through August, tolerates a 15 mph gust, and still looks new next summer. Done wrong, the rod sags by July, the panel bleaches to a chalky beige, and mildew stripes bloom at the hem after the first heavy rain. The gap between those two outcomes is not effort. It is knowing which four decisions actually matter before you drill the first hole.
Two mount families cover most patios: a rod-and-bracket setup between wood posts, and a stainless cable line between anchor points on stucco, aluminum, or a pergola beam. This guide covers both. If you also want the wider view on rod height, bracket spacing, and drop math for indoor windows, the outdoor window treatments hub maps out the whole landscape.

The outdoor panel that survives sun, rain, and dust
Heck Solid Acrylic Outdoor Curtain
from $99.00/panel, 100% solution-dyed acrylic, 260 gsm all-weather drape, 98% UV block, 80-92% shading, 21 colors, mildew and fade resistant. Final price depends on size and hem length.
Use code JULY for 20% off. Free shipping over $300.
Why an outdoor-rated panel changes the install
Between us, this is the decision most patio install guides gloss over. A leftover indoor curtain hung on a pergola looks fine for exactly six weeks. By mid-summer the bottom hem shows a faint mildew stripe, the color reads a shade paler than the closet-stored match, and the panel is heavier than it should be because polyester and cotton both hold moisture that acrylic sheds.
Outdoor Curtains Buying Guide
Waterproof rating, UV block percentage, solution-dyed vs pigment-dyed, and mildew resistance decide whether the panel makes it through the first summer. Read the material breakdown before you order the rod.
The material floor for real outdoor use is 260 gsm solution-dyed acrylic. Solution-dyed means the color is baked into the fiber, not painted onto the surface, so UV cannot fade what it cannot bleach off. Certifications like the OEKO-TEX Standard 100 textile certification confirm the finish is skin-safe for a poolside cabana. The Heck acrylic outdoor curtain review covers UV performance, drape behavior, and mildew resistance in more detail if you want the deep read.
Panel weight vs wind load
130 gsm polyester
Lifts at 8 mph, cracks against the post
200 gsm olefin
Holds to 12 mph, some flutter at the hem
260 gsm acrylic
Holds to 18 mph, ideal daily-use floor
340 gsm canvas
Awning weight, overkill for panels
If you want the standard behind these numbers, the ASTM outdoor fabric weathering standard is the reference sheet manufacturers cite when they claim a fabric holds color and structure across seasons.
Step 1: Measure the span and pick rod vs wire cable
Start with three numbers: the span between anchor points, the drop you want the panel to fall to, and the return depth if the mount sits proud of the post. Measure the span at the height you plan to mount, not at eye level. Pergola posts and porch columns rarely stand perfectly parallel, and a 6 inch difference at the top of the post can throw off ring spacing badly.
Rod vs wire cable, quick decision
Rod, under 8 ft span
Aluminum or stainless 316L rod, 3/4 to 1 in diameter, rigid enough to hold shape between two brackets without a center support.
Cable, 8 to 20 ft span
Stainless 316L cable, 3 mm minimum, turnbuckles at both ends, eye-hook or fork anchor on each end.
Ring count sets itself. Divide the span in inches by 12 and round up. A 10 foot span wants 11 rings including the two end ones. Fewer rings and the panel gapes between rings under wind pressure. More rings and the fabric bunches at rest.
⚠️ Important: A 3 mm stainless cable will sag 3 to 4 inches at the center over a 12 foot span even with panels loaded on both ends. Turnbuckles pull that sag back to under 1 inch, which is why they are not optional on any cable run over 8 feet. Skipping them is where most DIY wire installs end up looking like a clothesline.
Step 2: Match hardware to the surface you are mounting into
Wood posts, aluminum posts, stucco walls, concrete piers, and ceiling beams each want a different fastener. The mistake is treating them as one category. A lag bolt driven into a hollow aluminum pergola post will strip within a season, and a wood screw shot into stucco will crack the finish outward in a spider pattern.
Anchor family by surface
Wood post
5/16 in stainless lag bolt, predrill 3/16 in
Aluminum post
Well nut or rivnut kit, rotary only
Stucco wall
1/4 in sleeve anchor into block behind lath
Concrete pier
1/4 in sleeve or Tapcon, hammer drill
Ceiling beam
Stainless eye-lag into joist, no drywall anchor
Pick the anchor before the rod length. Some brackets ship with wood screws only and quietly assume you are mounting on a stud. Swap those out for stainless hardware appropriate to your surface, because painted steel screws bleed rust down a light-colored acrylic panel within one wet season and the stain does not wash out.
⚠️ Important: Never run a hammer drill against a hollow aluminum pergola post. The percussion deforms the wall of the post, the fastener wallows, and the whole rod line ends up slightly tilted. Rotary only, low speed, sharp bit. If the post feels thin, drop to a well nut instead of trying to thread directly into the aluminum wall.
Step 3: Mount the hardware and set the rod or cable line
Bracket height on a patio is not the indoor rule. Standard drywall advice sits the rod 4 to 6 inches above the frame. Outdoors, the reference is the deck or paver surface, and the working range is 84 to 96 inches off the ground for a standing-height space. Anything lower and a tall guest ducks. Anything higher and the drop looks stretched.
Set the cable line under real tension. Thread the cable through the eye-hook on one end, run it across to the far anchor, hand-tension it, and clamp the turnbuckle end. Then turn the turnbuckle until the cable rings a low note when plucked. The Family Handyman outdoor curtain install reference shows the tension technique with photos if you have never used a turnbuckle before.

The panel weight that holds shape between two posts
A 260 gsm acrylic panel sits between the flimsy 130 gsm polyester outdoor curtains and true canvas awning weight. The mass is what keeps the panel from lifting on a 15 mph gust and cracking against the post. Heck ships solution-dyed, mildew-resistant, and cut to your span in 21 colors.
⚠️ Important: Painted steel rods should never live outdoors, even under a pergola roof. Salt in coastal air and chlorine spray from a pool cabana lift the paint film within eight weeks, and the rust stripe that forms underneath will streak down a Natural or Coconut panel and stain it permanently. Aluminum or stainless 316L only.
Step 4: Thread panels and space grommets or clips
Outdoor panels usually ship with a grommet header, not a pinch pleat. The standard outdoor grommet is 1.6 inches inner diameter, which passes cleanly over any rod up to 1 inch and slides on a 3 mm cable with a metal end cap removed. Space grommets on 12 inch centers along the header. A 10 foot span with a 120 inch panel wants 11 grommets total, matching the ring count from Step 1.
Thread the panel onto the rod before the rod goes up on the brackets. Threading a heavy outdoor panel through a mounted rod is an awkward two-person job, and the top edge tends to catch on bracket screws. Slide the grommets on, slide any end caps back on, then lift the loaded rod onto the brackets and drop the retaining pins.
Step 5: Hang the panels and weight the hem for wind
The hem is where an outdoor install lives or dies. A free-hanging patio panel catches wind like a sail from the bottom up, wraps around the post at the leading edge, and eventually creases along the fold line permanently. Fix it before it happens with weighted hems or drapery weights sewn into the bottom corner.
Best Outdoor Curtains for Patio (2026)
If Heck is not the right weight or price bracket, this roundup covers five other patio-graded panels sorted by weather profile, span coverage, and price.
Tie the panel back on the windward side using a soft loop of matching webbing. A traditional cinch tie-back holds a light indoor panel fine, but a 260 gsm acrylic panel pulling on a decorative brass hook will bend the hook out of the post within a month.

Mildew stripe at the hem
Panel is not solution-dyed acrylic, or it never fully dries. Bring it in during long rain spells.
Wind lift, panel wrapping post
Hem is unweighted or panel is under 200 gsm. Add drapery weights and a windward tie-back.
Rust streak from top of panel
Painted steel rod or non-stainless hardware. Swap for 316L or aluminum.
When drilling is not an option
Renters, stucco owners who cannot patch, and anyone whose pergola belongs to a landlord or HOA face the same problem. Real anchors leave real holes. There are three workable no-drill paths, and all three can carry a full-weight outdoor panel if you match the method to the frame.
How to Hang Outdoor Curtains Without Drilling
Renters, stucco owners who cannot patch, and pergola tenants who cannot alter the frame have three workable options. Tension rods, ceiling S-hooks on existing beams, and strap-mount clamps replace the drill in the right cases.
Tension rods work for spans under 6 feet between two solid vertical faces. Strap clamps loop around a pergola post and carry a bracket without penetrating the wood. Ceiling S-hooks thread onto an existing rafter eye-bolt and let you hang a cable line with zero new holes. Pick the method that matches your frame, not the one that looks easiest.
Order the Heck 21-color outdoor booklet before you cut the rod
Outdoor light is brutal on color. A taupe that looks warm on the porch swatch under noon sun reads grey at 6pm. The booklet is $1.99 and lets you hold the real 260 gsm acrylic against your posts before you commit to a shade.
FAQ
What is the best rod material for outdoor patio curtains?
Aluminum or stainless steel 316L are the only two materials that hold up outdoors long-term. Aluminum is lighter and cheaper, and works well under a covered patio. Stainless 316L is the honest answer in coastal salt air or near a chlorinated pool, because it resists pitting where standard 304 stainless does not. Painted steel rods look fine on day one, then blister and stain the panel within eight weeks.
How do I hang patio curtains without drilling into stucco or a rental pergola?
Three methods carry a real outdoor panel with no new holes. A tension rod between two vertical faces works for spans under 6 feet. Strap-mount clamps loop around a pergola post and hold a bracket without penetrating the wood. Ceiling S-hooks thread onto an existing rafter eye-bolt and let you run a cable line. Match the method to your frame and skip lightweight suction or command adhesives, which do not carry outdoor panel weight through a wet season.
Can I use interior curtain panels outside for one summer?
Not without visible damage. Interior polyester and cotton panels absorb humidity, grow mildew stripes at the hem within six weeks, and fade unevenly under direct UV. Solution-dyed acrylic at 260 gsm is the material floor for anything meant to stay outside season-round. If you truly only need shade for one afternoon party, a light indoor panel survives that. Anything longer and the panel will not read the same by August.
How do I stop patio curtains from blowing sideways in wind?
Three fixes stack. Sew drapery weights into the bottom corners, or order panels with a factory weighted hem. Tie back the leading edge on the windward side using a soft webbing loop, not a rigid hook that will bend. And step up the panel weight itself. A 260 gsm acrylic drape resists lift a 130 gsm polyester panel cannot, and the drape line reads clean instead of fluttering all afternoon.
How high should I mount the rod on a pergola or gazebo?
Reference the deck surface, not the ceiling. The working range is 84 to 96 inches above the deck for a standing-height space. Under 84 inches and a tall guest ducks the rod. Above 96 inches and the drop line reads stretched from a seated view. If the pergola beam sits higher than that, use a ceiling-mount bracket that drops the rod down to the right height rather than mounting directly to the beam.
How do I clean and store patio curtains at the end of the season?
Solution-dyed acrylic panels rinse clean with a garden hose and a soft brush for pollen and dust. Mildew spots need a diluted vinegar solution, brushed and rinsed the same day, not left to dry in. Dry the panel fully on the line before folding. Store folded flat in a breathable cotton bag, never sealed in plastic, because trapped humidity is what starts the next season’s mildew stripe before you have even rehung.
Final verdict
The five decisions that separate a patio install that lasts three seasons from one that sags by August are all upstream of the drill. Pick a solution-dyed acrylic panel at 260 gsm or heavier. Match the rod or cable to the span, not to what looks nice in the hardware aisle. Choose the anchor family for the actual surface you are mounting into, not for the surface you wish you had. Weight the hem, and tie back the windward side. Get those right, and the rest of the install is a 25 minute job you finish before the coffee goes cold.
Now that the rod is up and the rings are threaded, hang a panel that will still be there next August
Heck Solid Acrylic Outdoor Curtain is the panel that finishes the install properly: 260 gsm solution-dyed acrylic, 98% UV block, mildew and fade resistant, cut to your span in 21 solid colors. from $99.00/panel. Code JULY for 20% off.
