
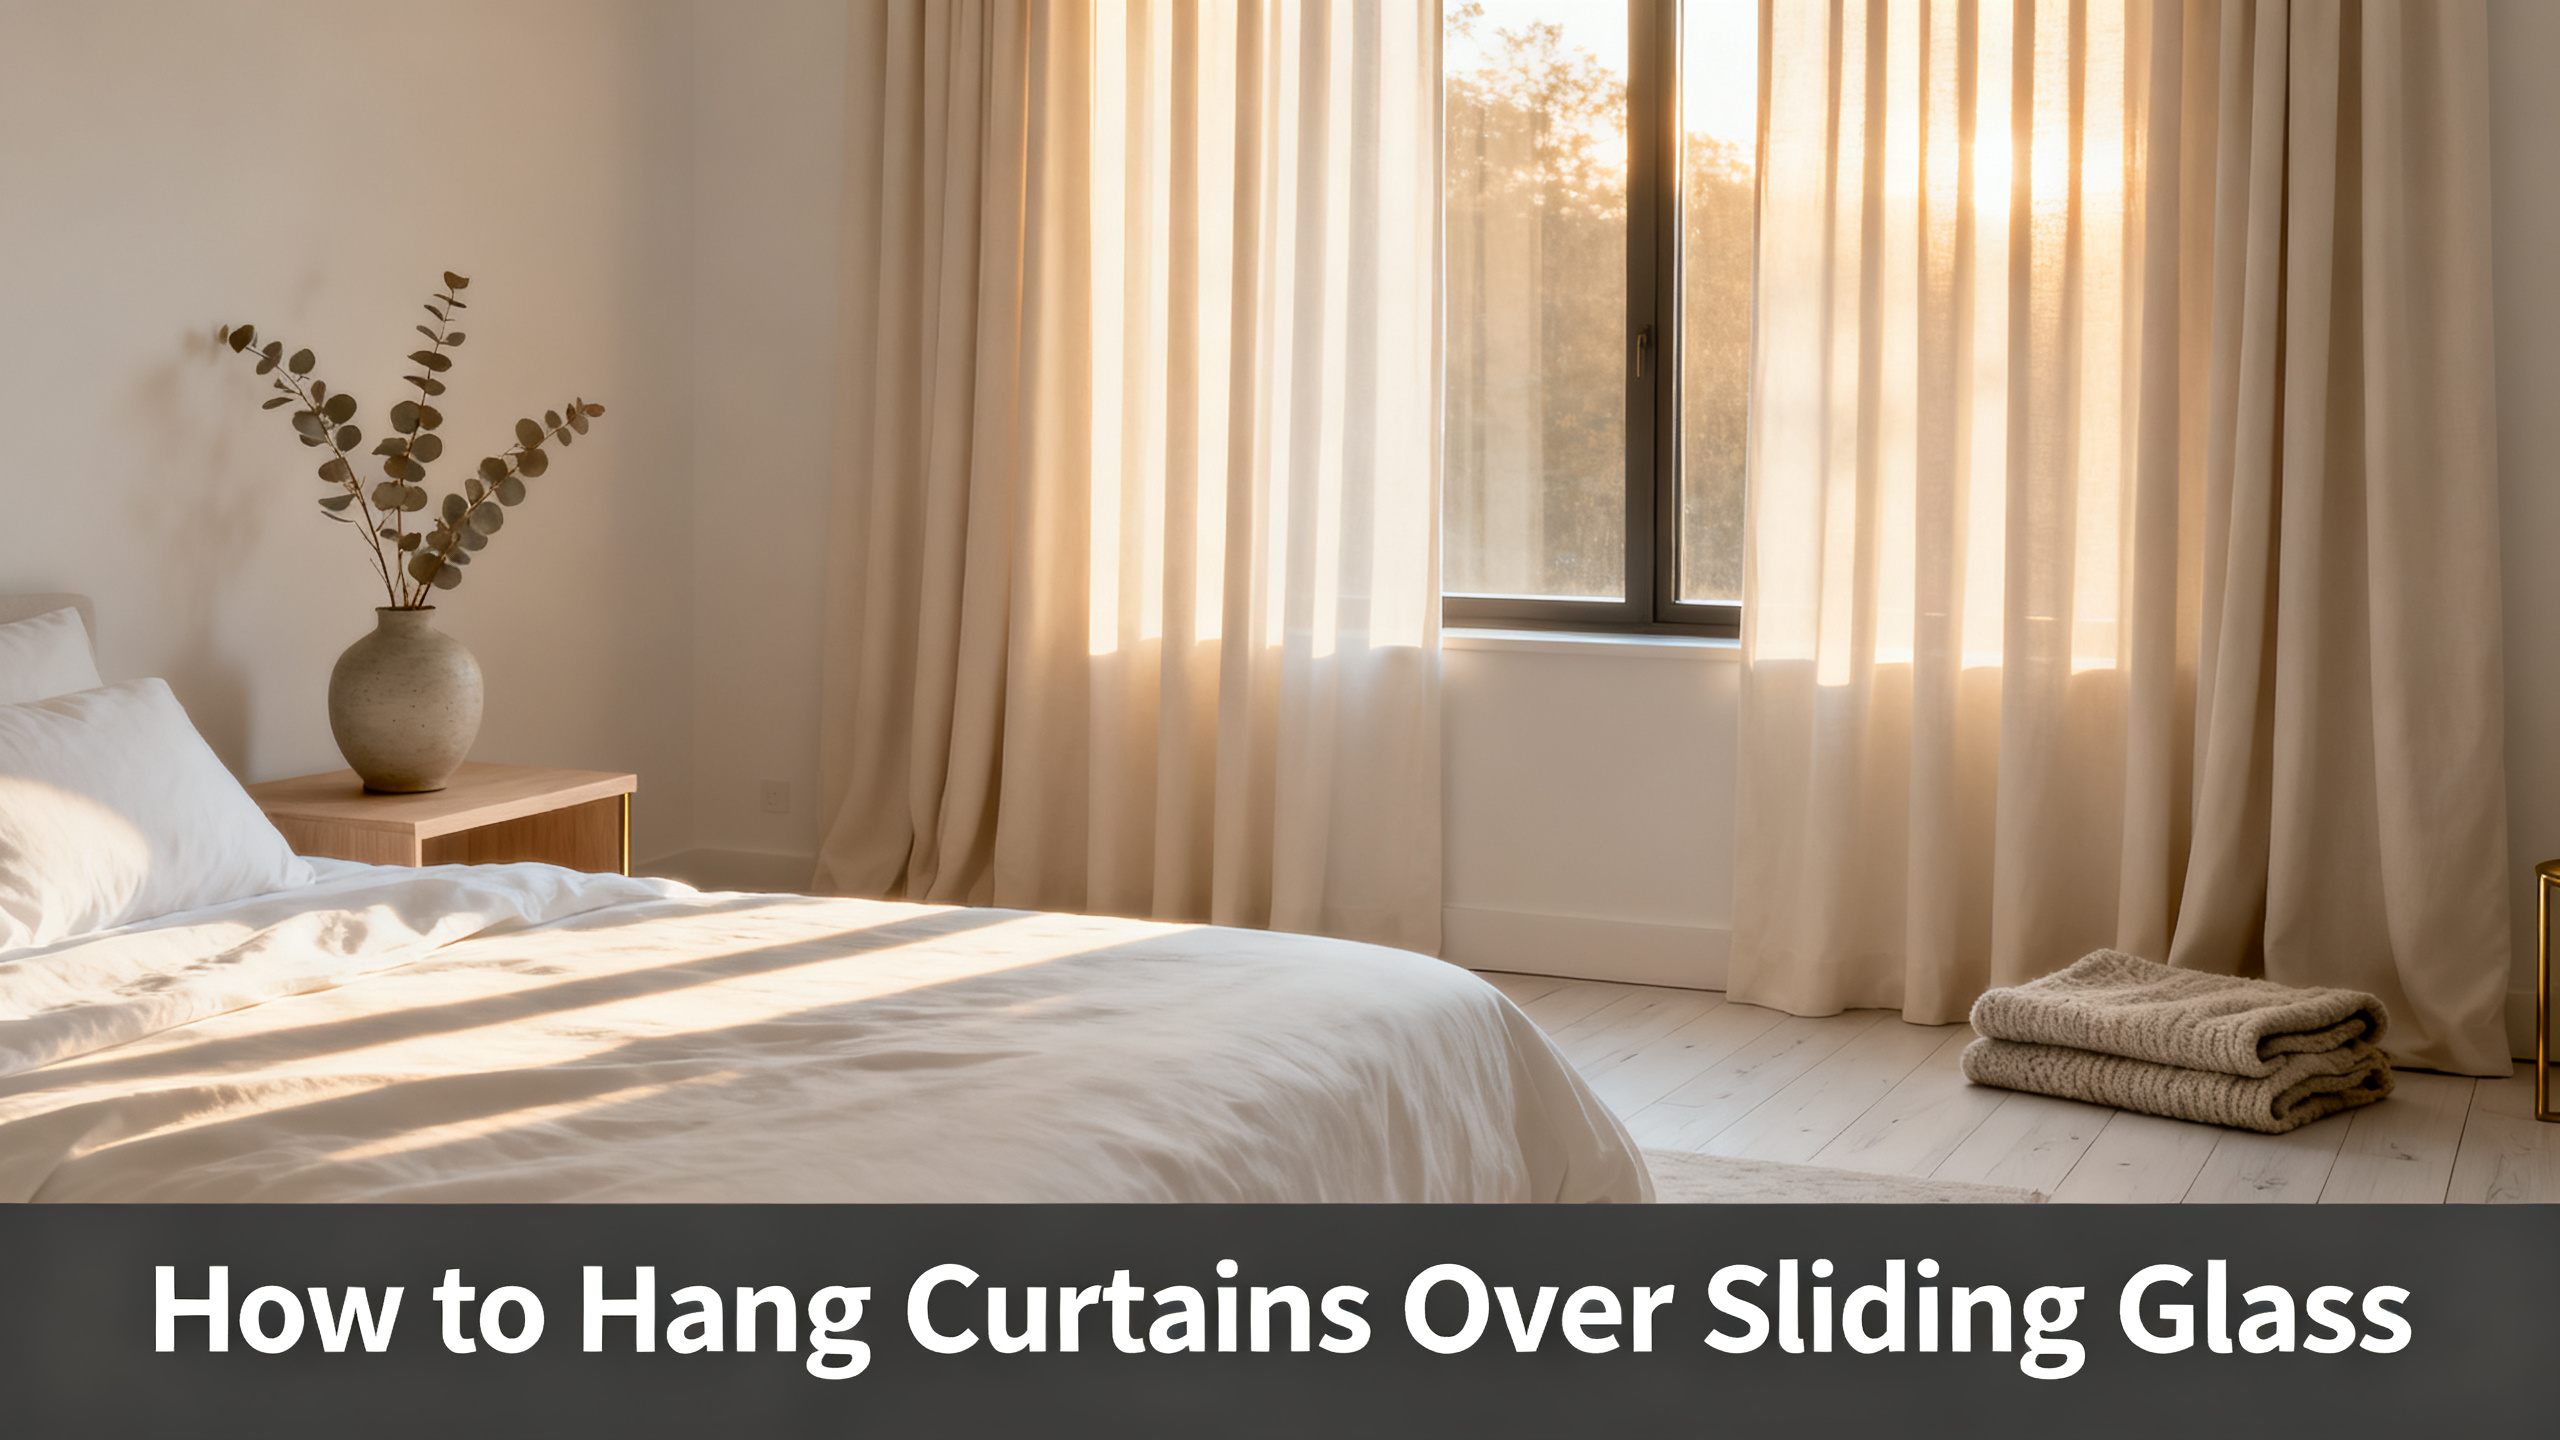
Two numbers do most of the work on a sliding glass door install: the rod sits 4 to 6 inches above the door frame, and it extends 12 to 18 inches beyond each side. Get those right and almost any panel hangs cleanly. Get them wrong and the panel drags on the track, blocks the handle, or leaves a bright halo of light at the corners every morning.
Below is the 5-step sequence installers use for sliders in living rooms, bedrooms, and dining rooms. If this is a first curtain install, our full curtain install hub covers the fundamentals we skip here (stud finding basics, rod anatomy, header vocabulary) so this guide stays focused on the slider itself.
Prep checklist · about 45 minutes · beginner friendly
📏 Tape measure
25 ft. Sliders are wider than most windows and a short tape will lie to you.
🧲 Stud finder
AC scan mode. There is often a header stud but rarely a wall stud where the brackets need to land.
🔧 Cordless drill + bits
3/32 in pilot, plus a 1/2 in for metal toggle anchors.
🔩 Anchors rated 30 lb
Snaptoggle or Toggler. A wide slider panel loads each bracket with 8 to 12 lb once dressed.
📐 24 in level
Sliders drift the eye. A 6 in torpedo will read level even when the rod tilts.
🪜 Step ladder
4 ft is enough for an 8 ft ceiling. The rod usually lives at 88 to 96 in above the floor.

The panel most designers spec for wide sliders
Liz Linen Ripple Fold Drapery
from $119.99/panel · 90% polyester / 10% linen · 350 gsm heavyweight · ripple fold header · aluminum traverse rod kit included · max 236 in wide. Final price depends on size and lining.
Use code JULY for 20% off. Free shipping over $300.
Three Hardware Paths, and How to Pick Between Them
Sliding doors are almost always solved by one of three hardware setups. Picking the right one before you order is the single decision that saves the most time. Path A is the default for most rooms. Path B is the answer when the ceiling is close or when the panel needs to be full blackout. Path C is for renters and no-drill situations.
Path A · Default
Extra-long traverse rod
Ships pre-cut to the slider width. Ripple fold or pinch pleat carriers ride inside a discreet 1 in aluminum rail. Best drape, quietest operation, cleanest read.
Best for: living rooms, dining, primary bedrooms with normal ceilings.
Path B · Ceiling mount
Ceiling aluminum track
Flush to the ceiling, no rod projection. Handles 100% blackout weights and rooms where the wall above the slider is under 3 in of clearance.
Best for: bedrooms, media rooms, low-header sliders, studio partitions.
Path C · No drill
Extra-long decorative rod
Grommet or soft top panels on a plain 1 to 1.5 in rod. Only works cleanly under 120 in of span and with a lightweight panel.
Best for: renters, temporary installs, guest rooms.
The picking logic is simple. If the wall above the slider has 4 in or more of clearance and the slider is under 144 in wide, Path A. If there is less than 3 in or the panel needs to be blackout, Path B. If the wall cannot be drilled at all, Path C, but only for spans under 120 in and light panels.
⚠️ Do not spec a tension rod over a slider wider than 60 in. The rated span of a residential tension rod tops out around 48 to 60 in, and the friction fit fails under a wide loaded panel that gets pushed sideways twice a day. Every slider over 60 in needs a mechanically anchored rod or track.
Step 1: Measure the Rough Opening and the Wall Around It
The three measurements that matter are the slider width, the slider height, and the wall zone above and to each side of the frame. Measure the slider width from the outer trim on one side to the outer trim on the other. Sliders often measure 72, 80, 96, 108, or 144 in. Write it down in inches; do not round.
Then measure the ceiling clearance: from the top of the slider trim to the ceiling. This single number decides between Path A and Path B. Under 3 in of clearance means ceiling mount is easier than trying to squeeze a bracket into a strip too small for a level.
Curtains for Sliding Glass Doors: The Complete Guide
If the panel choice is still open, start here. Header type, lining, and width logic for sliders live in the hub, not in this install guide.
Measure the stack-back zone on each side of the slider, which is the wall space each folded panel needs to sit out of the way. A ripple fold panel stacks at roughly 1 in per 10 in of panel width, so a 120 in panel needs 12 in of stack-back per side. A pinch pleat stacks closer to 15% (18 in for the same 120 in panel). Grommet panels are the loosest, around 18 to 22% of panel width.
Finally, look for anything that will get in the way: casement trim, a security bar, a slider handle that projects into the wall zone, a motorized shade housing, alarm sensors. Note each obstruction and its distance from the trim. A rod that hits a motion sensor gets pulled and re-installed, which nobody wants to do twice.
How to Measure for Sliding Glass Door Curtains
Full width, drop, stack-back, and return math for a slider order form. Do this before hardware, not after.
Step 2: Pick the Rod Width and Mount Height
The rod width formula for a slider is: slider width + 12 to 18 in per side. Sliders live at the top of that range because the panel has more fabric than a standard window and needs somewhere to stack without falling back over the glass. A 96 in slider takes a rod cut to 120 to 132 in.
How Wide To Hang Curtains
The 12 to 18 in extension rule and where it breaks. Sliders push it toward the top of the range every time.
Mount height sits 4 to 6 in above the door frame, or as close to the ceiling as the crown molding allows if visual height is the goal. The The Spruce sliding door curtain guide uses the same range. Going higher than 6 in creates a visible light gap at the top of the panel unless the panel is oversized in drop; going lower than 4 in cramps the header and makes the rod look like a strip of trim.
Rod Height & Width Formulas
Rod width
Slider W + 12 to 18 in each side
Mount height
Frame top + 4 to 6 in
Panel drop
Rod height − 0.5 in (to floor)
| Slider Width | Rod / Track Length | Panels | Per-Panel Fabric Width |
|---|---|---|---|
| 60 in | 84 to 96 in | 1 or 2 | 100 to 120 in total (2× fullness) |
| 72 in | 96 to 108 in | 2 | 75 in each |
| 96 in | 120 to 132 in | 2 | 95 in each |
| 120 in | 144 to 156 in | 2 | 120 in each |
| 144 in | 168 to 180 in | 2 or 3 | 130 in each (3-panel: 90 in each) |
Step 3: Mount the Hardware, Drywall or Stud
Wall studs above a slider are rare. The rough opening usually removes them, and the header lumber above sits behind drywall too dense to catch reliably with a stud finder. Which means most slider installs are drywall anchor installs, not stud installs, and that changes the anchor spec.
For a drywall install, use metal toggle anchors rated 30 lb minimum per bracket. The Family Handyman drywall anchor guide covers Snaptoggle and Toggler specifics. Never use the plastic conical anchors that ship with cheap rod kits; they are rated 5 to 10 lb and will pull straight out under a wide panel.
Drywall (no stud found)
Metal toggle, 30 lb rated
Snaptoggle 1/4-20 or Toggler heavy-duty. 1/2 in bore, wings deploy behind the drywall.
Stud (rare above sliders)
#8 x 2 in wood screw
3/32 in pilot hole. Rated well over 100 lb, does not need an anchor.
Header lumber (behind slider)
Ceiling-mount track instead
If the wall zone is 2 in of drywall over solid header, drill straight up into the ceiling for the track.
⚠️ A 500 gsm panel over a 96 in slider weighs 8 to 12 lb per panel once dressed. Two brackets on 5 lb anchors will hold on day one, sag by week two, and pull out during the first vacuum. Match the anchor to the load, not to the box the rod came in.
Bracket spacing runs every 24 to 32 in along the rod. Any span longer than 72 in needs a center support bracket regardless of the anchor type; a 132 in rod without center support flexes visibly under a wide panel and the traverse mechanism binds when the rail bends.

If drilling into the wall above the door is not an option
The Atlanta Room Divider Blackout Curtain with Ceiling Track Kit ships with the ceiling-mounted aluminum track already cut, the carriers pre-loaded, and a 100% blackout panel attached. It covers spans from 3 ft to 20 ft, which handles standard 6 ft sliders and 12 ft multi-panel doors alike.
Step 4: Load the Panel Onto the Rod or Track
On a traverse rod, the carriers ride inside the rail and must be counted before mounting. A 120 in ripple fold rod holds about 28 carriers at 4.25 in spacing; a short count means the panel hangs with uneven folds. Slide the carriers in from one end before capping the rail, then engage the tape buckle on the panel to the belt hook on each carrier in sequence.
On a ceiling-mount track, pre-load the carriers before you screw the rail to the ceiling. Threading them into an already-mounted track means fishing them through the end cap opening one by one on a ladder, which loses time and typically loses two carriers to the floor. The 350 gsm hand and the pre-cut aluminum traverse rod are analyzed in our Liz Linen Ripple Fold review if a closer look at the sequence helps.
Ripple Fold Carrier Load Sequence
1 · Count carriers
One carrier per 4.25 in of rail length. Confirm before capping the end.
2 · Slide in from one end
All carriers in a single pass. End caps go on after.
3 · Hook tape buckles
Belt hook on the carrier engages the loop on the panel tape. Work left to right.
4 · Check the last fold
The final buckle sits at the panel edge, not 2 in in from it. Missing carriers show here first.
For grommet or soft top panels on a plain rod (Path C), thread the rod through every grommet or fabric loop before the rod goes into the brackets. Sliding the panel on after the rod is mounted works for one or two grommets, not for a full 12-grommet 96 in wide panel.
Step 5: Dress the Folds and Set the Stack-Back
Ripple fold and pinch pleat panels train their folds over 48 to 72 hours. Once the panel is loaded, stack the folds cleanly, tie the panel every 12 to 18 in with a soft cotton tie (never a rubber band), and leave it closed for two nights. When the ties come off the folds hold their shape for the life of the panel.
Stack-back symmetry is the last honest check. Open the panels fully to each side and confirm the glass is completely clear of fabric. If either side leaves 3 in or more of panel covering the slider, the rod is not extended far enough and the stack sits over the glass. OEKO-TEX certified fabrics such as Liz Linen carry the OEKO-TEX Standard 100 which matters more on a slider than on a window because sliders sit in main living rooms where the panel is inches from where people breathe daily.
Three mistakes that show up week one
Rod too short.
Stack-back sits over the glass. Fix: pull the brackets 6 in outward on each side and re-anchor.
Panel drags on the track.
Drop was cut to floor, not to floor minus 0.5 in. Fix: re-hem or raise the rod 0.75 in.
Handle catches the panel.
Return depth is too shallow, panel wraps against the trim. Fix: add a 2 to 3 in return bracket.
A slider panel is 96 in tall on view. Order the 38-color booklet first.
Wide sliders show more fabric than a normal window, so the shade you commit to matters. The Liz Linen booklet is $3.99 and gives the real 350 gsm hand plus every color side by side in daylight before you configure a full panel.
FAQ
How high should curtains be hung over a sliding glass door?
Mount the rod 4 to 6 in above the top of the door frame, or as close to the ceiling as the crown molding allows if visual height matters. Going higher than 6 in without oversizing the panel drop creates a bright light gap above the header every morning. Going lower than 4 in cramps the header and makes the rod visually merge with the trim. On low-clearance sliders (under 3 in of wall between the frame and the ceiling), skip wall mount entirely and use a ceiling track instead.
How wide should the curtain rod be for a sliding glass door?
Slider width plus 12 to 18 in on each side. Sliders sit at the top of that range because the panel has more fabric than a standard window and needs stack-back room. A 72 in slider takes a 96 to 108 in rod; a 96 in slider takes a 120 to 132 in rod; a 144 in slider takes 168 to 180 in. Spans over 72 in need a center support bracket regardless of anchor type or the rail flexes under load.
Can you use a tension rod over a sliding glass door?
Not reliably above 60 in of span. Residential tension rods top out at a 48 to 60 in rated span, and the friction fit fails under a wide panel that gets pushed sideways twice a day. Every slider over 60 in needs a mechanically anchored rod or a ceiling track. For no-drill renter installs, an extra-long twist-fit tension rod plus a light 250 gsm panel under 60 in span is the only workable configuration.
Should curtains be one panel or two over a sliding door?
Two panels on any slider wider than 60 in. A single panel that wide stacks fully on one side, blocks the handle, and pulls unevenly against the carriers. Two panels split the stack-back load, open from the center, and match the way a slider itself opens. On very wide multi-panel sliders (144 in or more) a three-panel configuration with a center panel that stays closed and two outer panels that traverse handles the fabric weight most cleanly.
Do curtains for a sliding door need to touch the floor?
Yes, with a 0.5 in clearance off the floor for traverse operation. A panel that drags on the floor gets stuck on the slider track lip, catches dust every time the door opens, and wears at the hem within months. A panel that floats 2 in above the floor looks short on a slider because the door itself extends to the floor. The clean number is floor minus 0.5 in, measured from the finished floor to the rod, minus header allowance.
What is the best curtain header for a sliding glass door?
Ripple fold for wide sliders (over 72 in) and any daily-use configuration. The tape buckle carrier system rides inside an aluminum rail, glides silently, and gives even folds edge to edge even at 144 in of span. Pinch pleat comes second for narrow sliders under 72 in where the traditional look matters. Grommet is third and only on plain decorative rods for lighter renter installs. Rod pocket loses on any slider because the drag against the rod tears the pocket by month six.
Final Verdict
Sliders are a 5-step install once the hardware path is chosen: measure the opening and the wall zone around it, pick the rod width and mount height, anchor the hardware into drywall or stud with the right toggle rating, load the panel onto the carriers in sequence, and dress the folds. The mistakes that show up in the first week are almost always sizing mistakes (rod too short) or anchor mistakes (5 lb plastic under a 10 lb panel), and both are avoidable with the numbers in Steps 1 through 3.
The panel that ripple-folds most cleanly across a wide slider in the Two Pages catalog is the Liz Linen Ripple Fold Drapery. It ships with the aluminum traverse rod pre-cut to the ordered width, the carriers loaded, and the tape buckle sewn onto the panel top. At 350 gsm it hangs heavily enough to stay in the folds without training weights, and the 38-color range covers the widest sliders in living rooms and bedrooms alike.
Now you know the hang, here’s the panel that ripple-folds cleanly across a 96 in slider
Liz Linen Ripple Fold Drapery ships with the traverse rod, carriers, and finials in the box, sized to your slider. 350 gsm heavyweight, 38 colors, from $119.99/panel, ripple depth 4 in for even folds edge to edge. Code JULY takes 20% off.
