
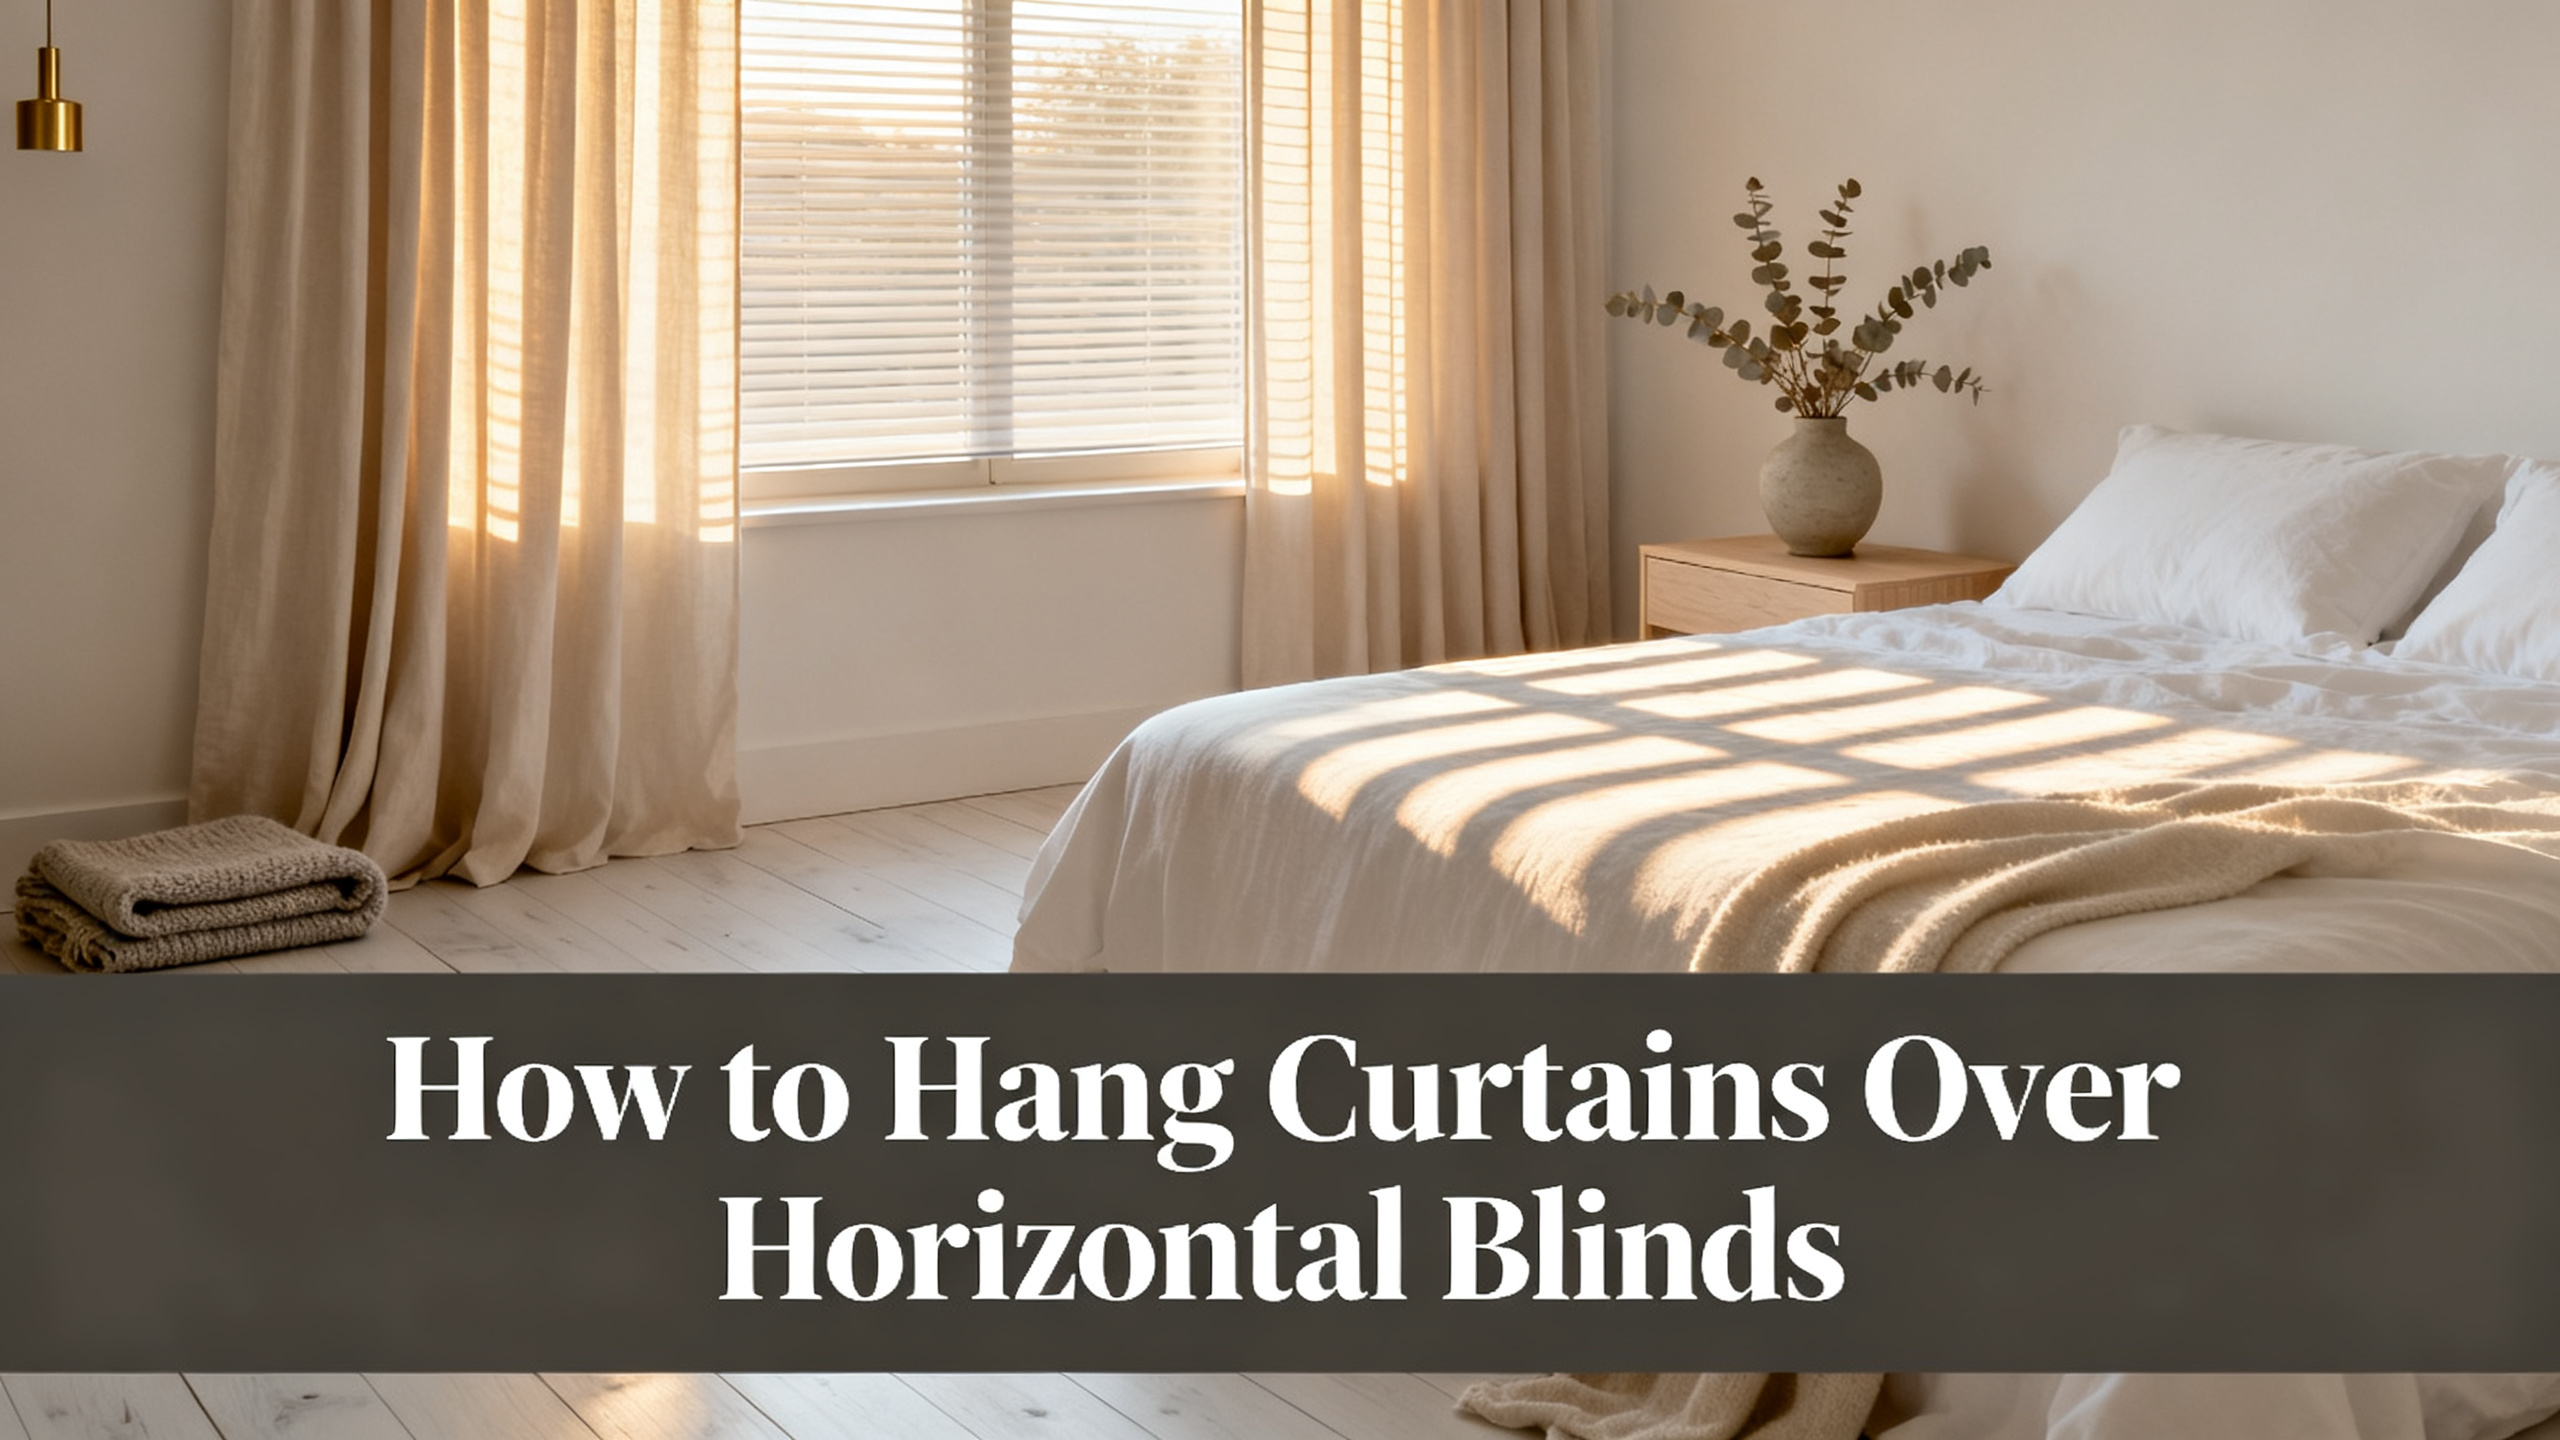
Most owners hang curtains over horizontal blinds by measuring the window. That is why the panels end up brushing the slats, blocking the tilt wand, and refusing to close fully. The real reference point is not the window at all. It is the front-of-slat projection of the blind you already have on the wall, and everything (bracket size, rod height, panel drop) depends on measuring that number first.
The 6-step method below covers projection sizing, rod placement above the headrail, extension bracket anchoring, and the panel header choice that decides whether your blinds stay usable or start fighting the drape. It doubles as the layering entry point to our full curtain install hub, which drills deeper into each step. For a design overview of window treatment layering, the The Spruce window treatment layering guide covers the aesthetic side.
The Common Mistake, Reframed
Most Owners Measure
Window frame
Bracket touches the closed slat, panel brushes the wand, blind refuses to tilt.
What Actually Matters
Slat projection
Distance from wall face to the front tip of the closed slat sets bracket depth and rod height.

The pinch pleat that stacks clear of the blinds
Liz Linen Drape Pleated
from $59.99/panel · 90% polyester / 10% linen · 350 gsm heavyweight · 4-in-1 pinch pleat header · 38 colors · OEKO-TEX certified. Final price depends on size and lining.
Use code JULY for 20% off · Free shipping over $300
Step 1: Measure the Blind’s Front-of-Slat Projection
Close the blinds fully. Then measure the horizontal distance from the wall face to the front tip of the slat. That number is the reference for every hardware decision that follows. A standard 1-inch aluminum mini blind sits roughly 1.75 inches off the wall when closed. A 2-inch faux wood blind sits 2.5 inches. A premium 2.5-inch real wood blind sits 3 to 3.5 inches off the wall depending on the headrail spacer.
Bracket projection has to exceed that number by at least 1.5 inches of clearance for the pinch pleat header to move freely, which lines up with the Real Simple projection bracket notes. That is not a design preference. Any tighter and the panel back rubs against the slat face every time you draw the drape, wearing a shine line into the fabric within the first ninety days.
⚠️ Warning: Casing depth is not slat projection
Measuring the depth of the window casing instead of the closed-slat projection produces a bracket that touches the blind face on tilt. On an inside-mount blind, the casing sits 1 inch behind the front slat tip. On an outside-mount blind, the delta can reach 3 inches. Only the closed-slat number is safe.
Step 2: Set the Rod Above the Headrail, Not Above the Window
The headrail (the horizontal casing that houses the blind’s tilt mechanism) sits 3 to 4 inches taller than the window casing itself on most brands. So the standard “four inches above the window” curtain rule places the rod squarely inside the headrail zone, which is exactly where it does not belong. The reference is the top of the headrail, not the top of the window.
Set the rod 2 to 4 inches above the top of the headrail on a standard 8-foot ceiling. On a 9-foot or taller ceiling, run the rod all the way to the crown molding, or to the ceiling itself if you have the flex. Layering over blinds almost always pushes the rod higher than a solo curtain install would, which is why the visible drop grows by five to eight inches.
How High To Hang Curtains (Ceiling Height Chart)
The height rule for standard 8-foot ceilings up to 12-foot vaulted, and why layering over blinds usually pushes the rod higher than a solo curtain install.
If it were my bedroom on a 9-foot ceiling with a low-header window, I would go a full 6 inches above the headrail every time. The visual lift makes the window read taller, the blinds recede into the background, and the drape gets the vertical stretch it needs to hang cleanly.
Step 3: Mount the Extension Brackets
Real talk on projection brackets: the standard flush-mount bracket that ships with most rods is useless here. It projects roughly 2 inches from the wall, which is under any real blind’s slat depth. What you need is an extension projection bracket, sized 4 to 6 inches deep for a standard 1-inch or 2-inch faux wood blind, and 8 to 10 inches for premium 2.5-inch wood blinds or heavy fabric roman shades.
How to Hang Curtains Without Drilling (Renter-Safe Methods)
Tension rods, adhesive brackets, and command-hook systems for renters who cannot drill above the blind casing. Pair with this guide if you own the blinds but not the wall.
Anchor sizing gets tighter on a deeper bracket. Into a stud, a 1.5-inch wood screw still grips fine. Into drywall between studs, use a #8 toggle anchor (a step up from the #6 used on flush mounts) because a longer bracket lever arm multiplies the pull-out force at the anchor. Into brick or masonry, a plastic sleeve with a 2.5-inch screw. Two Pages does not sell rods or extension brackets, so this is Amazon or specialty hardware territory.
| Blind Type | Slat Projection (Closed) | Wand / Cord Clearance | Min Bracket Projection |
|---|---|---|---|
| 1-inch aluminum mini | 1.75 in | 1.25 in wand swing | 3.5 to 4 in |
| 2-inch faux wood | 2.5 in | 1.5 in wand swing | 4.5 to 6 in |
| 2.5-inch wood | 3 to 3.5 in | 2 in wand swing | 6 to 8 in |
| 2.5-inch premium wood | 3.5 in | 2 in wand or 3 in cord | 8 to 10 in |
| Cordless motorized | 2.5 to 3.5 in | Battery case behind rail | 5 to 8 in |
⚠️ Warning: Never anchor into the blind’s own headrail casing
Screwing an extension bracket into the wood-look plastic of the blind’s own headrail is the number one install error on this project. That casing cannot hold a 15-pound loaded rod for more than 30 days before it tears loose. Anchors go into the wall behind the headrail, always.
Step 4: Level the Rod and Verify Blind Clearance
Level the rod dry, with no panels on it. Threading rings and hooks first hides small tilts because the panel weight momentarily equalizes them. Run a two-foot bubble level along the top of the rod once both brackets are up, and adjust by rotating the low-side set screw or shimming behind the base plate.
How to Hang Curtain Rods (Anchor and Bracket Deep Dive)
Anchor sizing per wall type, bracket spacing on long runs, and how to level without a laser. Directly relevant when the extension bracket sits 4 to 6 inches away from the wall over a blind headrail.
Then, and this step is what separates a real layered install from a compromised one, close the blinds fully and check clearance. The front face of the rod should sit at least 1.5 inches forward of the closed slat tip at every point along the run. Sight it from the side of the window, not the front, because a front-on view flattens the actual gap.
Rod Height Above the Headrail
8-Foot Ceiling
2 to 4 in
Above the top of the headrail. Standard.
9-Foot Ceiling
4 to 6 in
Or run rod to crown molding for max lift.
Vaulted / 10 ft+
Ceiling track
Rod at ceiling itself. Drop climbs 12 to 18 in.
⚠️ Warning: Level to the eye is not level over blinds
Picture the moment you tilt the blinds and the wand clips the pleat. A rod that reads level to the eye but tilts 1 degree at the far end drops the panel 1 inch lower on that side, which is often enough to catch the wand mid-swing or drag on the top slat. Verify with the blinds fully closed at the tightest tilt angle.

A Panel That Stacks Off the Blinds
Pinch pleats collapse into a tight vertical stack at each end of the rod. Liz Linen’s 350 gsm slub weave and 4-inch pinch header keep the stack narrow enough to clear a headrail wand or a tilt cord. from $59.99/panel, sized to your exact rod projection.
Step 5: Thread a Stack-Friendly Panel
Not every header works over blinds. Pinch pleat panels collapse into a tight vertical stack at each end of the rod, which is exactly what keeps the wand and tilt cord free. Rod pocket panels bunch wider but are still workable if the rod is sized for the fabric mass. Grommet panels stack widest of the three and are the header most likely to foul a wand swing. The Liz Linen Drape Pleated ships with a 4-inch pinch header specifically engineered for stack density, and the full Liz Linen Drape Pleated review covers how the stack width holds up over five configurations. For the collection overview, see the Liz Linen Drape Pleated product page.
Fullness Ratio & Stack Width When Layering
1.5× Sparse
Stack ~4 in
Cheapest, narrowest stack, but reads flat and shows the blind through the folds.
2× Standard
Stack ~6 in
The recommended baseline. Clears wand and cord on standard blinds.
2.5× Luxe
Stack ~8 in
Deepest ripples. Verify wand clearance before ordering on tight rod projections.
Panel drop is where most layering orders go wrong. Measure the drop from the top of the rod to the finished hem point, not from the top of the window casing. Because the rod sits 2 to 4 inches above the headrail, and the headrail sits 3 to 4 inches above the window, the drop is typically 5 to 8 inches longer than a solo panel install on the same window.
⚠️ Warning: Window-referenced drop puddles on the floor
Ordering the drop measured from the top of the window means the panel arrives up to 8 inches too long. On a 96-inch panel, that pools visibly at the floor. Once the panel is cut and hemmed at the factory, it cannot be shortened without a reworking fee.
Step 6: Test with Blinds Open, Blinds Closed, and Curtains Drawn
Sounds like a rounding error. It is not: this is the step that catches every projection miscalculation before the panels have been fully broken in. Run three states in sequence with the panels threaded and the drape hanging naturally.
State one, open the blind fully (slats horizontal) with the curtains closed across the window. State two, close the blind (slats vertical) with the curtains open at the sides. State three, tilt the blinds to the closed-outward position with the curtains still open. Any state that produces friction, wand catch, or slat drag means the projection is undersized by roughly 0.5 to 1 inch. The fix is a longer extension bracket, not a shorter panel.
The 6-Step Method at a Glance
The numbered card block below condenses the full method into one scannable visual. Use it as the pre-install checklist and pin it above the workspace before the drill goes on.
The 6 Steps
Step 1
Measure slat projection
Wall to front tip of closed slat. Reference for every hardware call.
Step 2
Rod above headrail
2 to 4 in on 8-ft ceiling, up to crown on 9-ft plus.
Step 3
Extension brackets
4 to 10 in projection. Anchor into wall, never headrail casing.
Step 4
Level and clearance
Bubble level dry. Rod sits 1.5 in forward of closed slat.
Step 5
Stack-friendly panel
Pinch pleat, 2× fullness, drop measured from top of rod.
Step 6
Test all three states
Open, closed, tilted. Any bind means longer bracket, not shorter panel.
Blind Operation Clearance: Wand vs Cord vs Cordless Motorized
Each blind operation type has a different mechanical footprint, and the panel has to respect all of them. A wand tilts on a swing arc, which needs vertical clearance in front of the panel. A cord hangs vertically and needs weight-relief along the wall so it does not tangle in the drape. A cordless motorized blind hides a battery case behind the headrail, which can push the whole headrail an extra half-inch off the wall.
Operation Type & Required Clearance
Tilt Wand
1.5 in swing arc
Vertical clearance in front of pinch stack. Standard on most blinds.
Pull Cord
3 in wall channel
Cord runs against the wall; panel must not trap or drag it.
Cordless Motorized
+0.5 in headrail
Battery case adds depth. Bracket projection must be sized to the loaded headrail.
Layering Look: What Each Combination Says
Layering blinds and curtains is not a single look. It is a set of three, and the room reads differently depending on which combination is live. Owners who install the pair without thinking through the states end up defaulting to one and wondering why the second panel feels decorative.
Three States, Three Reads
Blinds Down, Curtains Open
Privacy without commitment
Daytime working mode. Full window control without visual heaviness.
Blinds Up, Curtains Closed
Soft daylight diffuser
Morning read. Diffuse light through fabric, blinds recede fully into headrail.
Both Down
Near-blackout
Bedroom evening mode. Closest to true blackout without ordering a blackout lining.
Pro Tips: Return Depth, Stack-Back Reservation, Slat Tone Match
Return depth over blinds runs deeper than a solo install because the whole rod sits further from the wall. Plan on 4.5 to 5 inches from rod face back to wall for the return, not the standard 3.5 inches. That extra return keeps side light from bleeding around the panel edge and hides the bracket ends from side view.
Where a solo install rule breaks down over blinds is on rod length. Reserve 20 percent of the rod length outside the blind edge for open-panel stack. If the blind covers the full window and no more, the rod has to extend at least 8 to 12 inches past each side so the pleated stack lands off the blind face when the panels are drawn open.
Return Depth
4.5 to 5 in
Deeper than solo install. Blocks side light around the panel edge.
Stack-Back
8 to 12 in / side
Past each side of the blind. Lets the pleated stack clear the slat face.
Slat Tone Match
Warm or neutral
Warm slats need warm panels. Cool grey slats need cool ivory or stone.
Next Step: Order the Panel That Sits in Front
Correct projection and correct rod height only pay off on a panel that stacks narrow enough to leave the blinds usable. Ready-made panels come in fixed 84, 96, and 108-inch drops, and none of them account for the extra 5 to 8 inches the layering adds to the true drop measurement.
Match the Panel to Your Blind Slat Color
Layering only reads intentional when the panel tone plays well with the slat color. The 38-color Liz Linen booklet ships for $3.99 and lets you hold each swatch against your existing blinds before you commit.
The blinds stay. The rod is up. The panels you thread onto that rod should be cut for the layered drop you just measured, in the fullness ratio you chose, in a slat-friendly color you already verified against the room.
Blinds Stay. Now Order the Panel That Sits in Front.
Liz Linen Drape Pleated is a made-to-measure pinch pleat, cut to your rod width and drop. from $59.99/panel, 38 colors, 350 gsm heavyweight, OEKO-TEX certified. Code JULY (20% off) · Free shipping over $300 · lead time 10 to 12 days.


FAQ
How far do curtains need to project past horizontal blinds?
Bracket projection should exceed the blind’s front-of-slat measurement by at least 1.5 inches. For standard 2-inch faux wood blinds, that means a bracket projection of 4 inches minimum. Premium 2.5-inch wood blinds need 5 to 6 inches of bracket projection. This clearance keeps the pinch pleat header from brushing the closed slat and leaves room for the tilt wand to swing freely.
How high should I hang curtains over blinds?
Set the rod 2 to 4 inches above the top of the headrail, not above the window casing. The headrail typically sits 3 to 4 inches taller than the window itself, so following a standard “4 inches above the window” rule places the rod inside the headrail zone. For 9-foot or taller ceilings, going all the way to the ceiling is the cleaner call.
Will curtains block my blinds from opening?
Only if the projection is undersized or the panel is under-stacked. A correctly sized extension bracket (4 to 10 inches deep depending on blind type) plus a pinch pleat panel with 2x fullness stacks narrow enough to clear the wand and cord. Grommet and rod pocket panels stack wider and are more likely to foul the operation mechanism.
Can I hang curtains over blinds without drilling?
Yes, using tension rods rated for at least 15 pounds, adhesive projection brackets, or command-hook systems designed for curtain rods. Tension rods require snug window jambs and cannot deliver the projection needed for premium 2.5-inch wood blinds. Adhesive brackets are the closest renter-safe substitute for a screw-mounted extension bracket.
What length extension bracket do I need for 2-inch faux wood blinds?
A 4 to 6 inch extension bracket handles a standard 2-inch faux wood blind that sits 2.5 inches off the wall when closed. Undersized brackets touch the slat face when tilted forward. Oversized brackets (over 8 inches) overhang unnecessarily and expose the rod ends to visible sag under panel weight.
Should curtains sit in front of the blinds or beside them?
In front, always, when the goal is a finished layered look. Beside placement (rod length equals window width) is only used when the blinds are the decorative element and the curtains function purely as side dressing. In-front placement requires enough rod projection (4 to 10 inches) and enough rod width extension (8 to 12 inches past each side) for the panels to stack fully off the blind face.
Does the curtain panel need to be longer when layered over blinds?
Not longer, but measured differently. Measure the drop from the top of the rod (not the top of the window casing) to the finished hem point. Because the rod sits 2 to 4 inches above the headrail, which sits 3 to 4 inches above the window, the drop is typically 5 to 8 inches longer than a solo-panel install on the same window.
What curtain header style works best over horizontal blinds?
Pinch pleat is the safest call for layering. The 4-inch pleat header collapses into a tight vertical stack at each end of the rod, which clears the wand and cord. Rod pocket works if the rod is oversized enough to allow the fabric to slide freely. Grommet stacks widest and is the least suited to layering because the stack often overlaps the blind face when the panels are open.
More install guides
