
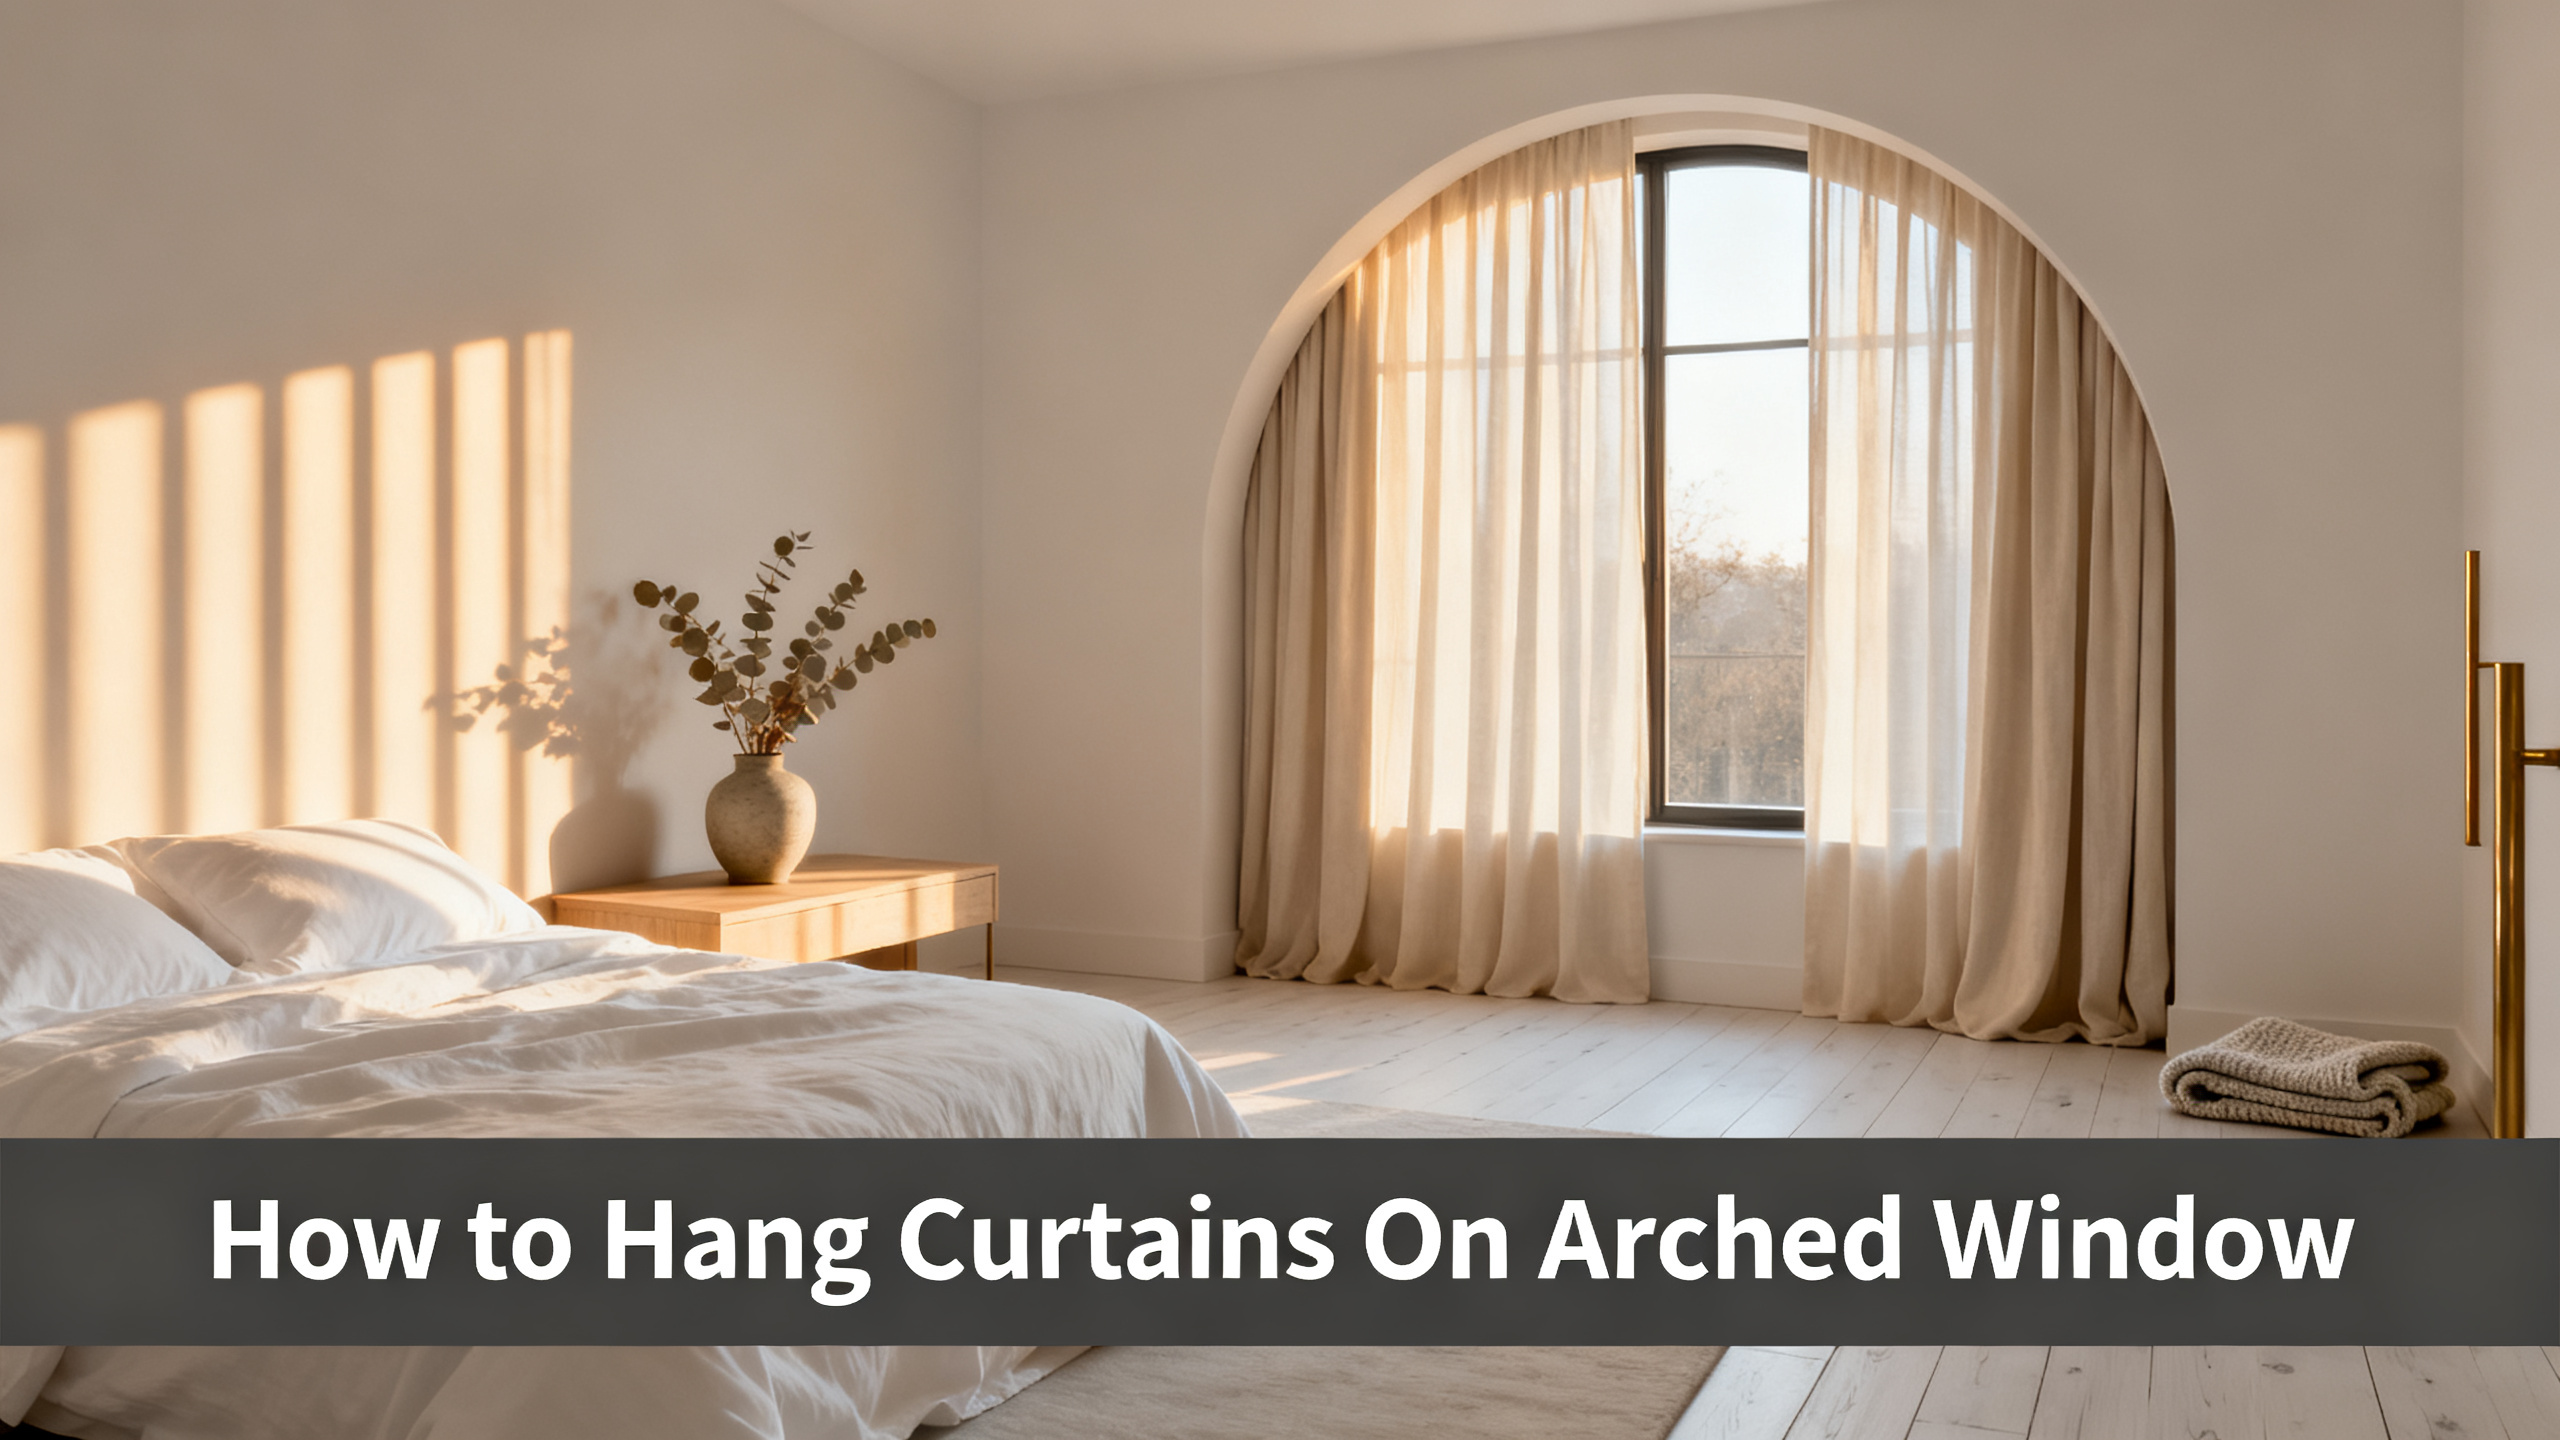
Done right, an arched window frames a room. Done wrong, the panel drops flat at the springline and the arch looks like a decorating mistake for the next ten years. The strategy you pick in step 1 rules out the wrong path before you touch a drill, which is why most first-time installs go sideways: the rod gets bought before the strategy gets chosen.
The three viable approaches are a straight rod above the arch, a bendable rod that follows the curve, or a two-part treatment with a sunburst insert covering the arch and operable panels below. Step 1 alone decides which one belongs in your room. For the wider context on arch, half-round, palladian, and skylight coverage, the arched and specialty window hub sits one click away.
🧰 Tools and materials before you start
🪜 Step ladder
Rated for the arch peak height plus 24 inches working room. Most arches sit 84 to 96 inches off the floor.
📏 Measuring tape + cardboard
The cardboard becomes an arch template if you go bendable rod. Cheaper than eyeballing the curve.
🔩 Anchors + toggles
Metal Snaptoggle for hollow drywall over 6 lb panels, plastic ribbed for sheers under 5 lb.
🪛 Cordless drill + bits
3/16 in bit for plastic anchors, 1/2 in bit for metal toggles. Match the pilot to the anchor spec.
✏️ Pencil + laser level
A bubble level works for spans under 60 in. Laser earns its keep on anything wider or on palladian sets.
🔧 Stud finder
Studs almost never land above an arch peak. Plan on toggle anchors from the outset.
Under $50 in hardware if you already own the drill. Add 15 to 25 minutes per window.

The panel that reads right under an arch
Liz Linen Drape Pleated
from $59.99/panel · 90% polyester / 10% linen · 350 gsm · pinch pleat header (works with straight and bendable rods) · 38 colors · custom drop to 130 inches. Final price depends on size and lining.
Use code JULY for 20% off · Free shipping over $300
The 3 Install Strategies at a Glance
Most owners default to strategy 1 whether they know it or not, because it works and the hardware costs $30. Strategy 2 is where purists live and where budgets stretch. Strategy 3 shows up in rentals and in high-end colonial builds where the arch is already dressed with a permanent decorative insert.
🪟 The three install paths for an arched window
➖
1. Straight rod above
Mount a standard rod 4 to 10 in above the peak. Works with any header.
90% of installs. Cheapest.
⌒
2. Bendable rod curve
Custom-bent rod follows the arch. Clip rings only.
Purist look. 3-5× cost.
🌅
3. Two-part treatment
Fixed sunburst covers the arch. Standard panels below at springline.
Traditional. Non-operable arch.
Step 1 below walks each option and points to which one fits your room.
This guide covers all three, but the 6-step process below assumes strategy 1 (the recommended default). Step 5 branches into strategy 2 for anyone committed to the bendable route.
The 6-Step Install at a Glance
The full arch install runs 35 to 50 minutes per window once tools are on the ladder. Read the sequence first, then work each step in order.
STEP 1
Choose the strategy
Straight rod, bendable, or two-part.
STEP 2
Measure the arch
Peak, springline, drop to floor.
STEP 3
Mark and check wall
Bracket points + wall type.
STEP 4
Install brackets
Level, balanced, add center support if wide.
STEP 5
Attach the rod
Straight rod drops in, bendable is formed on floor.
STEP 6
Hang the panels
Header, drop, finish the folds.
Step 1: Choose Between a Straight Rod, a Flexible Rod, or a Two-Part Treatment
Straight Rod Above the Arch (Recommended for 90%)
The straight rod above the arch is the default for a reason: it ignores the curve entirely, opens the arch itself for uninterrupted daylight above the panels, and works with any standard rod, any bracket, and any panel header. Per The Spruce arched window curtain reference, this is also the approach most professional designers recommend for arches under 60 inches wide.
Where it fails: arches over 60 inches wide sitting in rooms with 8-foot ceilings can look cramped, because the rod eats visual headroom that the arch was designed to give. In that case, either mount the rod higher and accept a longer panel drop, or step to strategy 2. If it were my kitchen arch, I would default to strategy 1 and stop overthinking it.
Best Curtains for Arched & Specialty Windows
Five panels ranked for arches, half-rounds, and pentagons, with the header type that keeps daylight clean at the peak.
Flexible / Bendable Rod That Follows the Curve
Real talk on bendable rods: they cost 3 to 5 times a standard rod, they only work with clip rings or ring-and-hook combos, and they need a cardboard arch template shaped on the floor before you mount them. Two Pages does not carry bendable rod hardware; Kirsch, Umbra Cappa Curve, and custom aluminum-bent rods from workroom suppliers are the market. The panel disappears behind the arch curve when open, which is the reason to pick this path.
Common failure modes: bought before measuring the flex radius, formed too sharply so the rings jam at the peak, or paired with pinch pleat or grommet headers that physically cannot navigate the bend. If your arch is a full half-round with a tight radius under 20 inches, ring glide gets sticky on cheaper bendable rods within the first year.
Two-Part: Fan or Sunburst Insert + Panels Below
The two-part approach dresses the arch permanently with a fixed pleated fan or sunburst insert, then hangs standard operable panels on a straight rod at the springline. This is the traditional colonial and Federal-style solution and it works for palladian windows where the arch is a distinct upper element separated by a keystone or mullion. The arch stays dressed year-round without moving, and the panels below operate normally. Sunburst inserts are custom-made, non-operable, and sourced from workroom shops rather than mainstream retailers.
🧭 Which strategy fits your room
Pick strategy 1 if:
Renting, arch under 60 in wide, 9 ft ceilings or higher, want daylight above panels, budget under $100 for hardware.
Pick strategy 2 if:
Owner, arch is architectural centerpiece, ceiling under 9 ft, budget over $300 hardware, willing to lose blackout capability.
Pick strategy 3 if:
Palladian or half-round with keystone, colonial or Federal architecture, want arch permanently dressed, plan to work with a custom workroom.
Step 2: Measure the Arch (Peak, Springline, and Drop)
Peak height above the frame
Measure from the top of the window trim to the highest point of the arch curve. This number tells you where the rod cannot go: never below 4 inches above the peak, or the panel clips the curve when open. Typical residential arches add 8 to 18 inches of peak height above the springline; palladians can add 24 to 36 inches.
Springline width
The springline is the horizontal line where the arch curve meets the vertical side walls of the window. This defines your panel width baseline. For coverage, add 6 to 12 inches per side past the springline, so a 48-inch springline width means a total rod span of 60 to 72 inches.
Total drop from bracket to floor
Measure from the planned bracket location (4 to 10 inches above the arch peak) down to the floor, then subtract 0.5 to 1 inch for float clearance. For puddled panels, add 1 to 3 inches instead. Custom drops on Two Pages panels go up to 130 inches, which covers most residential arches sitting on 9 or 10 foot ceilings.
📐 The three arch measurements that drive everything
△
Peak height
Top of trim to peak of arch. Rod goes 4 to 10 in above this.
↔
Springline width
Widest horizontal across the arch. Rod extends 6 to 12 in each side.
↕
Total drop
Bracket to floor minus 0.5 to 1 in for float clearance.
Step 3: Mark the Bracket Position and Wall Type
Set bracket marks 4 to 10 inches above the arch peak, spanning 6 to 12 inches past each springline. For 8-foot ceilings, keep the rod closer to 4 inches above the peak. For 9 or 10 foot ceilings, push to 6 or 8 inches, or split the difference between peak and ceiling.
Run a stud finder along the marked line. Studs almost never land above an arch peak because the framing sits around the window opening, not above it. Plan on toggle anchors from the outset. Identify the wall surface before you drill: drywall, plaster, or brick each carry different anchor rules.
How to Measure for Curtains: The Complete Guide
Width, drop, and rod-projection math on a single worksheet, including the arched-window addendum for peak clearance.
Drywall vs plaster vs brick
Standard 1/2-inch drywall takes toggle bolts and Snaptoggle metal anchors reliably. Pre-1950 plaster over wood lath is fragile: drilling too aggressively cracks the plaster face, and anchors spin unless you find the lath behind. Brick or masonry needs a masonry bit and sleeve anchors, per the This Old House drywall anchor guide. If your home dates from before 1950 and the walls have never been drilled above the arch, do a test hole in a hidden spot first.
| Wall type | Recommended anchor | Pilot bit | Weight rating |
|---|---|---|---|
| 1/2 in drywall (hollow) | Snaptoggle metal or 1/4 in toggle bolt | 1/2 in | 25 to 50 lb per anchor |
| 5/8 in drywall (hollow) | Snaptoggle metal or 3/16 in molly | 1/2 in | 30 to 60 lb per anchor |
| Plaster over wood lath (pre-1950) | Wood screw into lath, or molly with careful pilot | 1/8 in pilot, drilled slowly | 15 to 25 lb per anchor |
| Brick or masonry | Sleeve anchor or plastic wall plug | 1/4 in masonry bit | 40 to 80 lb per anchor |
| Wood trim or header | #8 wood screw direct, no anchor | 3/32 in pilot | 50 lb and up |
Step 4: Install the Brackets Level and Balanced
Screw the brackets into the anchors following the fundamentals from any standard curtain rod install guide: bracket flush to the wall, screw fully seated, level checked across both endpoints before final tightening. For arched windows, the extra step is checking that both brackets sit at exactly the same height, because any drift becomes visible when the panel drops past the arch curve.
Bracket spacing for arch coverage
For a 48-inch springline, brackets sit at 54 to 60 inches apart center-to-center. For a 72-inch springline, brackets sit at 84 to 96 inches apart. The extra 6 to 12 inches per side lets the panel stack back cleanly when open and covers the springline transition when closed.
Center support for wide arches
Arches wider than 60 inches at the springline need a center support bracket directly above the peak. Without it, the rod bows down over the peak within 3 to 6 months and the panel starts sagging at the middle. For arches over 96 inches wide, use two center supports evenly spaced.
☀️ Bracket spacing by arch width
36 in springline
2 brackets
Ends only, spaced 48 to 54 in apart. No center support needed.
60 in springline
3 brackets
Ends at 72 to 84 in span, plus 1 center support above the peak.
96 in springline
4 brackets
Ends at 108 to 120 in span, plus 2 center supports at even thirds.

The Panel That Makes an Arch Read Intentional
Arches need drops customised to the inch, because rod placement 8 or 10 inches above the peak changes the visible drop by that same amount. Liz Linen ships made-to-order at your exact width and length, from $59.99/panel, in 38 colorways.
Step 5: Attach the Rod (Straight or Bent)
Standard straight rod
Thread the rings, hooks, or grommets onto the rod on a flat surface before lifting it into place. Then drop the assembled rod into the bracket cradles and tighten the set screws or seat the finials. This sequence takes 5 minutes and prevents the common error of sliding a loaded panel over an already-mounted rod, which pulls brackets out of the anchor over time.
Bendable rod technique
Cut a piece of cardboard to the arch profile using a marker traced against the trim. Lay the bendable rod on the cardboard and shape it to the curve, working from center outward with slow steady pressure. Test-fit against the actual arch before mounting: cheap bendable rods spring back 5 to 10% once released, and clip rings need to glide across the peak without catching. Mount the formed rod to the bracket cradles and clip the panel rings on.
🌿 Rod type × header compatibility
Bendable rods require clip rings. Grommets and pinch pleats physically cannot navigate the curve.
Step 6: Hang the Panels and Dress the Folds
Header choice for arch coverage
Pinch pleat reads cleanest with a straight rod above the arch: the pleat structure holds a consistent fold from ring to floor, which makes the panel look intentional against the exposed arch curve above. Ring or clip headers are required for bendable rods. Grommet headers work on straight rods but the inner diameter needs to match rod diameter within 1/8 inch, or the grommet catches during draw.
Arched Window Curtain Ideas: 12 Rooms That Get It Right
Twelve mood boards showing how pinch pleat, grommet, and ripple fold panels frame an arch across formal, coastal, and minimalist styles.
The 12-inch overhang finish
Panels should extend 6 to 12 inches past each springline to give clean stack-back, and puddle 0.5 to 1 inch on the floor for formal spaces or float 0.5 inch above the floor for casual and high-traffic areas. For Two Pages panels, the Liz Linen Drape Pleated at 350 gsm and 90/10 poly-linen blend is the flagship for arches because the pleat structure holds a defined fold from the peak all the way down. Configure width and drop against your springline math on the Liz Linen Drape Pleated product page. Adding the linen a final rod tap once the panels are seated aligns the folds and removes any twist.
Pro Tips: 5 Things Owners Wish They’d Known
Five corrections that separate a first-time install from a designer job. Read all five before the panel goes up.
💡 Tip 1: Mount higher than you think
Almost every arch install ends up rod-mounted 2 to 4 inches lower than optimal. Push the bracket up until you almost worry it looks too high, then measure back to the peak. If the number reads 6 to 10 inches, you are in the right zone.
💡 Tip 2: Order the drop for the bracket, not the trim
The classic $300 mistake: ordering panels measured to trim height instead of bracket height. A rod placed 8 inches above the peak adds 8 inches to the drop, and short panels floating 6 inches off the floor look worse than any other install error.
💡 Tip 3: Toggle anchors are not optional
Studs almost never land above an arch peak. Plastic ribbed anchors work for sheers but fail on any panel over 5 lb total. Skip straight to Snaptoggle metal or 1/4 in toggle bolt from the start.
💡 Tip 4: Center support for anything over 60 in wide
The rod will bow within 3 to 6 months without one. On a wide arch with a straight rod above, the center support sits directly above the peak, which reads intentional rather than added-on.
💡 Tip 5: For palladians over 96 in wide, call a workroom
The measurement math and bracket engineering get real above 8 feet of springline. Custom workroom install runs $400 to $900 including hardware, which beats redoing a self-install twice.
5 Common Mistakes That Ruin the Look
The single most common mistake is the one this guide starts with: buying hardware before choosing the strategy. Here are the other four.
🎯
Mistake 1
Rod mounted flush with peak. Panel clips the curve on draw.
📐
Mistake 2
Panel width measured to trim, not springline plus 6-12 in.
⚖️
Mistake 3
No center support on a 72 in arch. Rod bows within a season.
🔩
Mistake 4
Plastic anchor for a heavy panel. Anchor pulls in 3-6 months.
🔀
Mistake 5
Bendable rod paired with pinch pleat or grommet. Header cannot navigate the curve.
Now You’ve Hung Them: Configure the Panel for the Drop
The rod is level, the brackets are anchored, and the strategy is settled. The remaining variable is the panel itself, and on an arched window the drop math matters more than any other spec. A rod placed 8 inches above the peak adds 8 inches to the visible drop, and short panels are the single most preventable install error.
Order the 38-Color Liz Linen Booklet
Arched windows sit high, and the panel sees direct daylight most of the day. Sample the exact color against your wall paint before committing to a full drop. Booklet ships flat for $3.99.
Two Pages custom panels ship at your exact width and drop, so the bracket-to-floor number you took in step 2 goes straight into the configurator. For arches with heavier daylight loads, add a cotton or blackout lining at checkout. Apply code JULY for 20% off and the panels are on a 10 to 12 day timeline.
The Arch Is Framed. Now Hang a Panel Made for the Drop.
Liz Linen Drape Pleated ships made-to-order at your exact width and drop, up to 130 inches. from $59.99/panel, 38 colors, 350 gsm. Code JULY (20% off) · Free shipping over $300 · lead time 10 to 12 days.
FAQ
Can you put a curtain rod on an arched window?
Yes, and the three viable approaches are: a straight rod above the arch peak (recommended for 90% of installs), a bendable rod that follows the curve (custom bent, purist look), or a two-part treatment with a sunburst insert covering the arch and operable panels below the springline. Straight rod above is the cheapest, fastest, and works with any panel header. Bendable rod is the aesthetically purest but costs 3 to 5 times as much and works only with clip rings.
How high above an arched window should you hang curtains?
Mount the rod 4 to 10 inches above the peak of the arch. Four inches is the minimum for the panel to fully clear the peak curve. On 9-foot ceilings, push to 6 or 8 inches. On 10-foot or vaulted ceilings, mount halfway between the peak and the ceiling, or 4 inches below the crown molding if there is one. Mounting flush with the arch peak is what makes the window look squat and defeats the visual gain of having an arch in the first place.
What kind of rod do you use for an arched window?
For strategy 1 (straight rod above), any standard 5/8 or 1-inch diameter rod works. For strategy 2 (following the curve), you need a bendable curtain rod such as the Kirsch flex rod or a custom-bent aluminum rod matched to your arch template. Bendable rods work only with clip rings or ring and hook combos, never with grommet or pinch pleat headers directly. For strategy 3 (two-part), a standard rod hung at springline level pairs with a permanent arch insert above.
How do you cover just the arch part of a window?
Use a sunburst or fan-style insert, which is a fixed pleated fabric arrangement radiating from the base of the arch to the peak. These are typically custom-made to the arch dimensions and are non-operable. Two Pages does not carry sunburst inserts. Alternatives include a decorative window film for the arch portion only, a stationary shirred panel tacked to a curved rod, or leaving the arch bare and dressing the rectangular section below.
How wide should curtains be on an arched window?
Panels should extend 6 to 12 inches past the springline on each side. Springline is the point where the arch curve meets the vertical side of the window. This gives enough width to stack back cleanly when open and cover the springline transition when closed. For a 48-inch-wide arched window (measured at the widest point of the arch), plan for a total panel width of 60 to 72 inches, split across two panels.
Can you use a tension rod for an arched window?
Yes, but only for strategy 1 (straight rod above the arch) and only for narrow arches under 48 inches wide, with light sheer panels. Tension rods do not follow curves and cannot support the weight of blackout or heavy velvet panels reliably over an arch install. For anything wider or heavier than a sheer, a mounted rod with brackets is required. Tension rods are the correct call for rental scenarios where drilling above the arch is not permitted.
Do you hang curtains from the arch or from the ceiling?
For most arched windows, hang from a bracket 4 to 10 inches above the arch peak, not from the ceiling. Ceiling-mounted curtains are only correct when the arch peak sits within 4 inches of the ceiling itself, or when you want a floor-to-ceiling drama effect regardless of the window shape. Ceiling mount hides the arch entirely, which usually defeats the reason for having one. Arch-above bracket mount frames the arch while giving the panel space to clear the peak.
